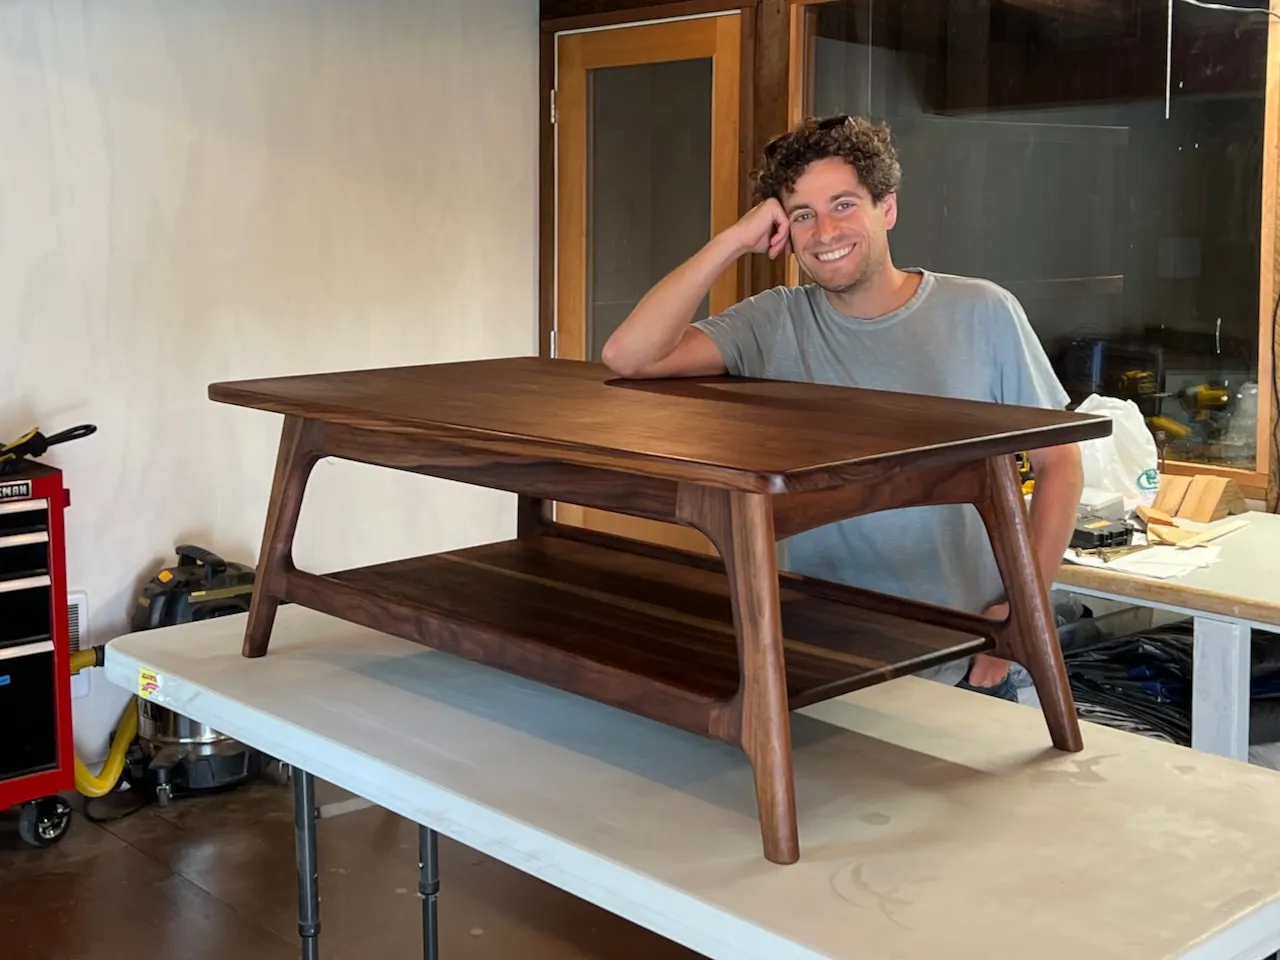
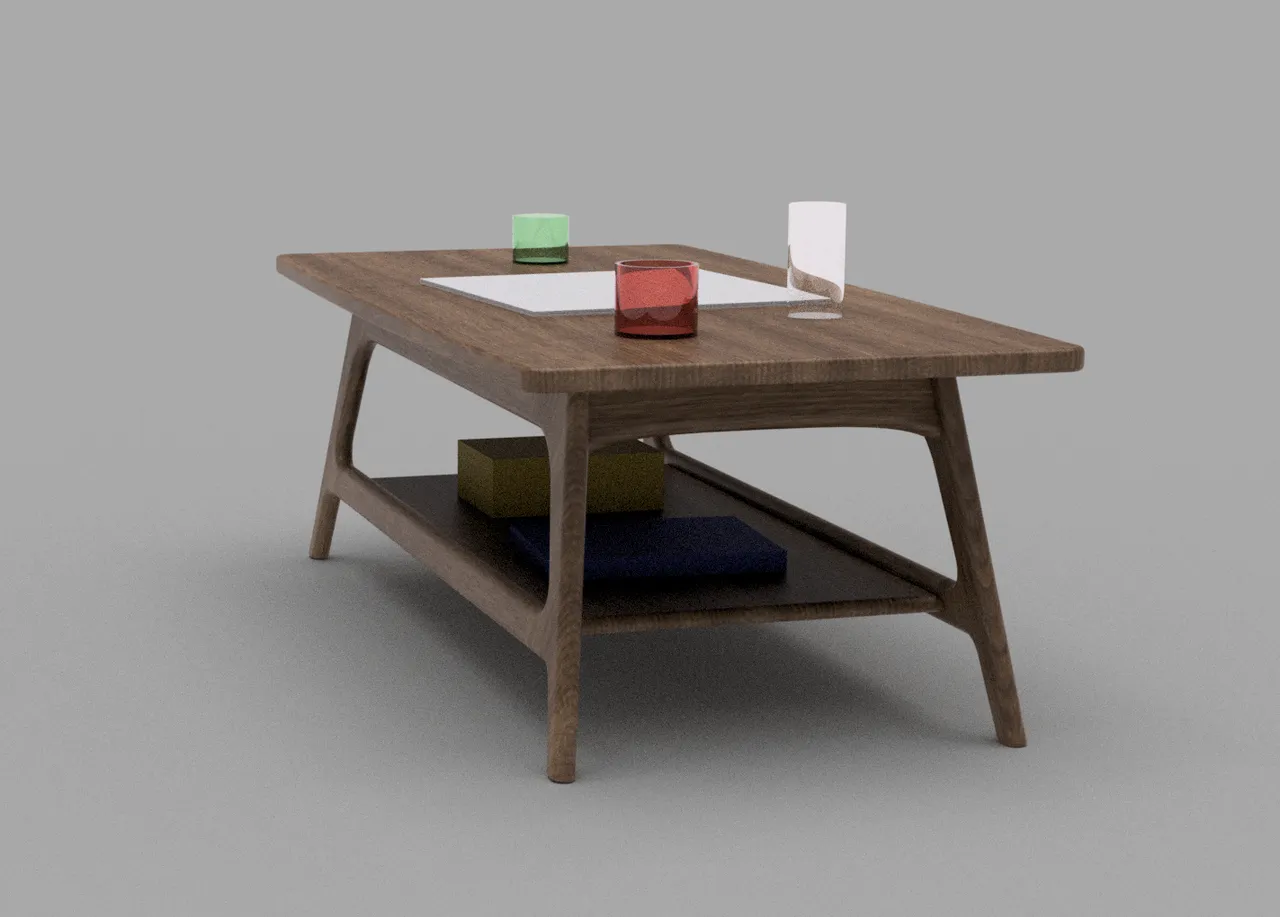
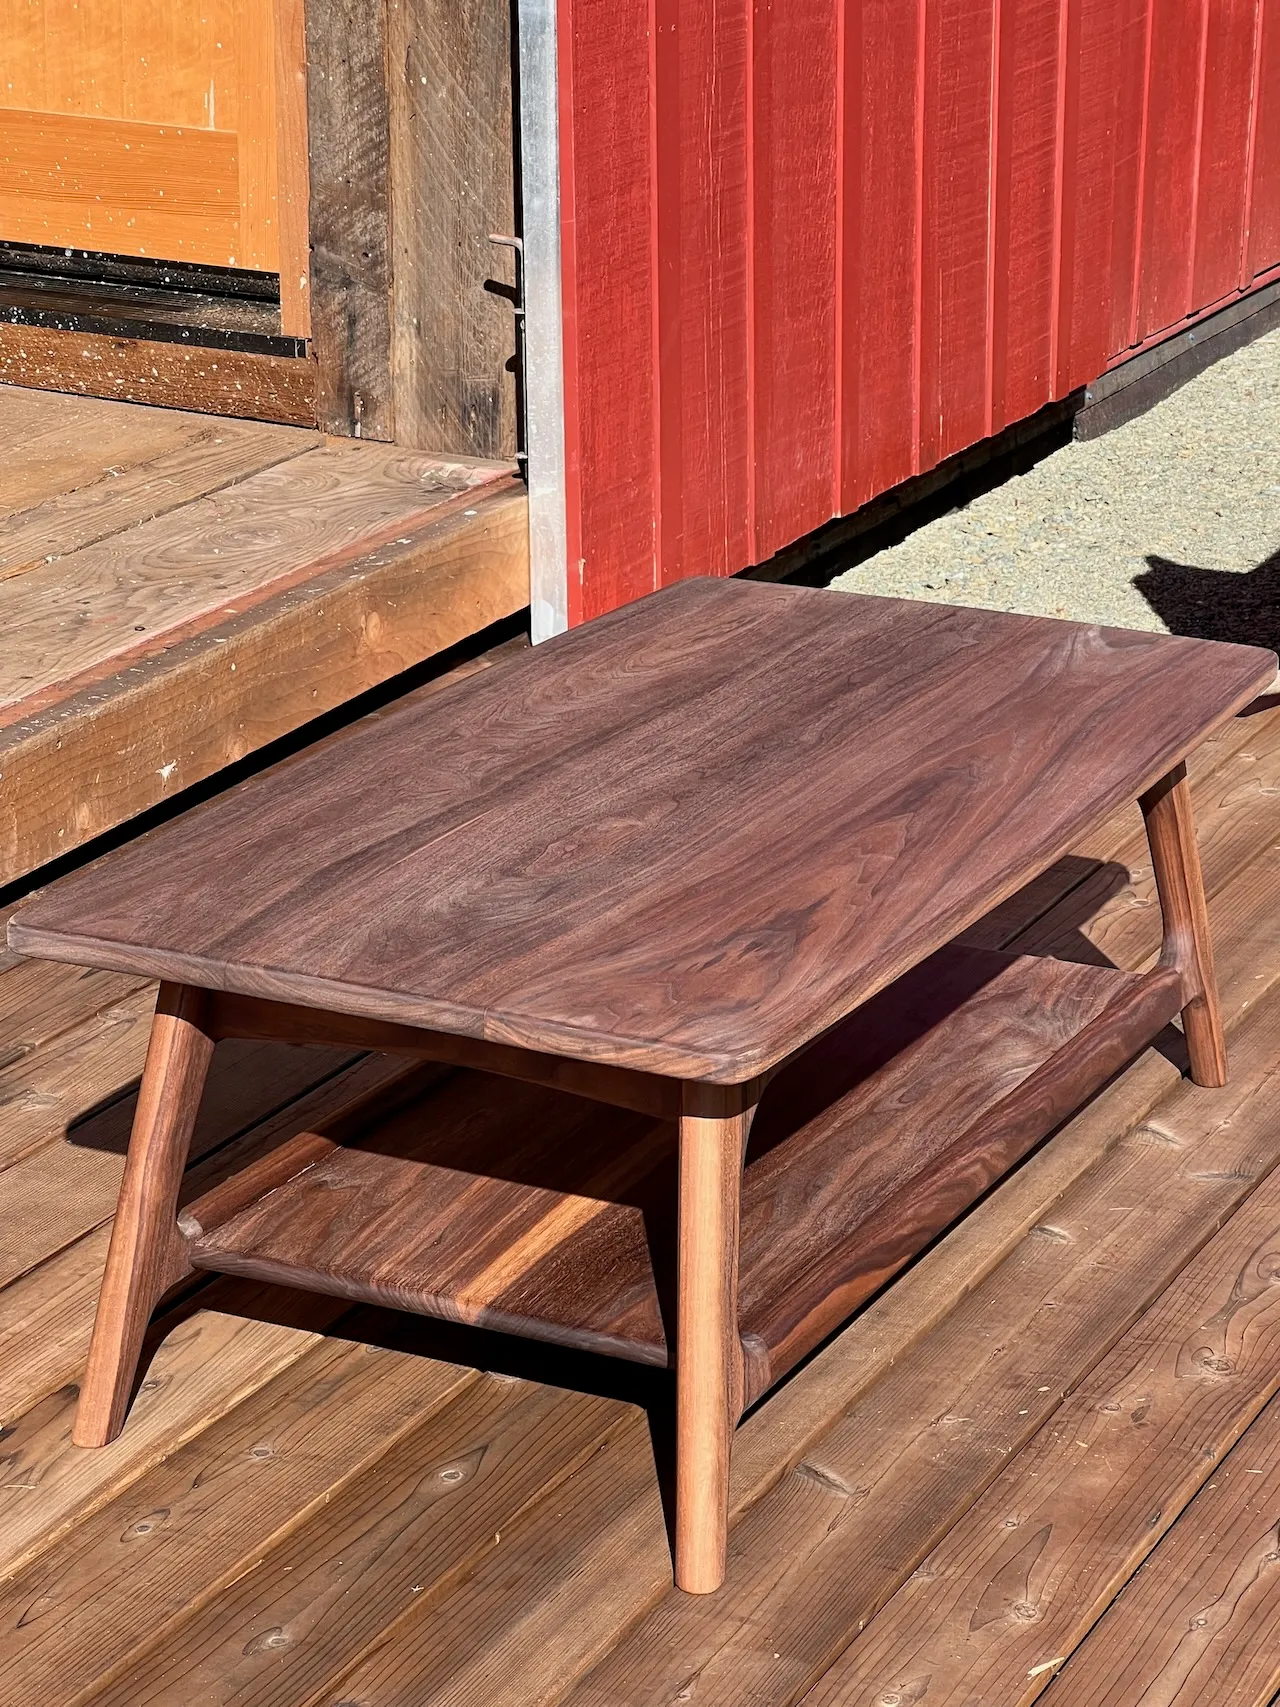
Coffee table for Avi & Hannah
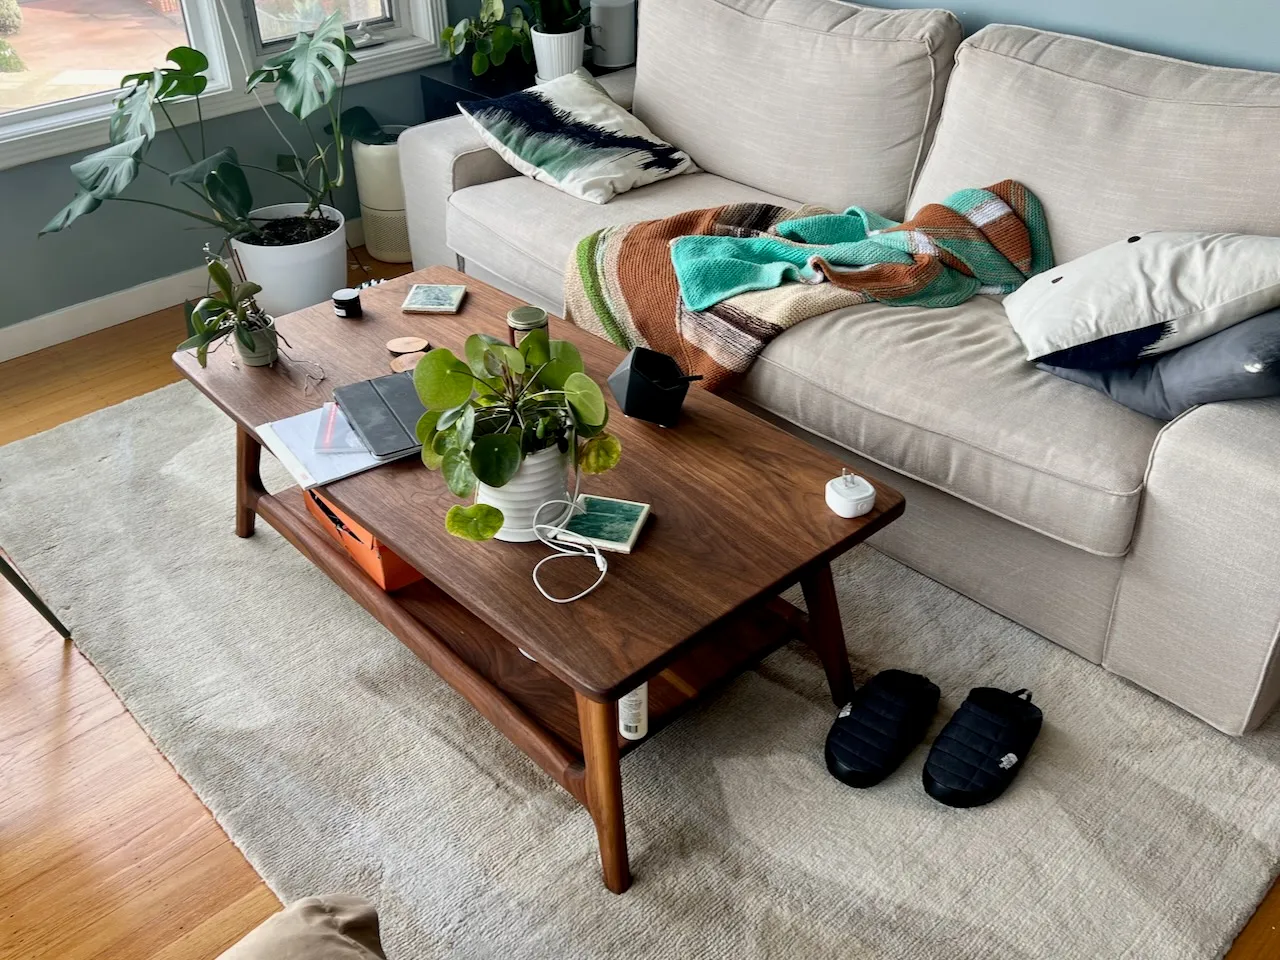
The coffee table I made — not sanitized, but in its proper state: being used!
Prompt
My friends Avi and Hannah were getting married and I thought it would be nice to build them a coffee table to replace their Ikea one.
Design
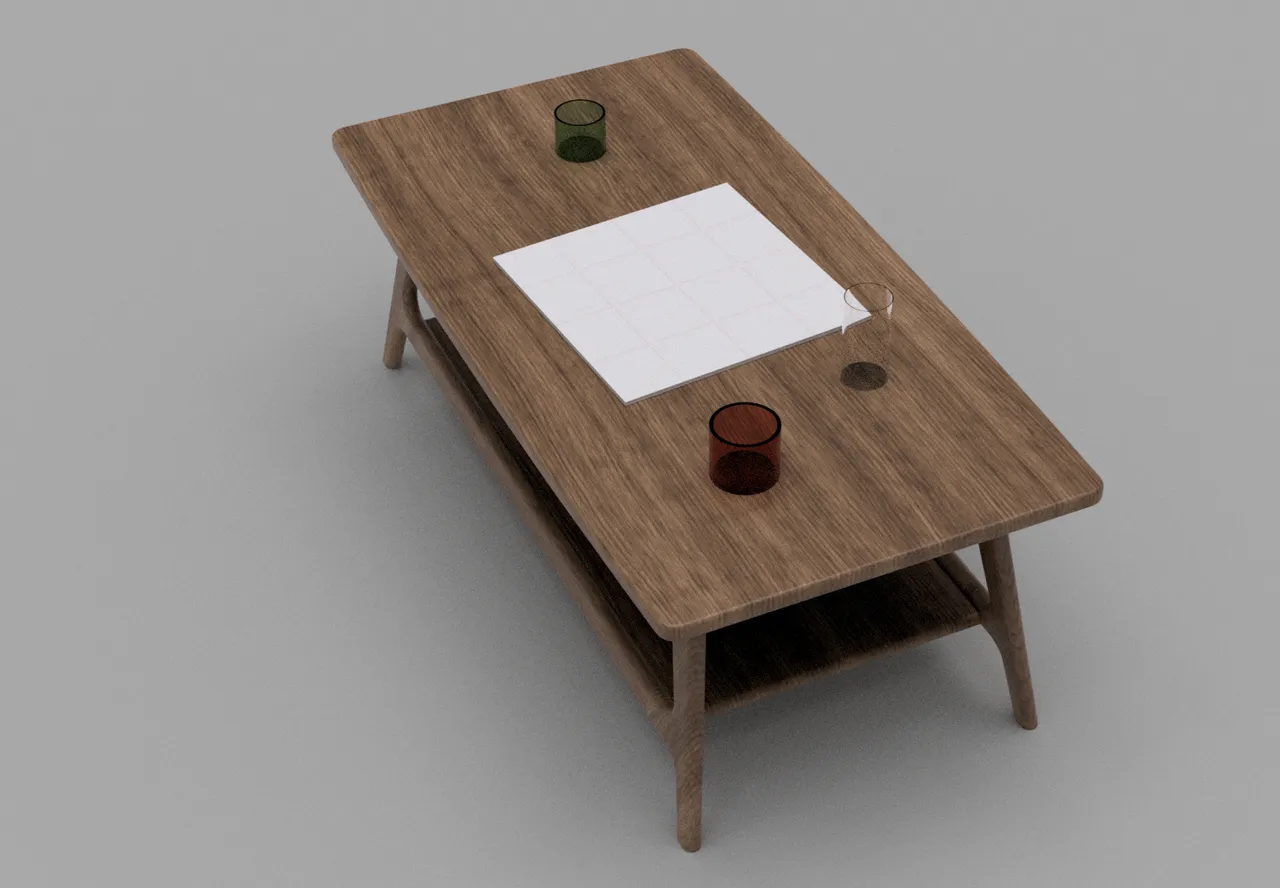
I pretty quickly settled on a mid-century aesthetic with a functional design: a large top big enough for board games, and a shelf below (to easily clear off the table for food, or said board games).
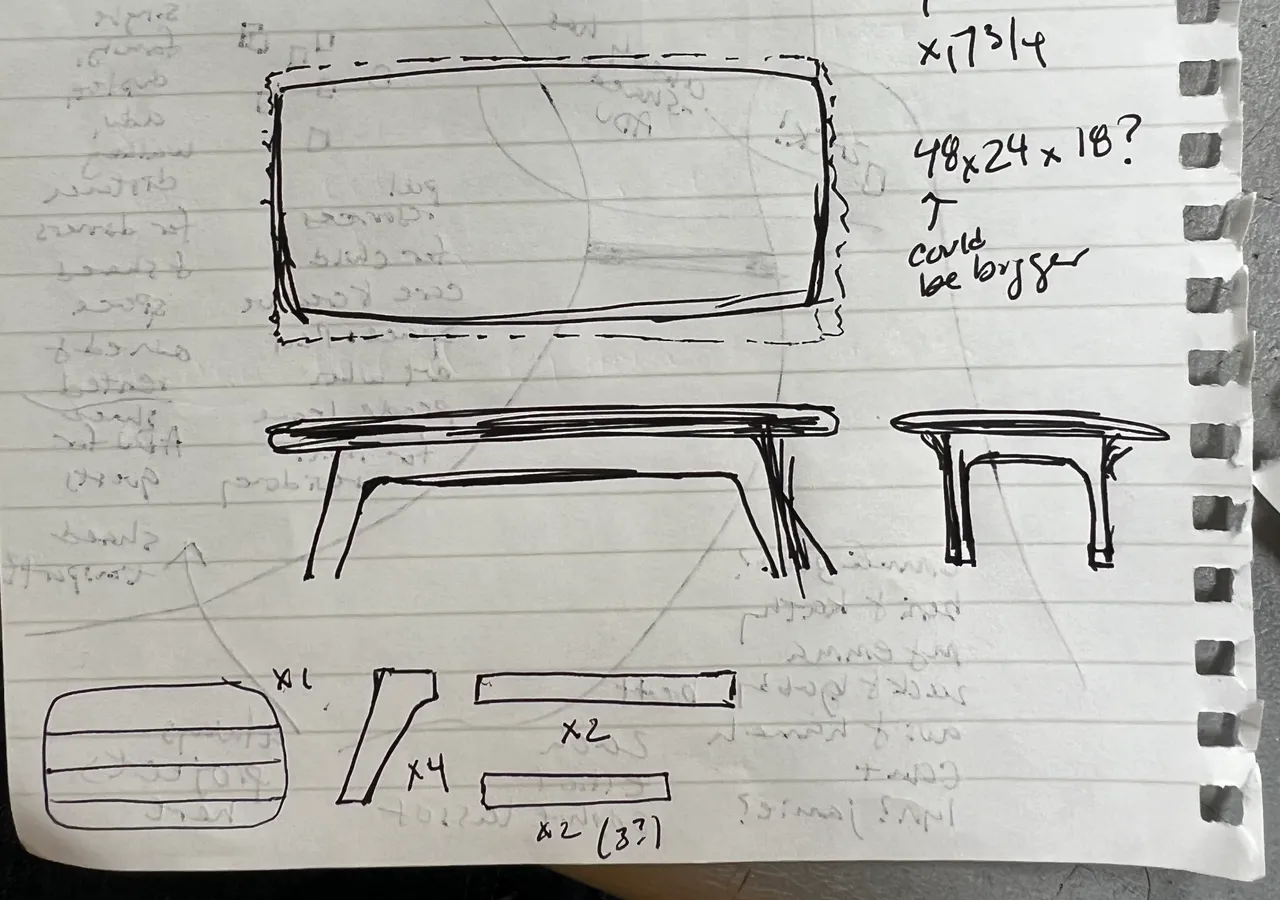
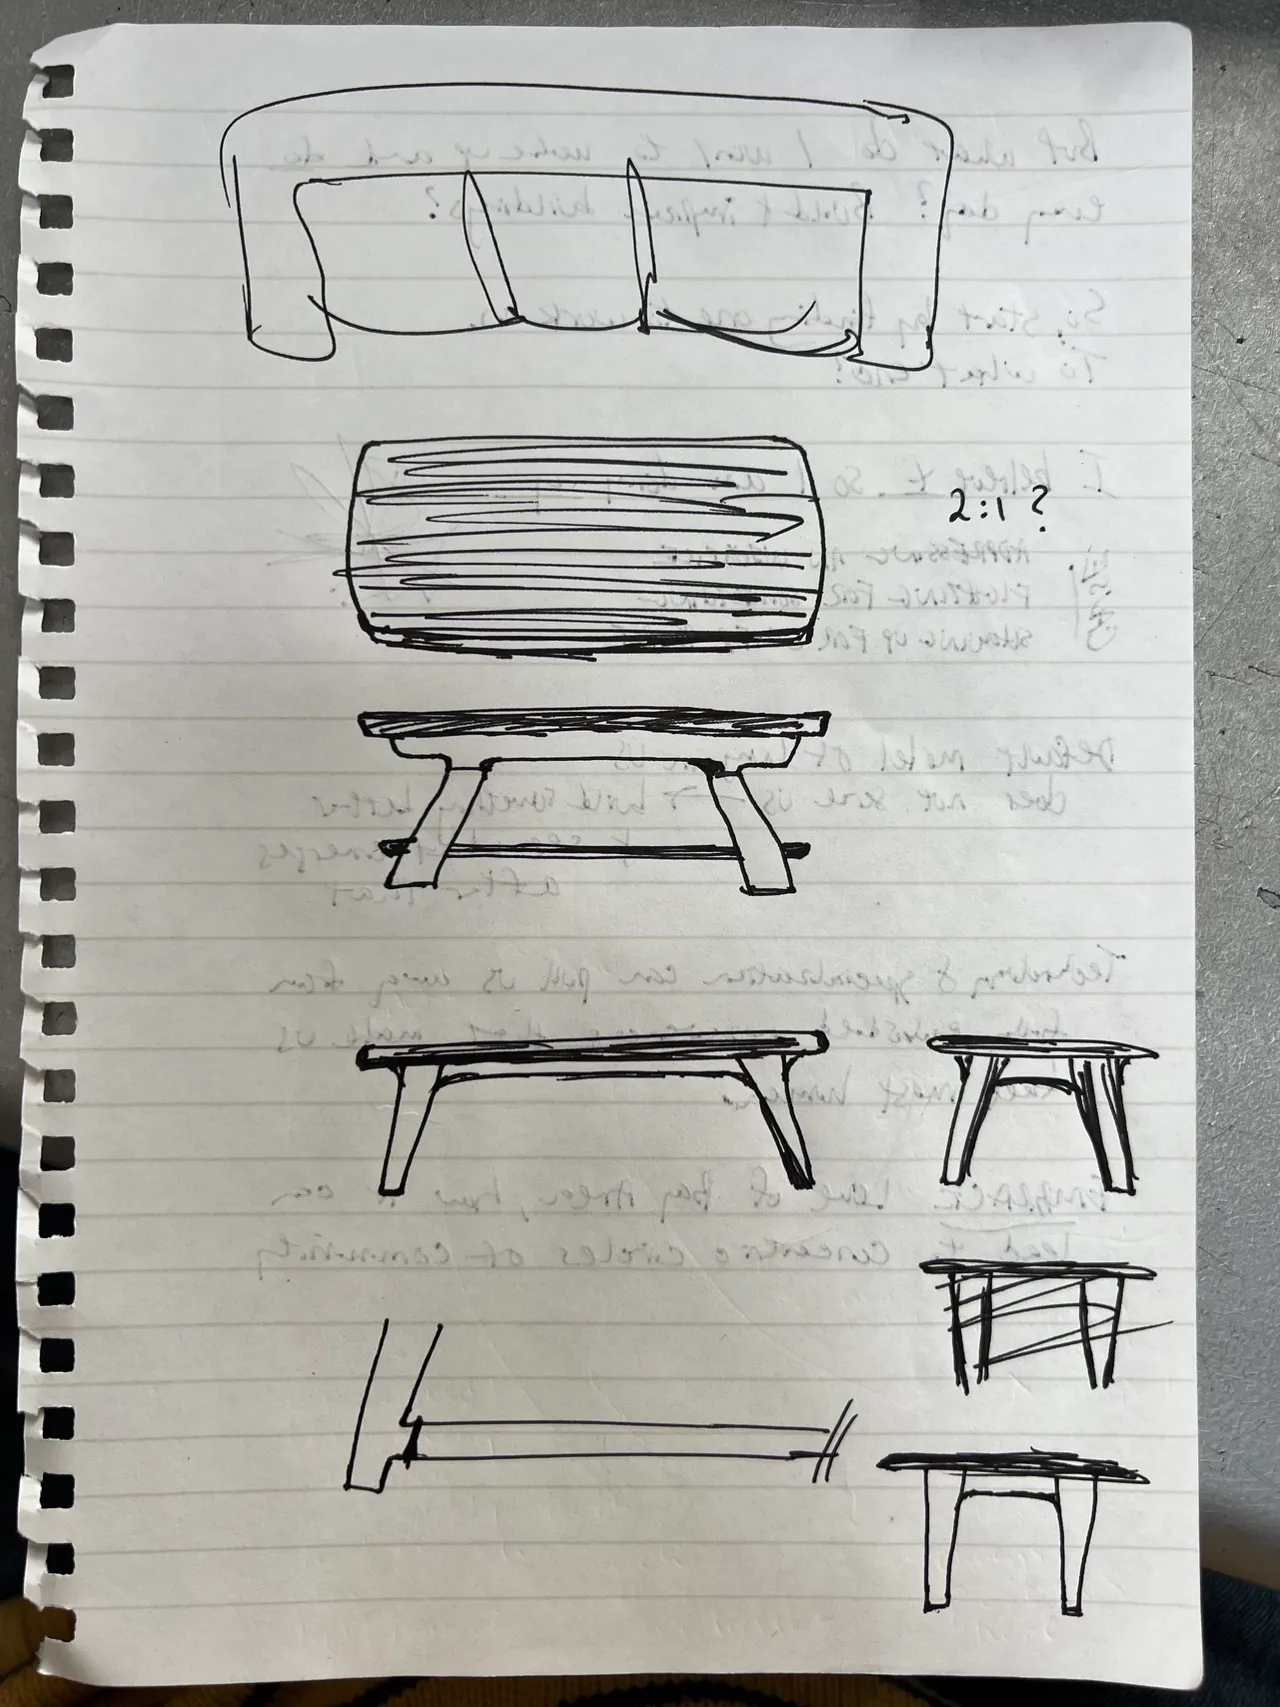
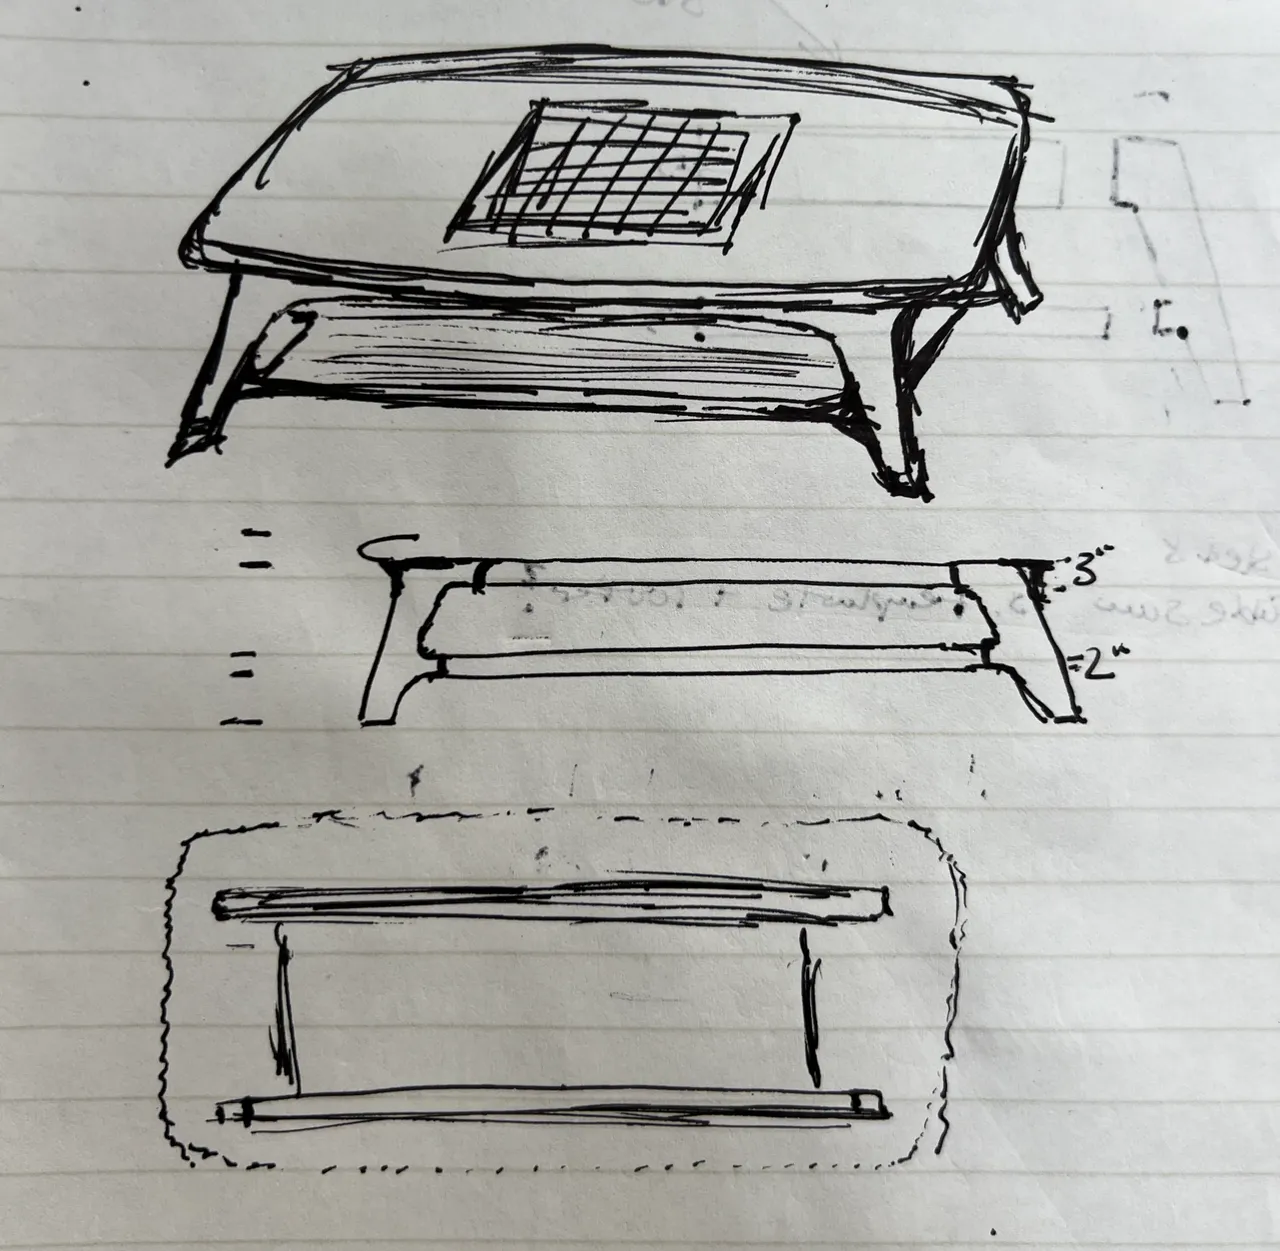
I taught myself the basics of Fusion360 (free to use), which helped me tweak angles and proportions until I was pleased with what I had and confident enough to step into a lumber yard.

Buying wood
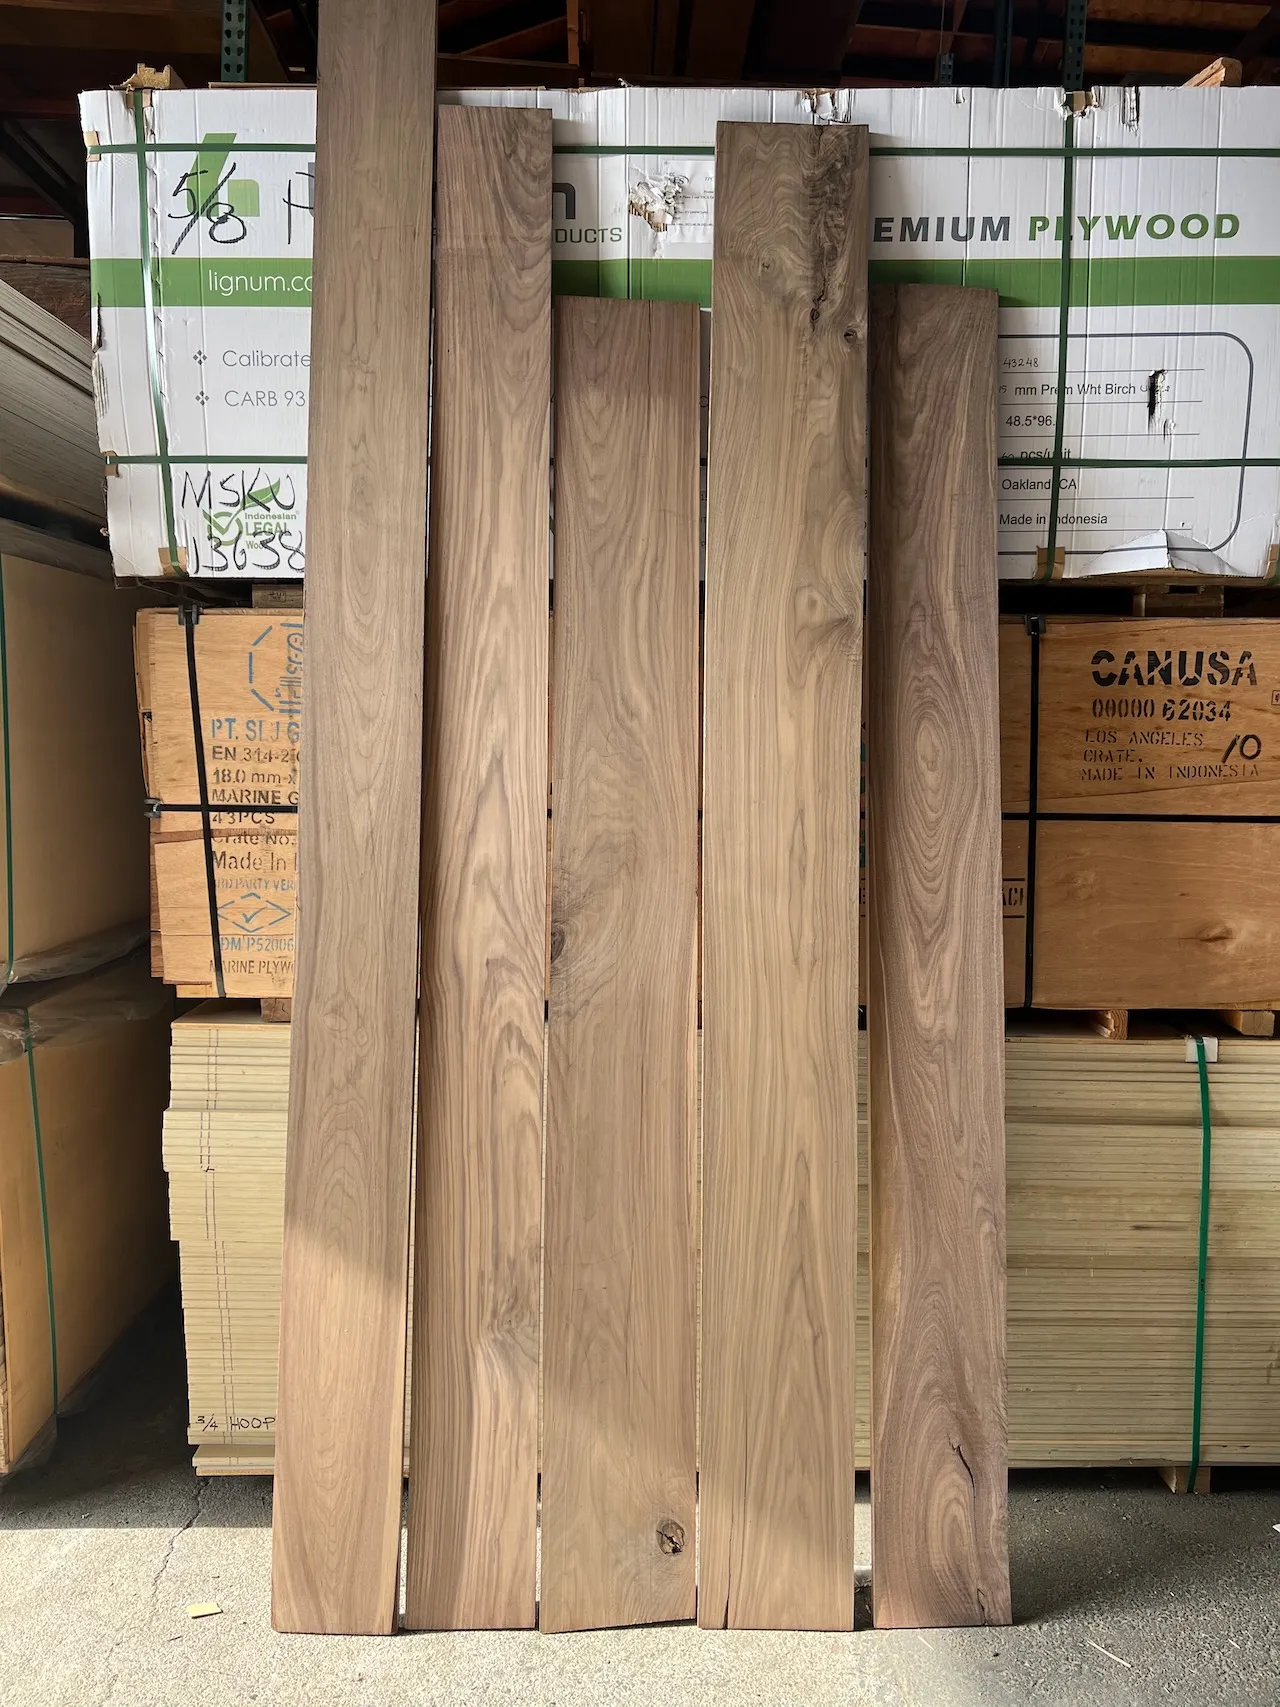
I went to MacBeath Hardwood in Berkeley, which I now understand to be someone overpriced compared to a place like Moore Newton, but they sell S3S boards (milled on three sides).
I considered different types of wood but settled on walnut.
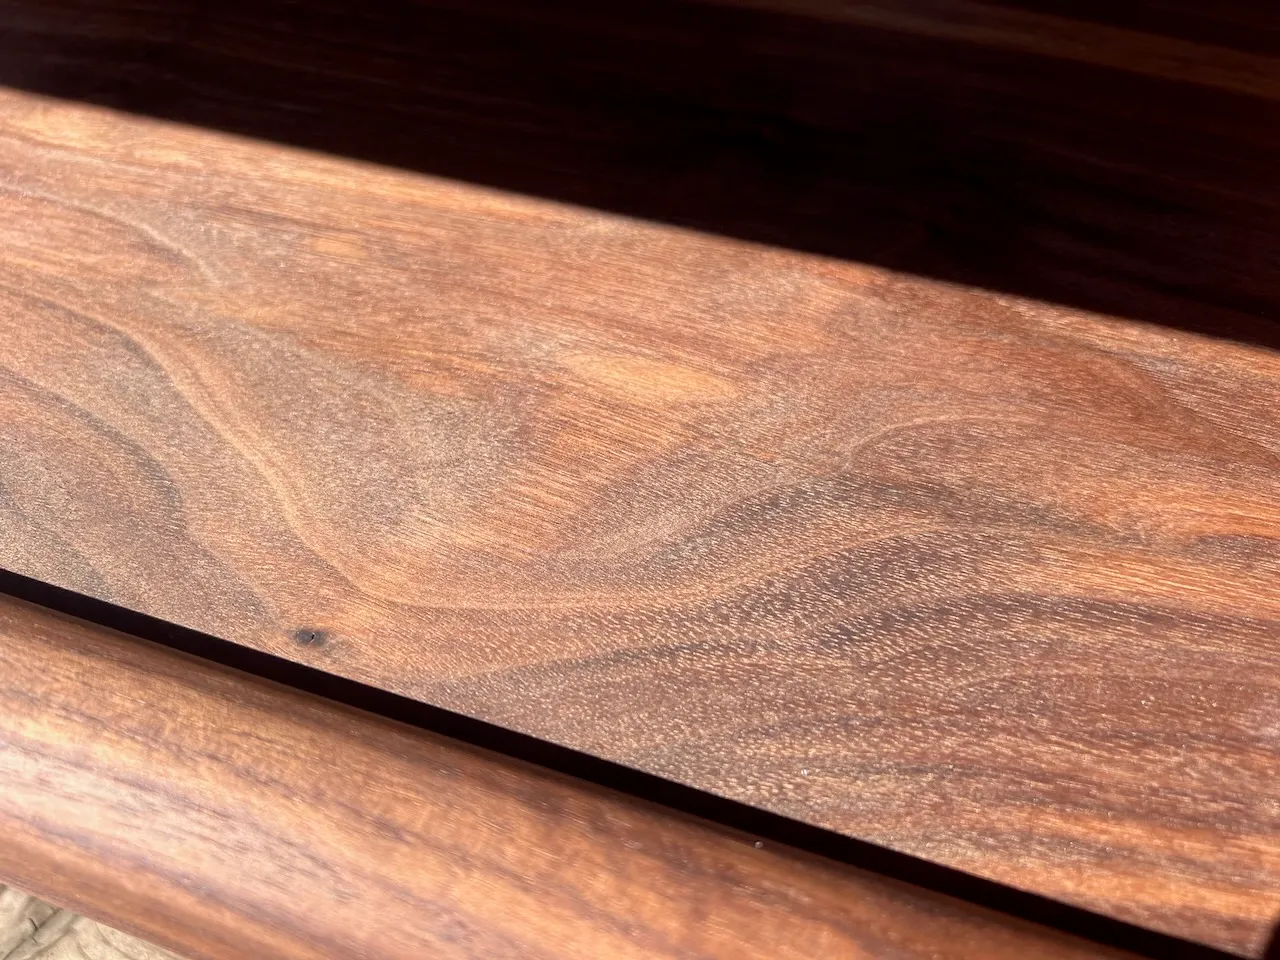
I was attracted to more figured wood even though I knew it could be more difficult to work with. I also enjoyed the contrast of sapwood against heartwood.
I made sure to color-match boards as best I could for the table top, which would need to be made from at least two separate boards.
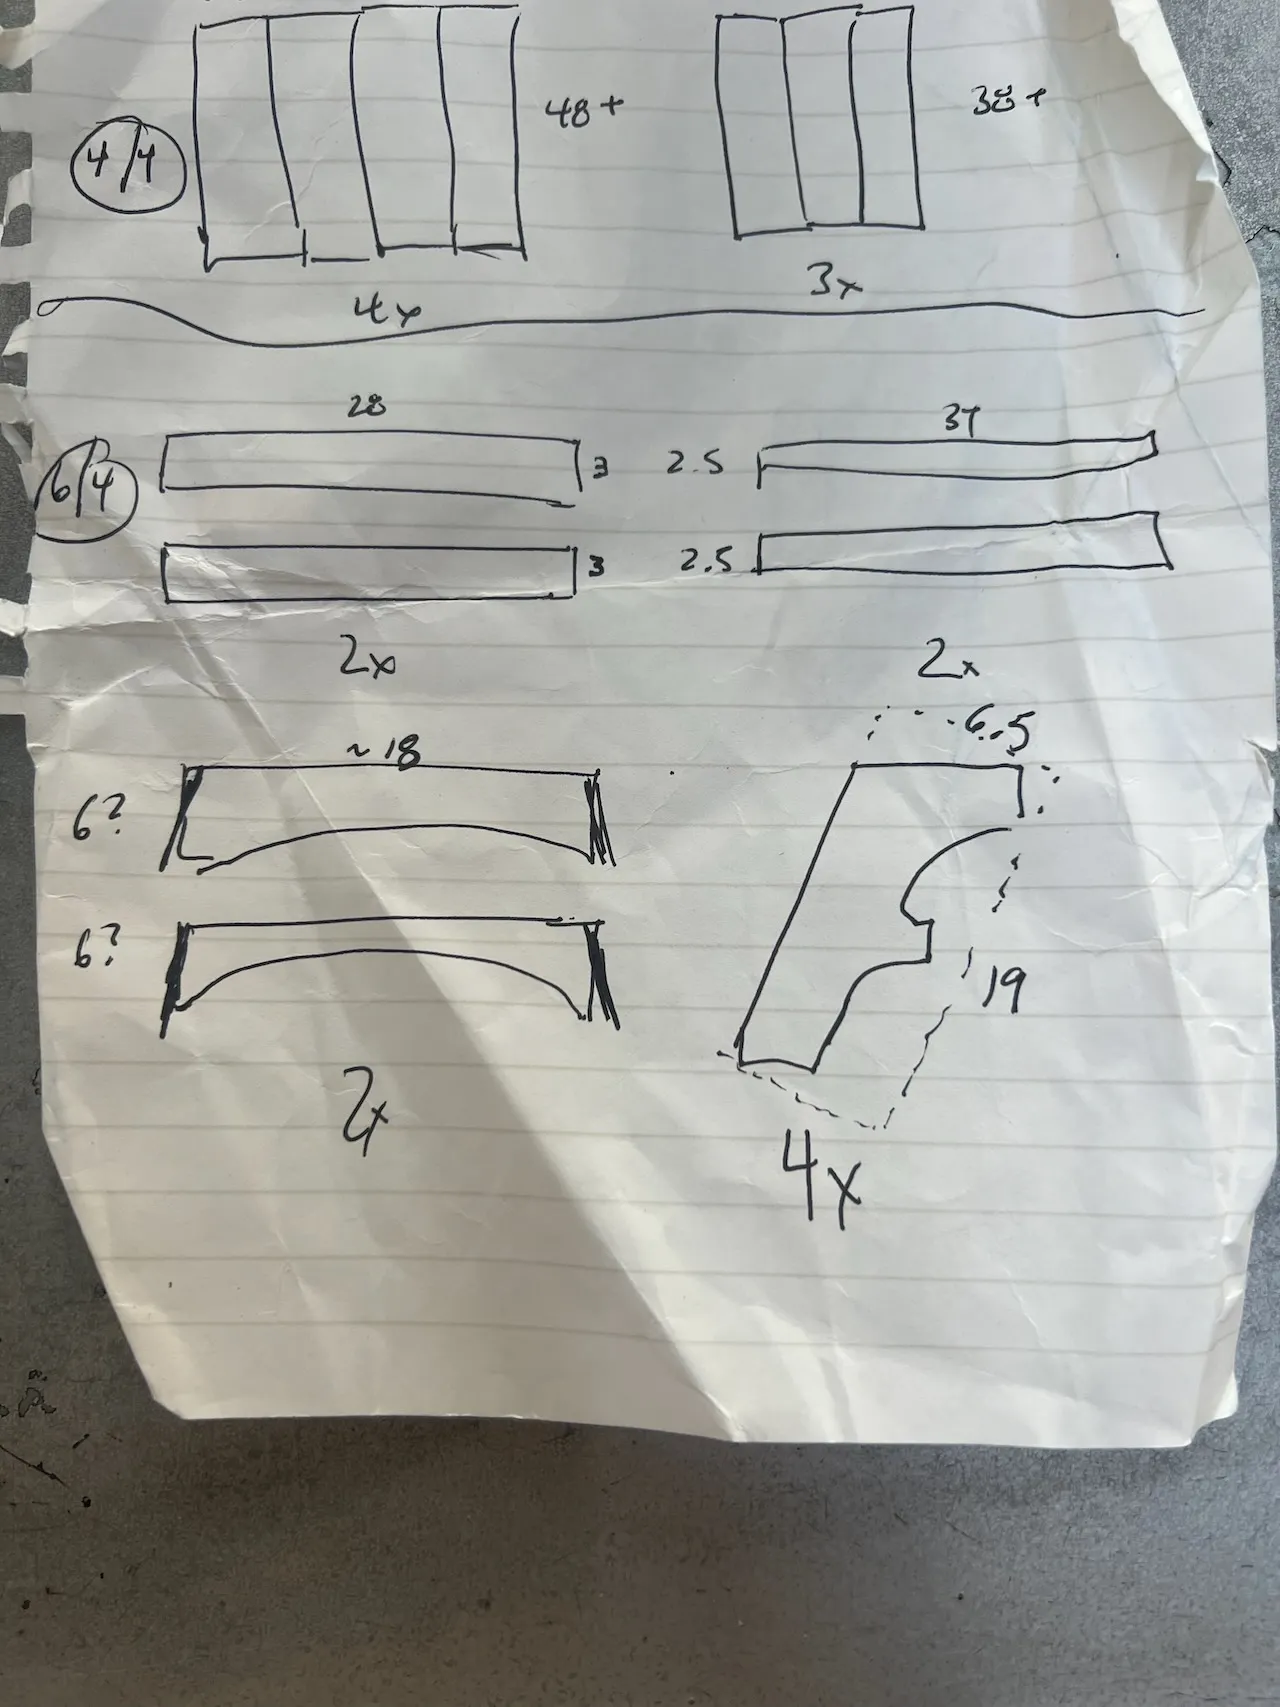
I bought 6/4 thickness for legs, 4/4 for the table top and the shelf, and 5/4 for the stretchers
Total cost was about $850 (!!)
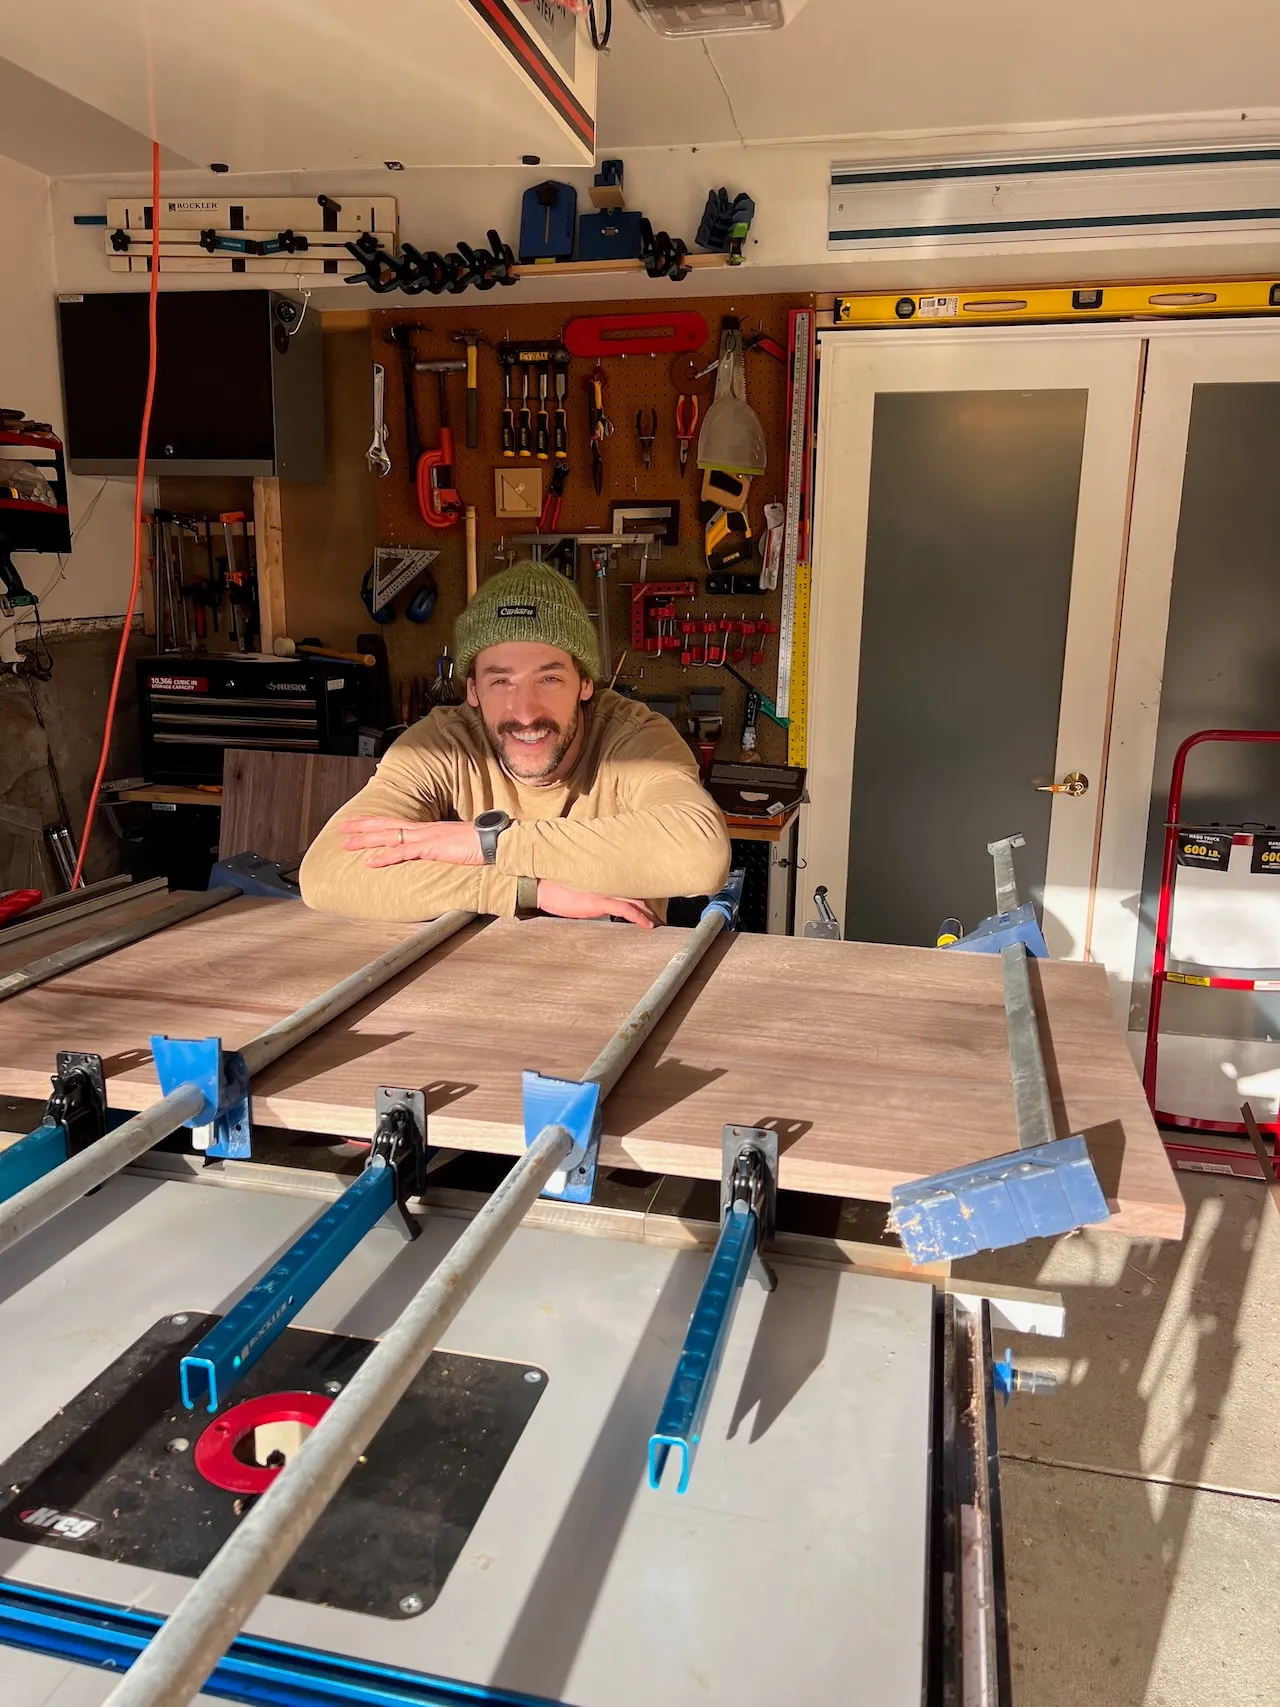
Panels
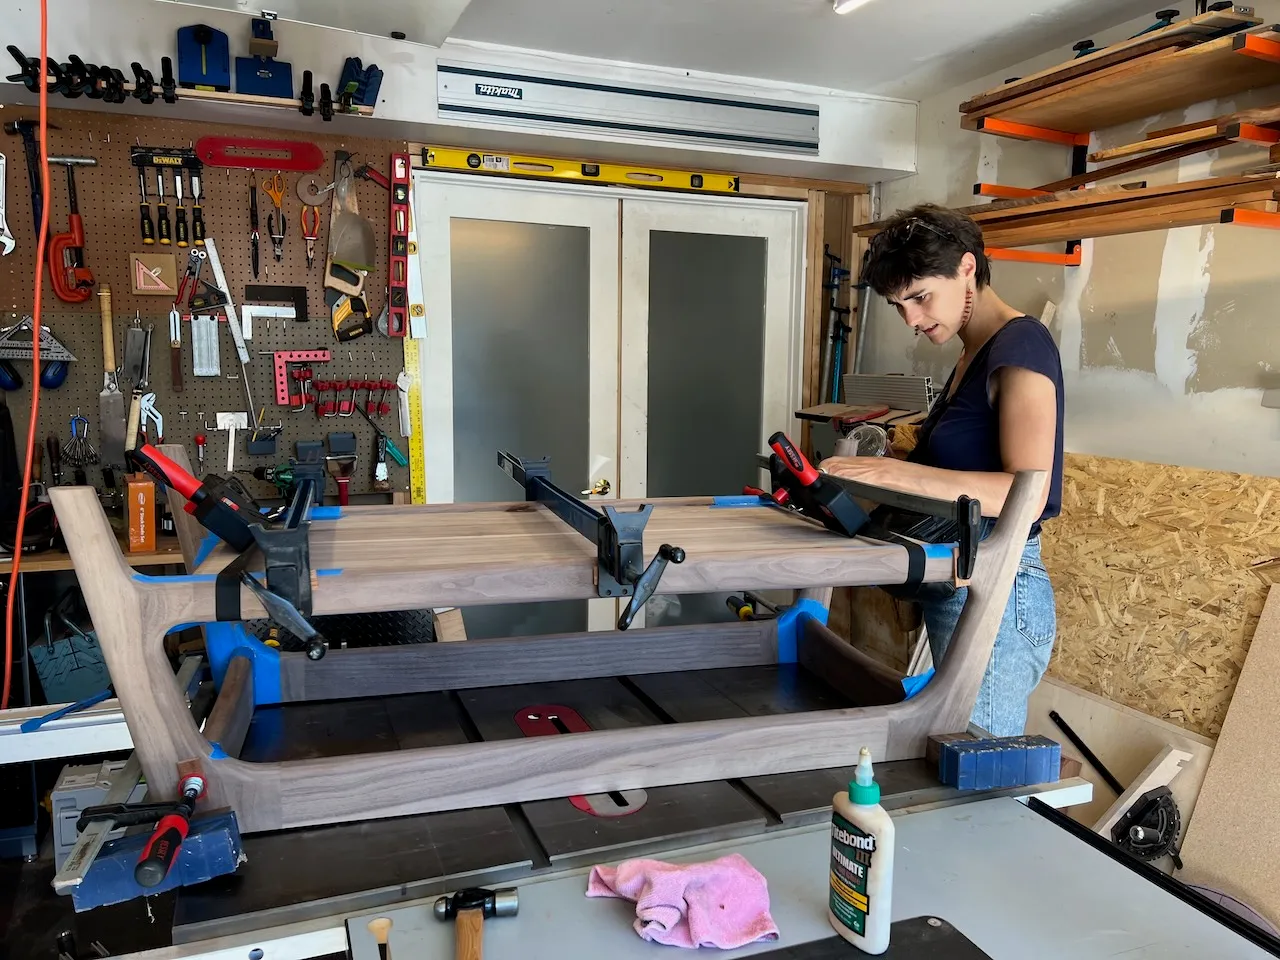
My friend Carter generously lent me his shop and helped me through every step of the proceed. I'd never glued up a panel! I'd never used a router! I was terribly afraid of the table saw. There was much to learn.
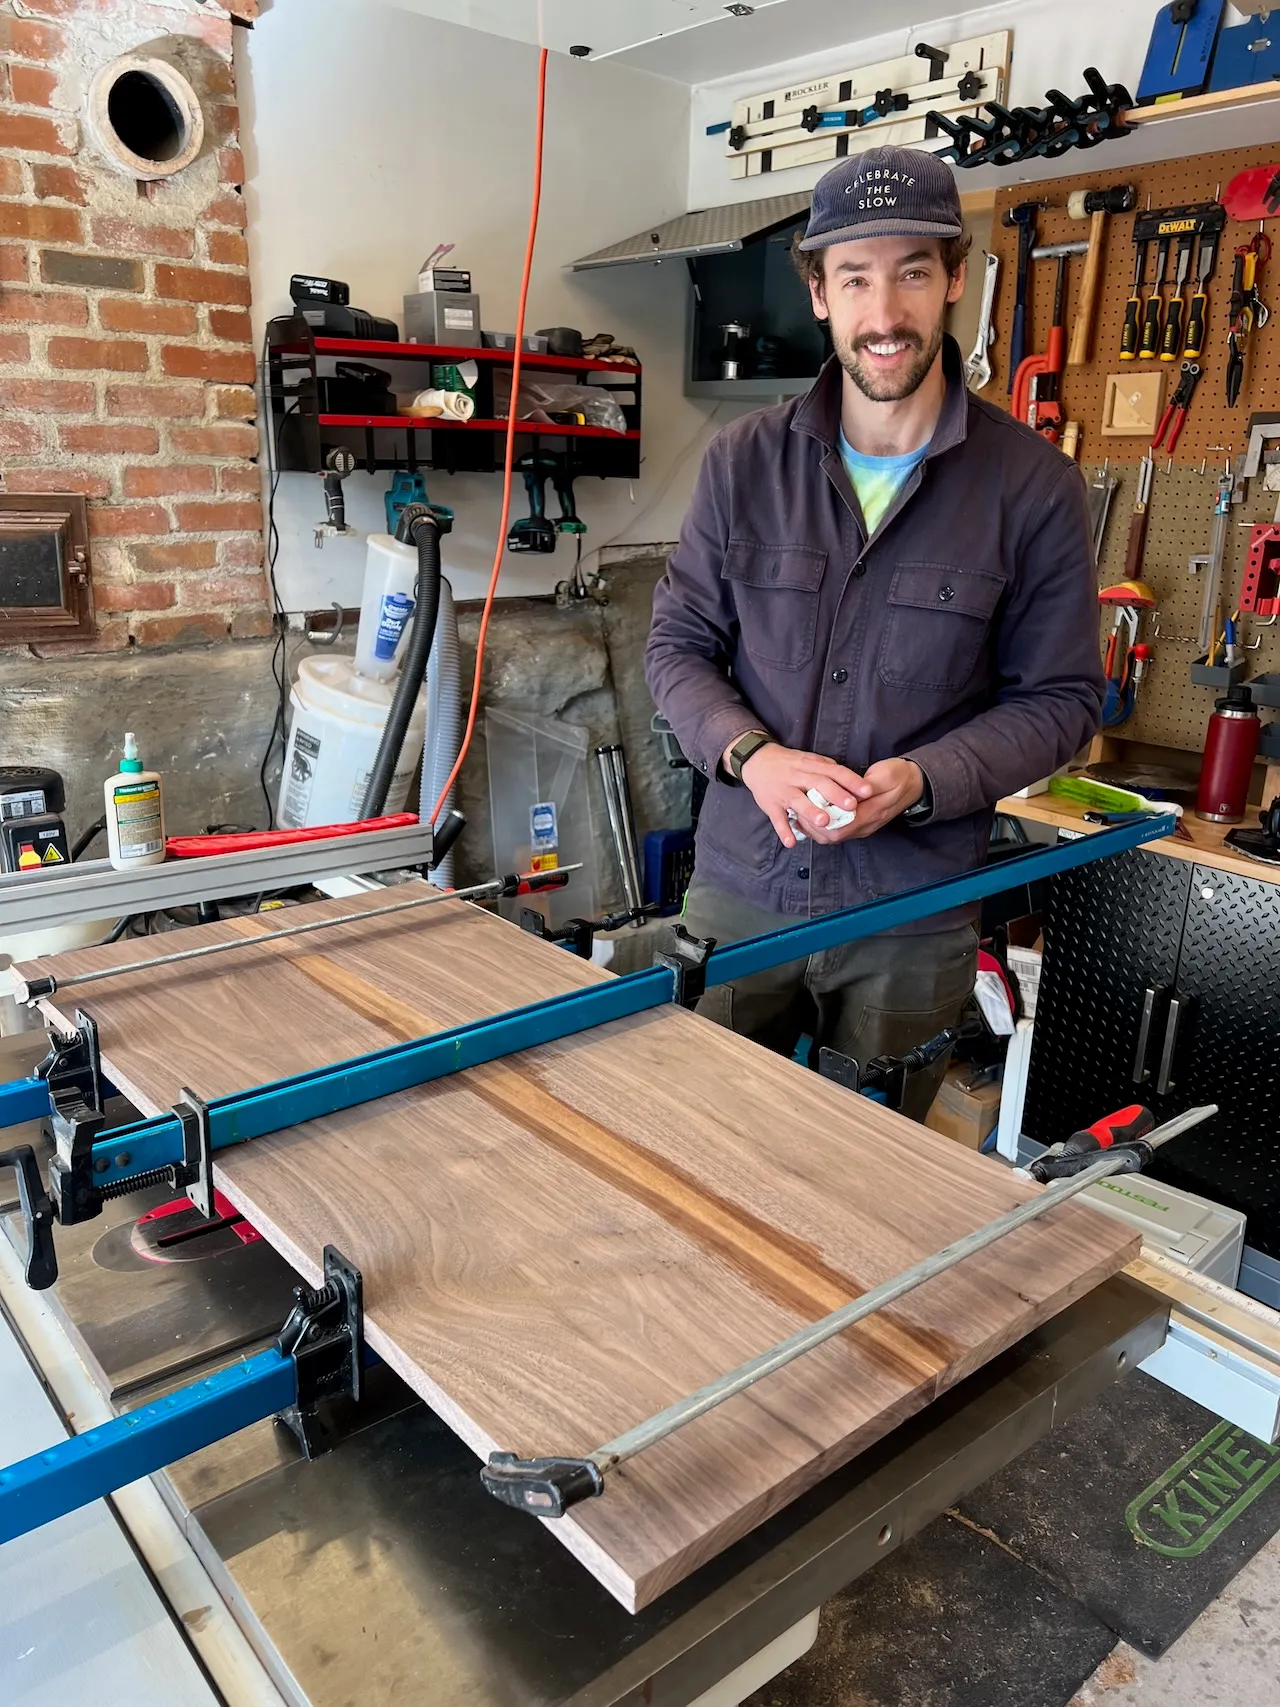
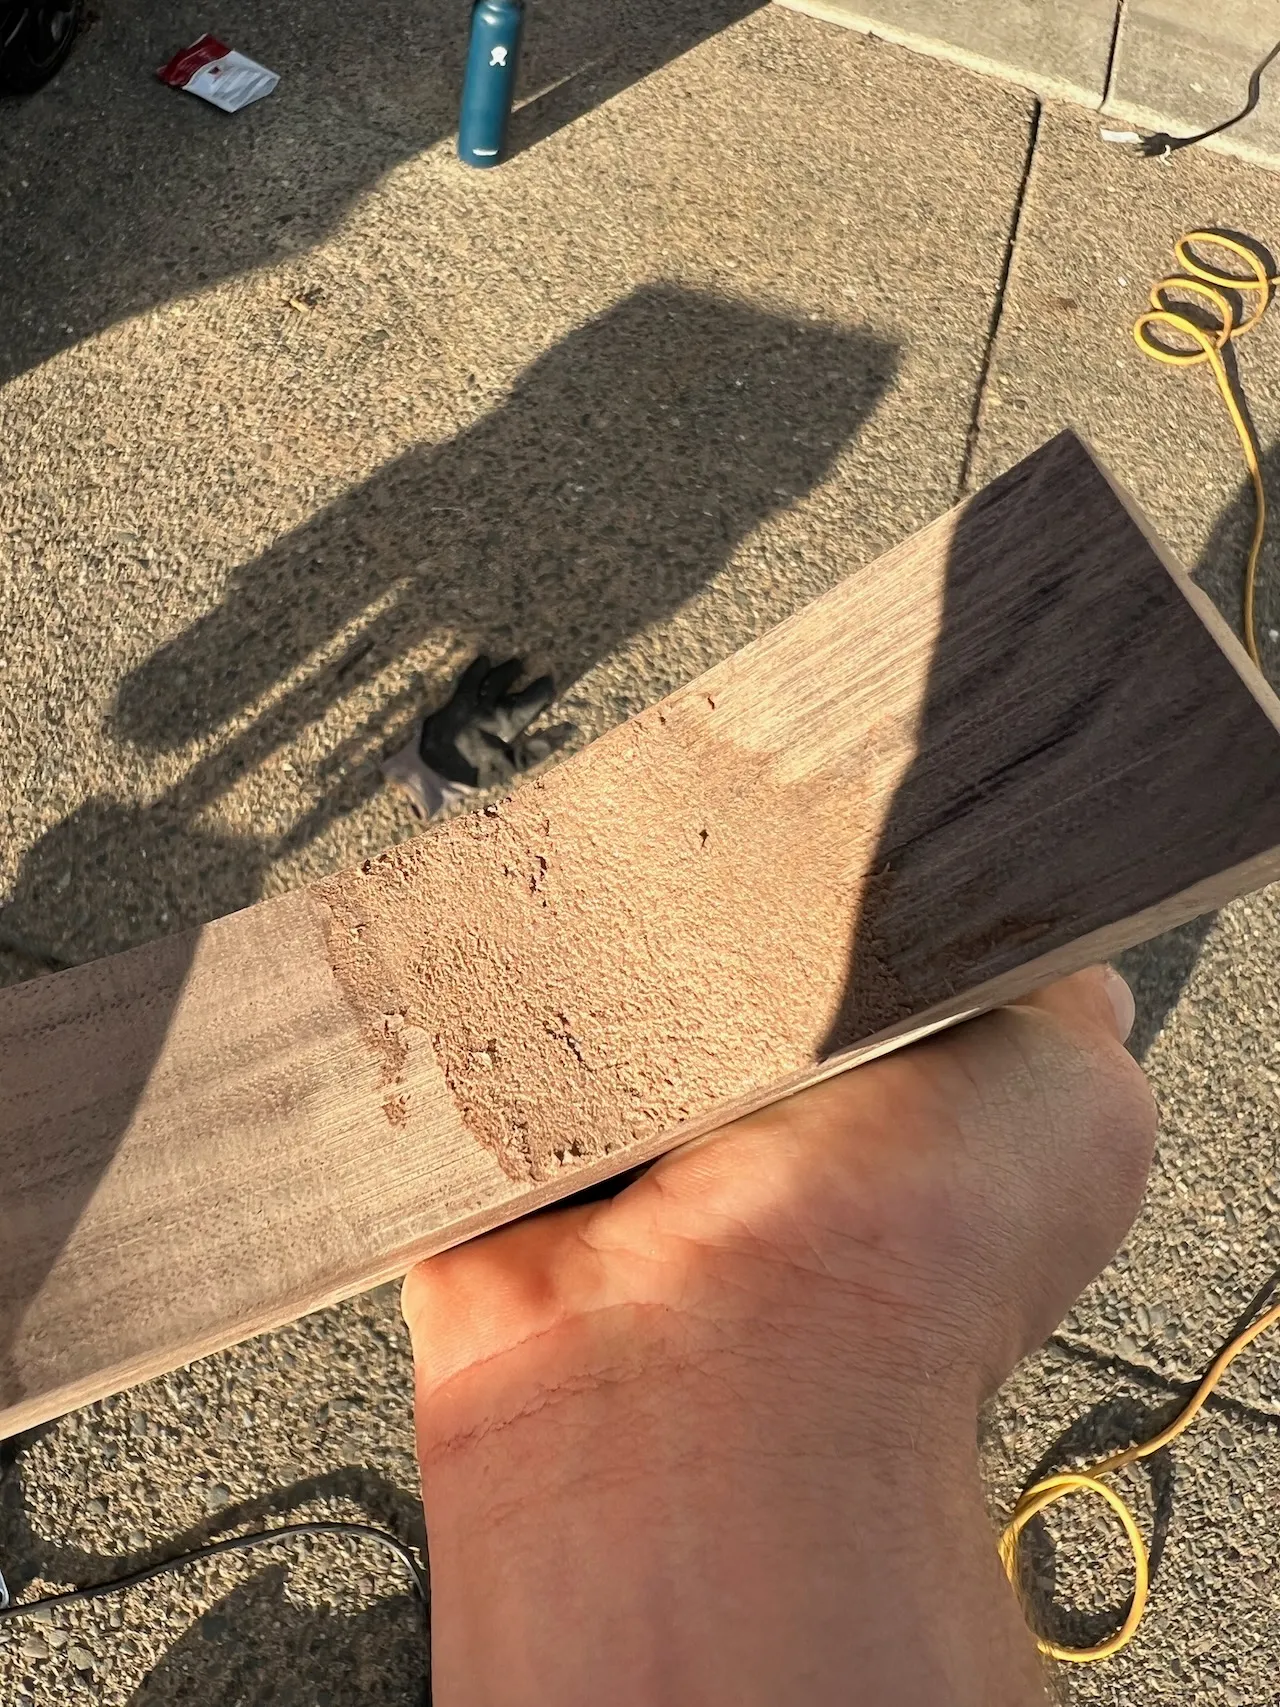
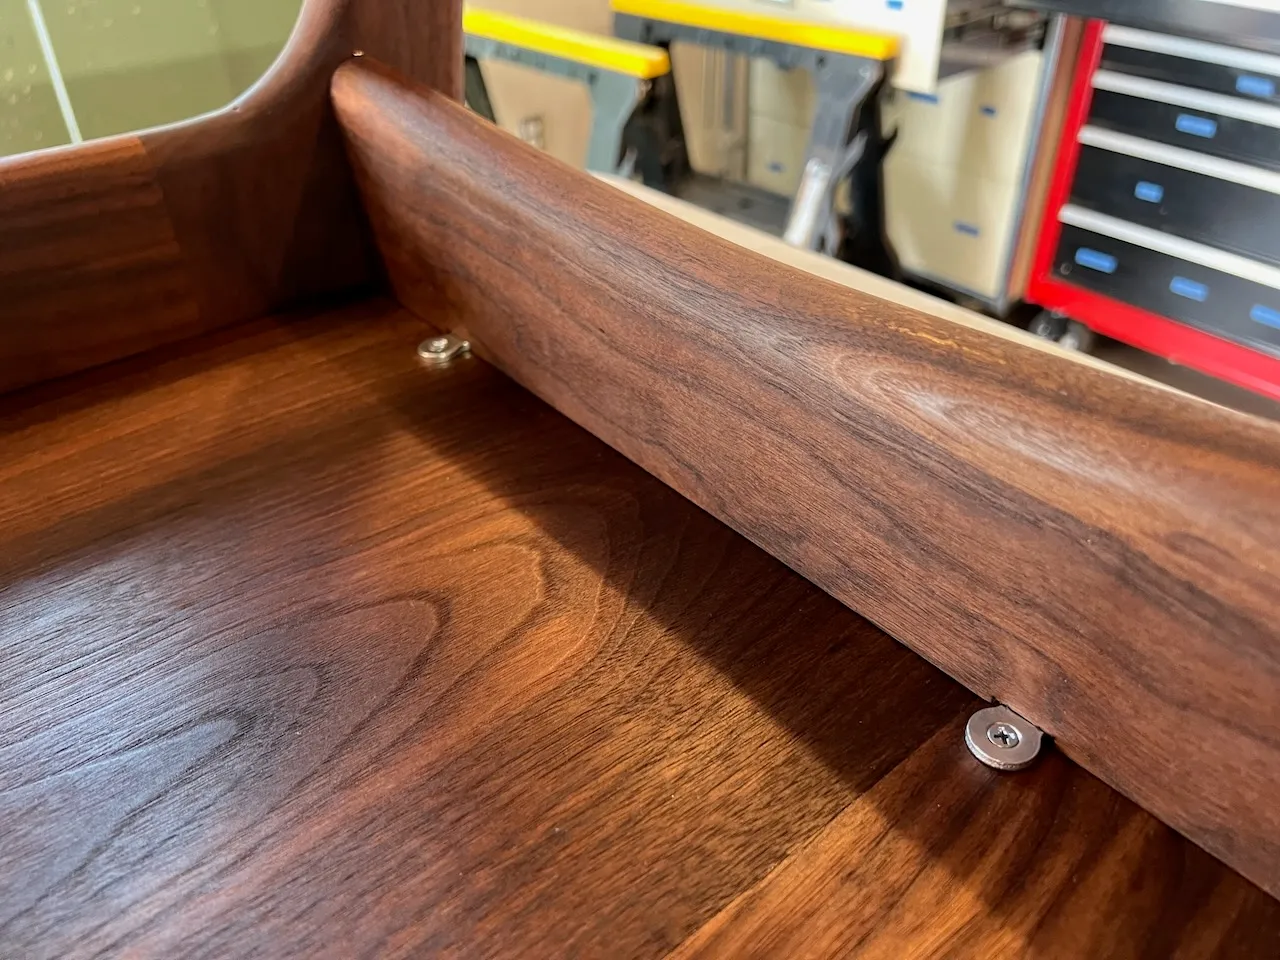
Sapwood featured on the joined edge
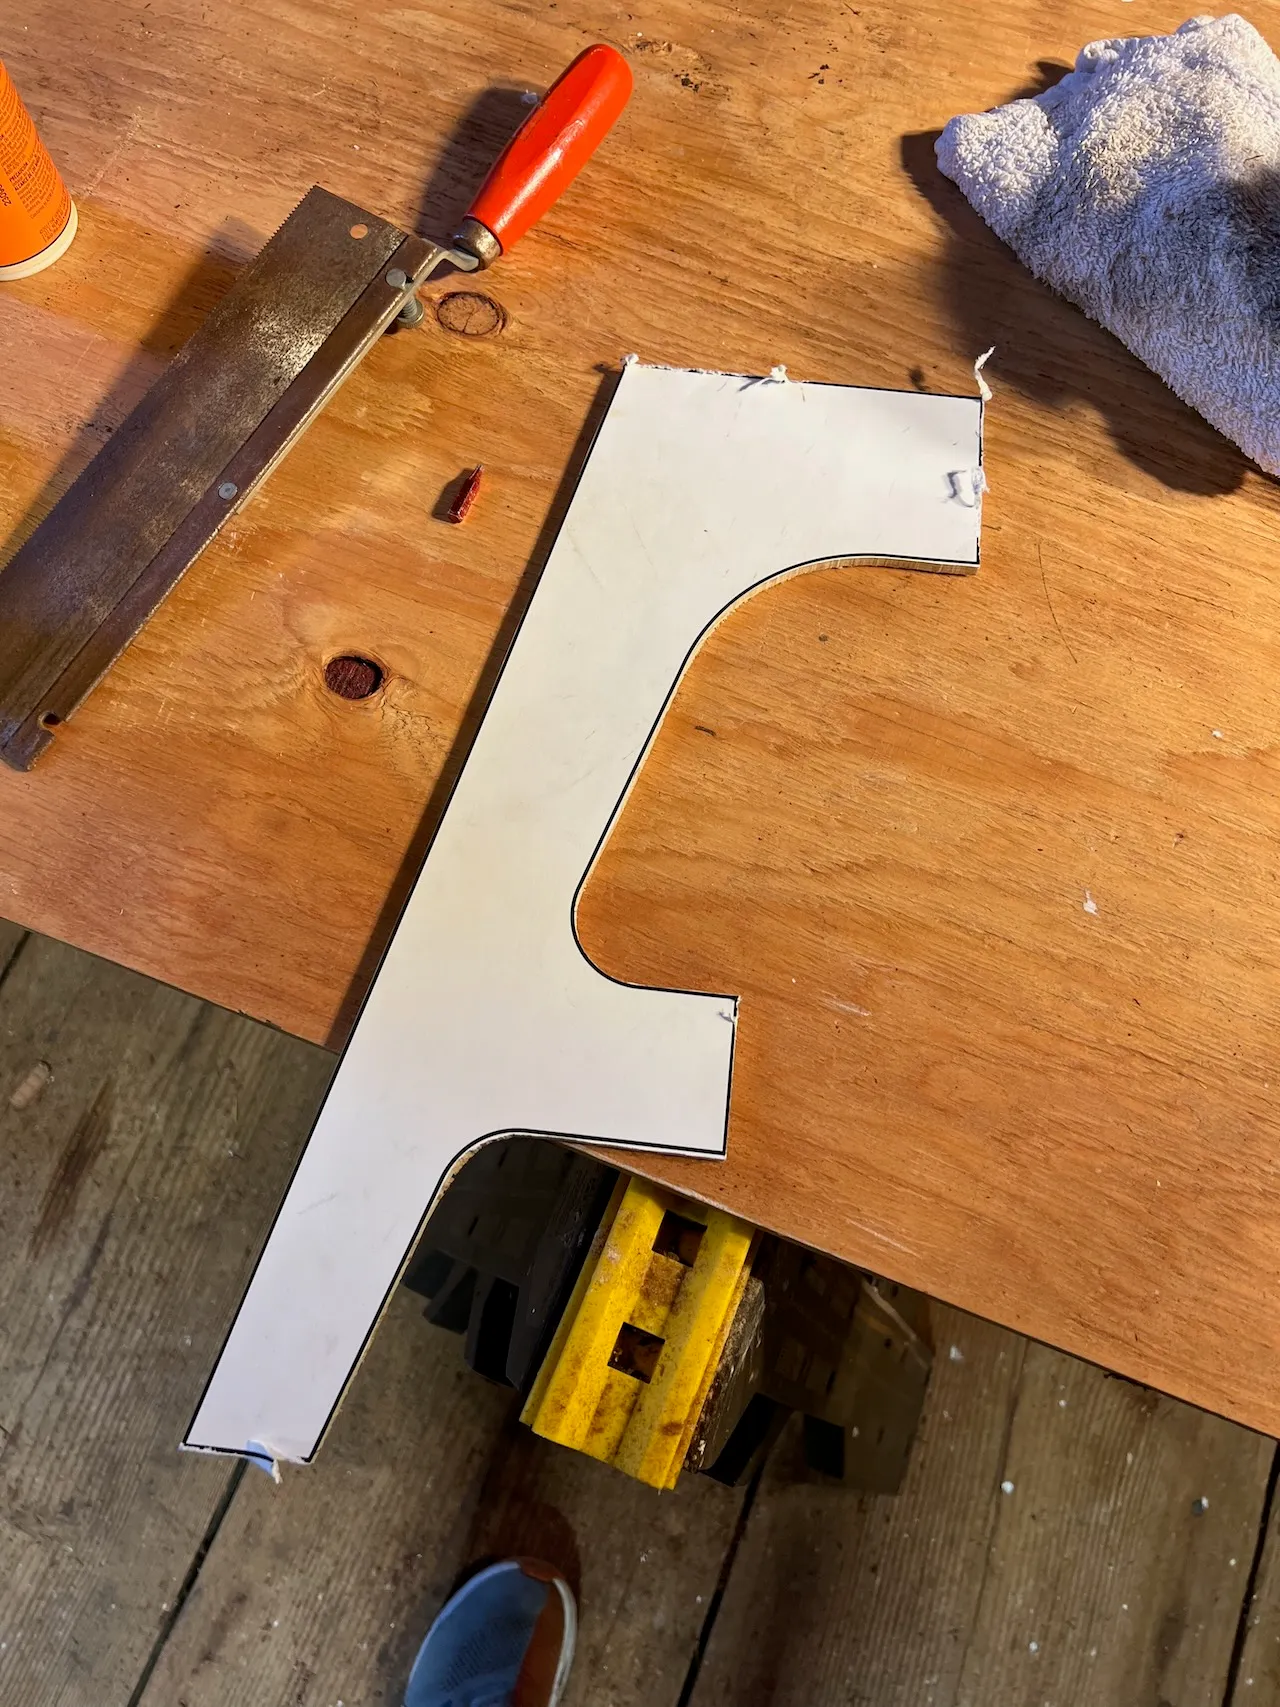
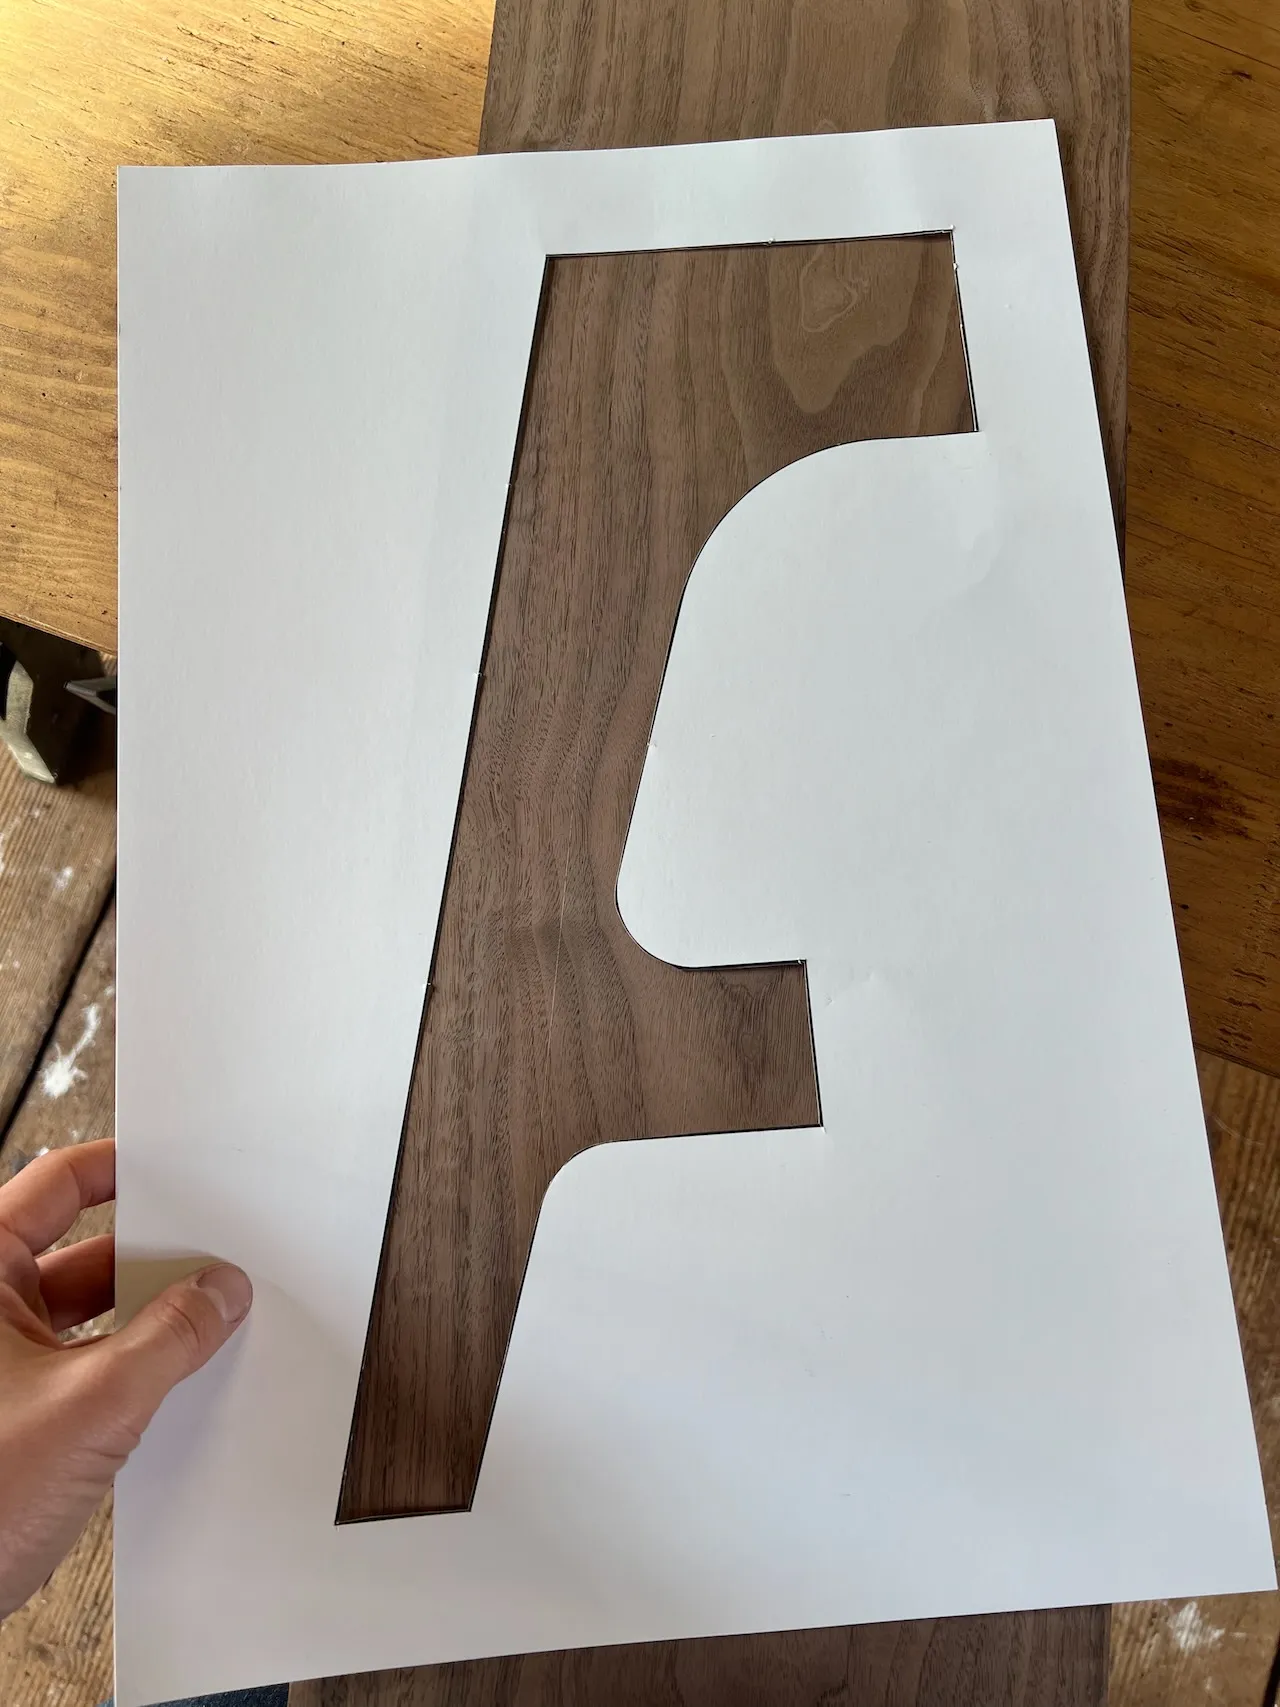
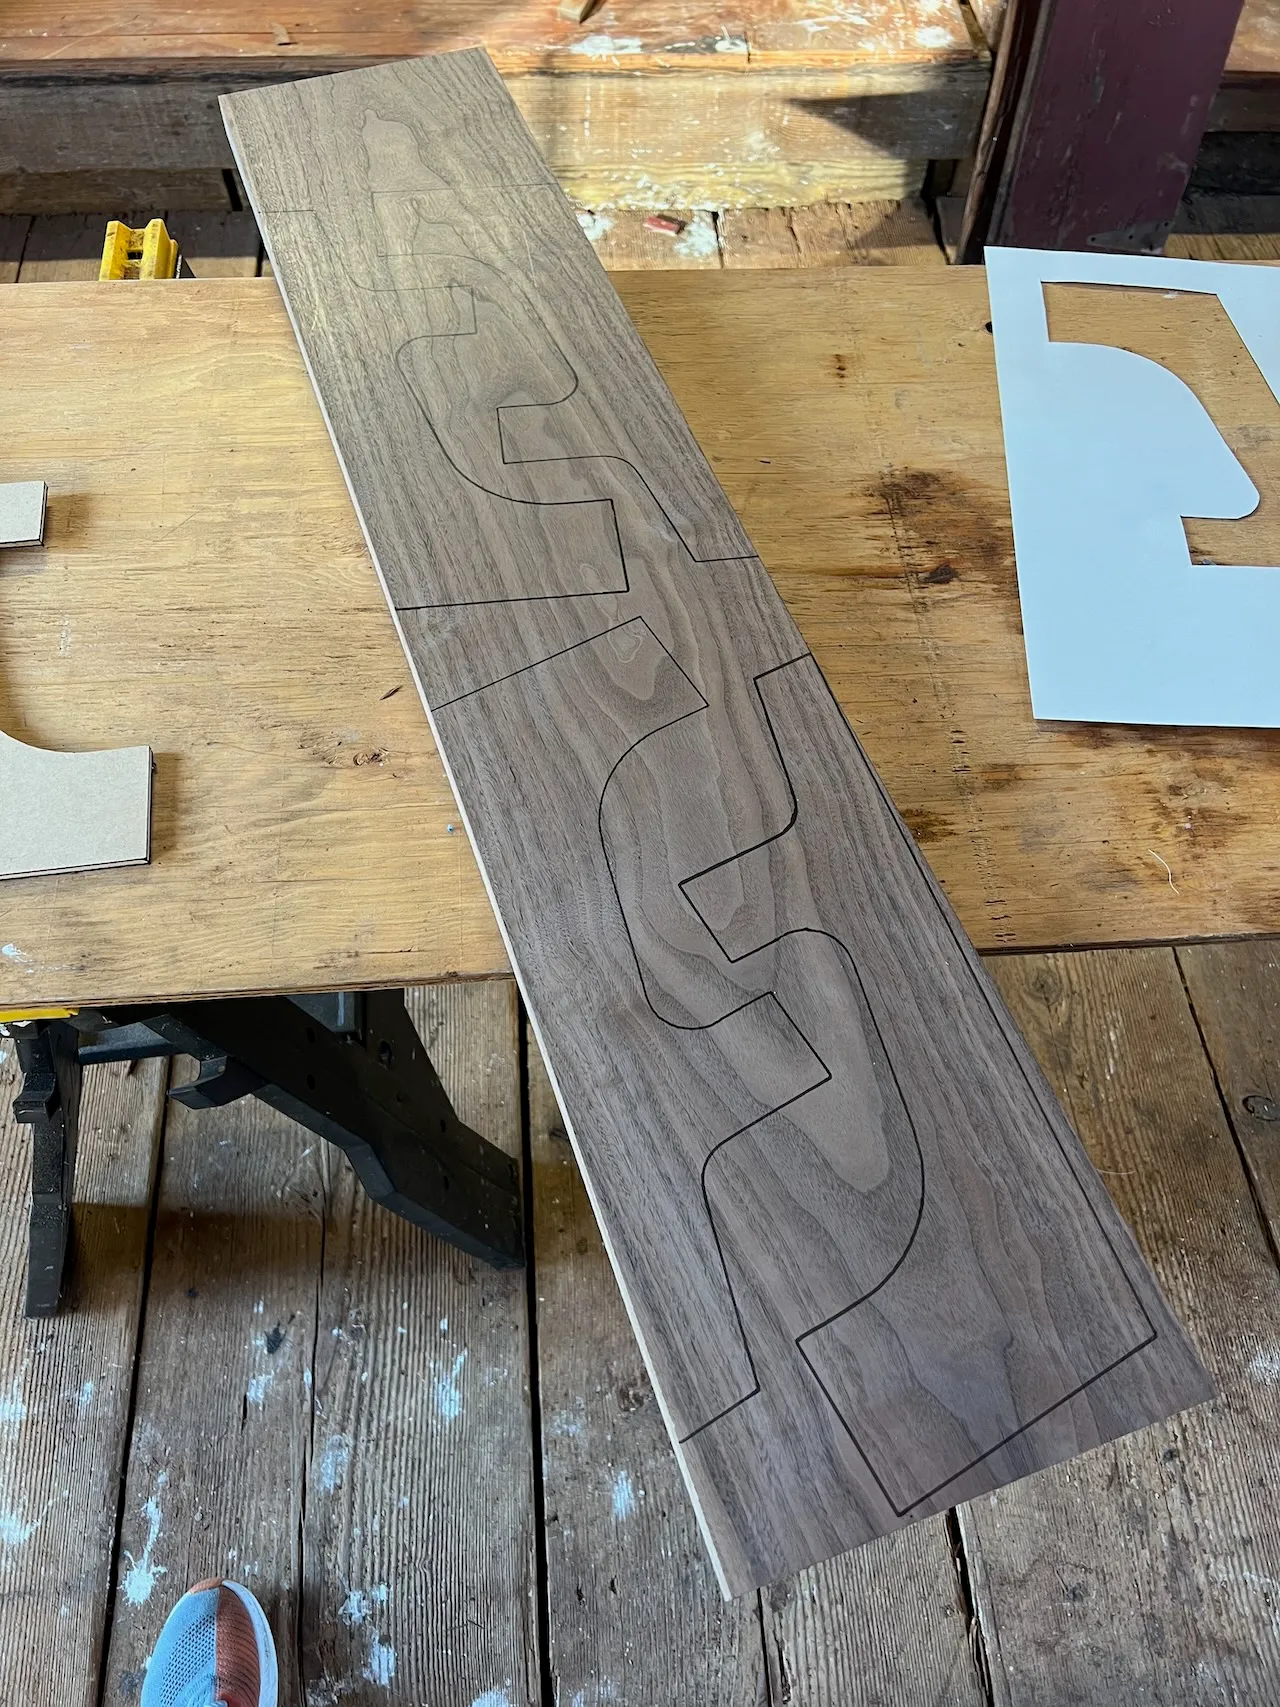
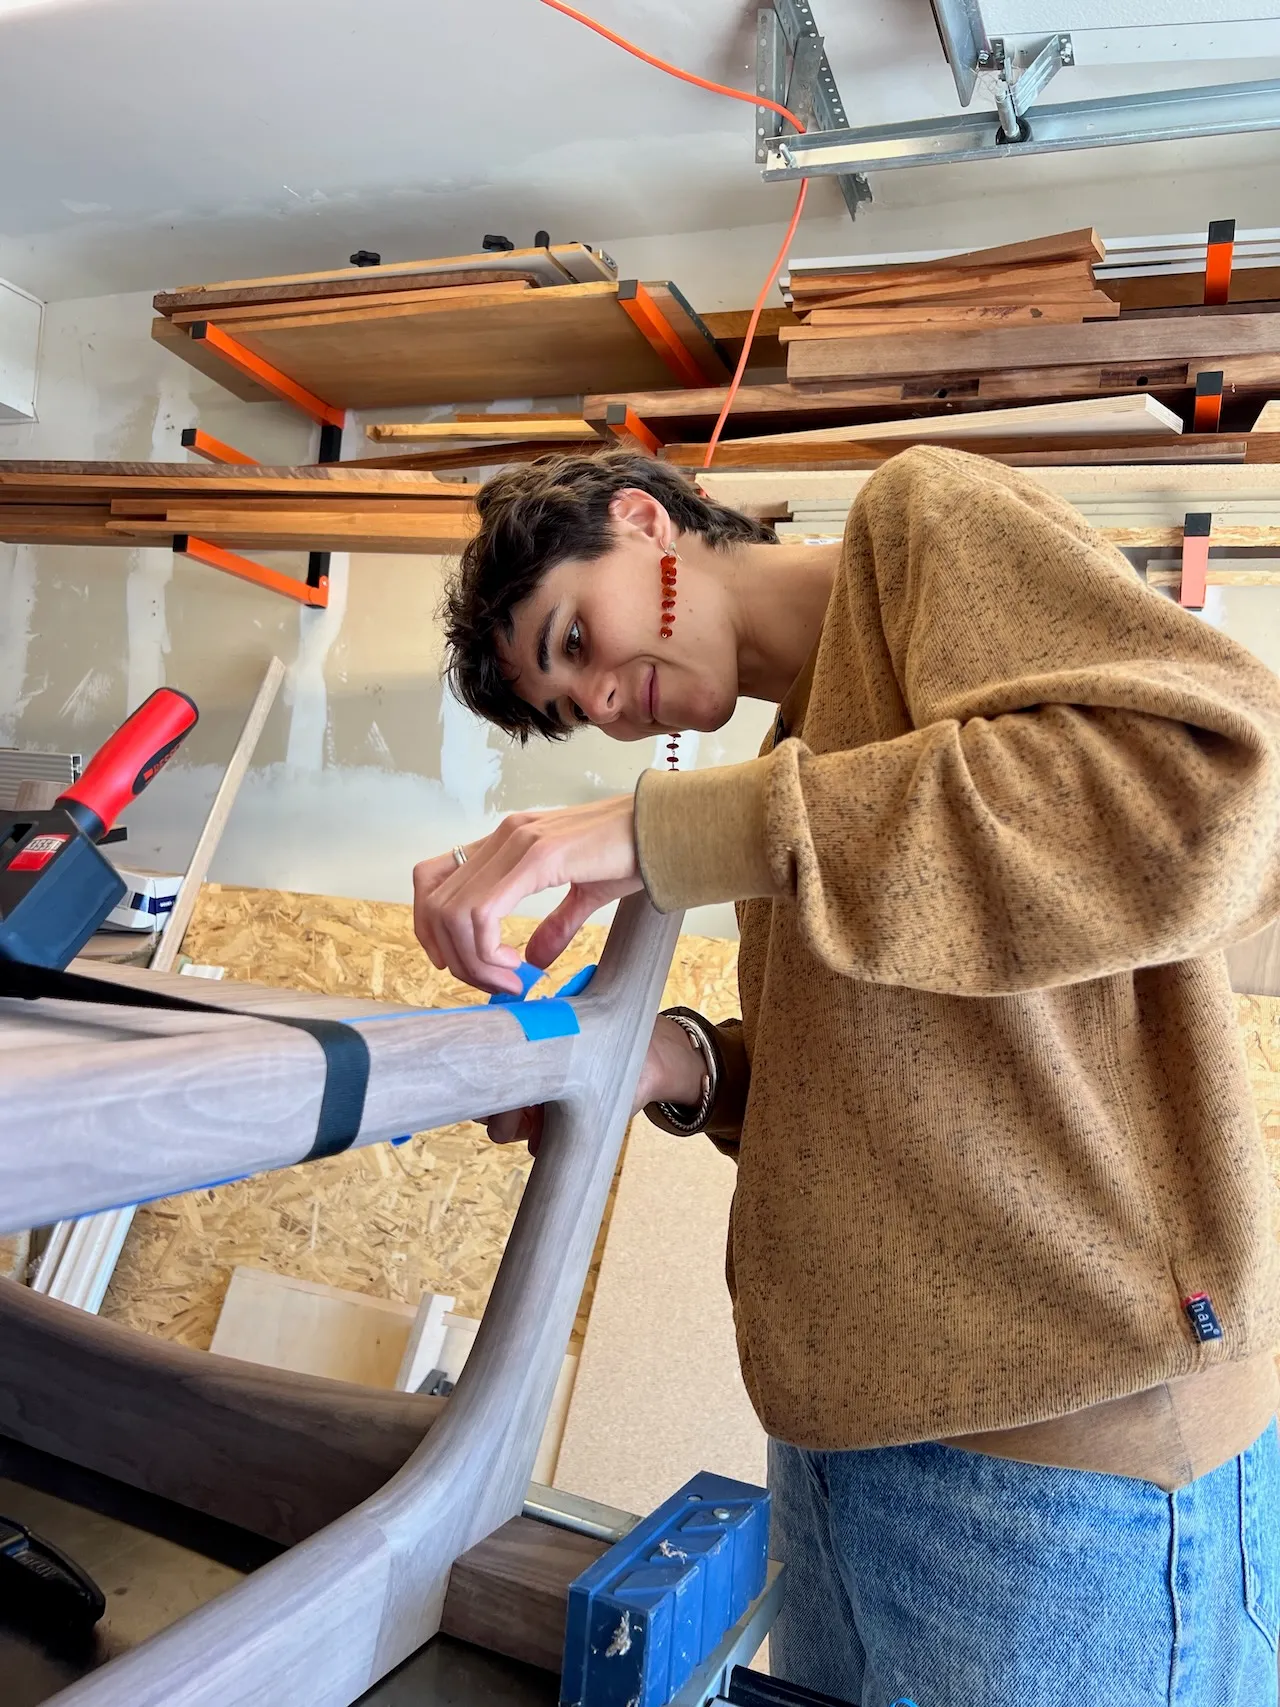
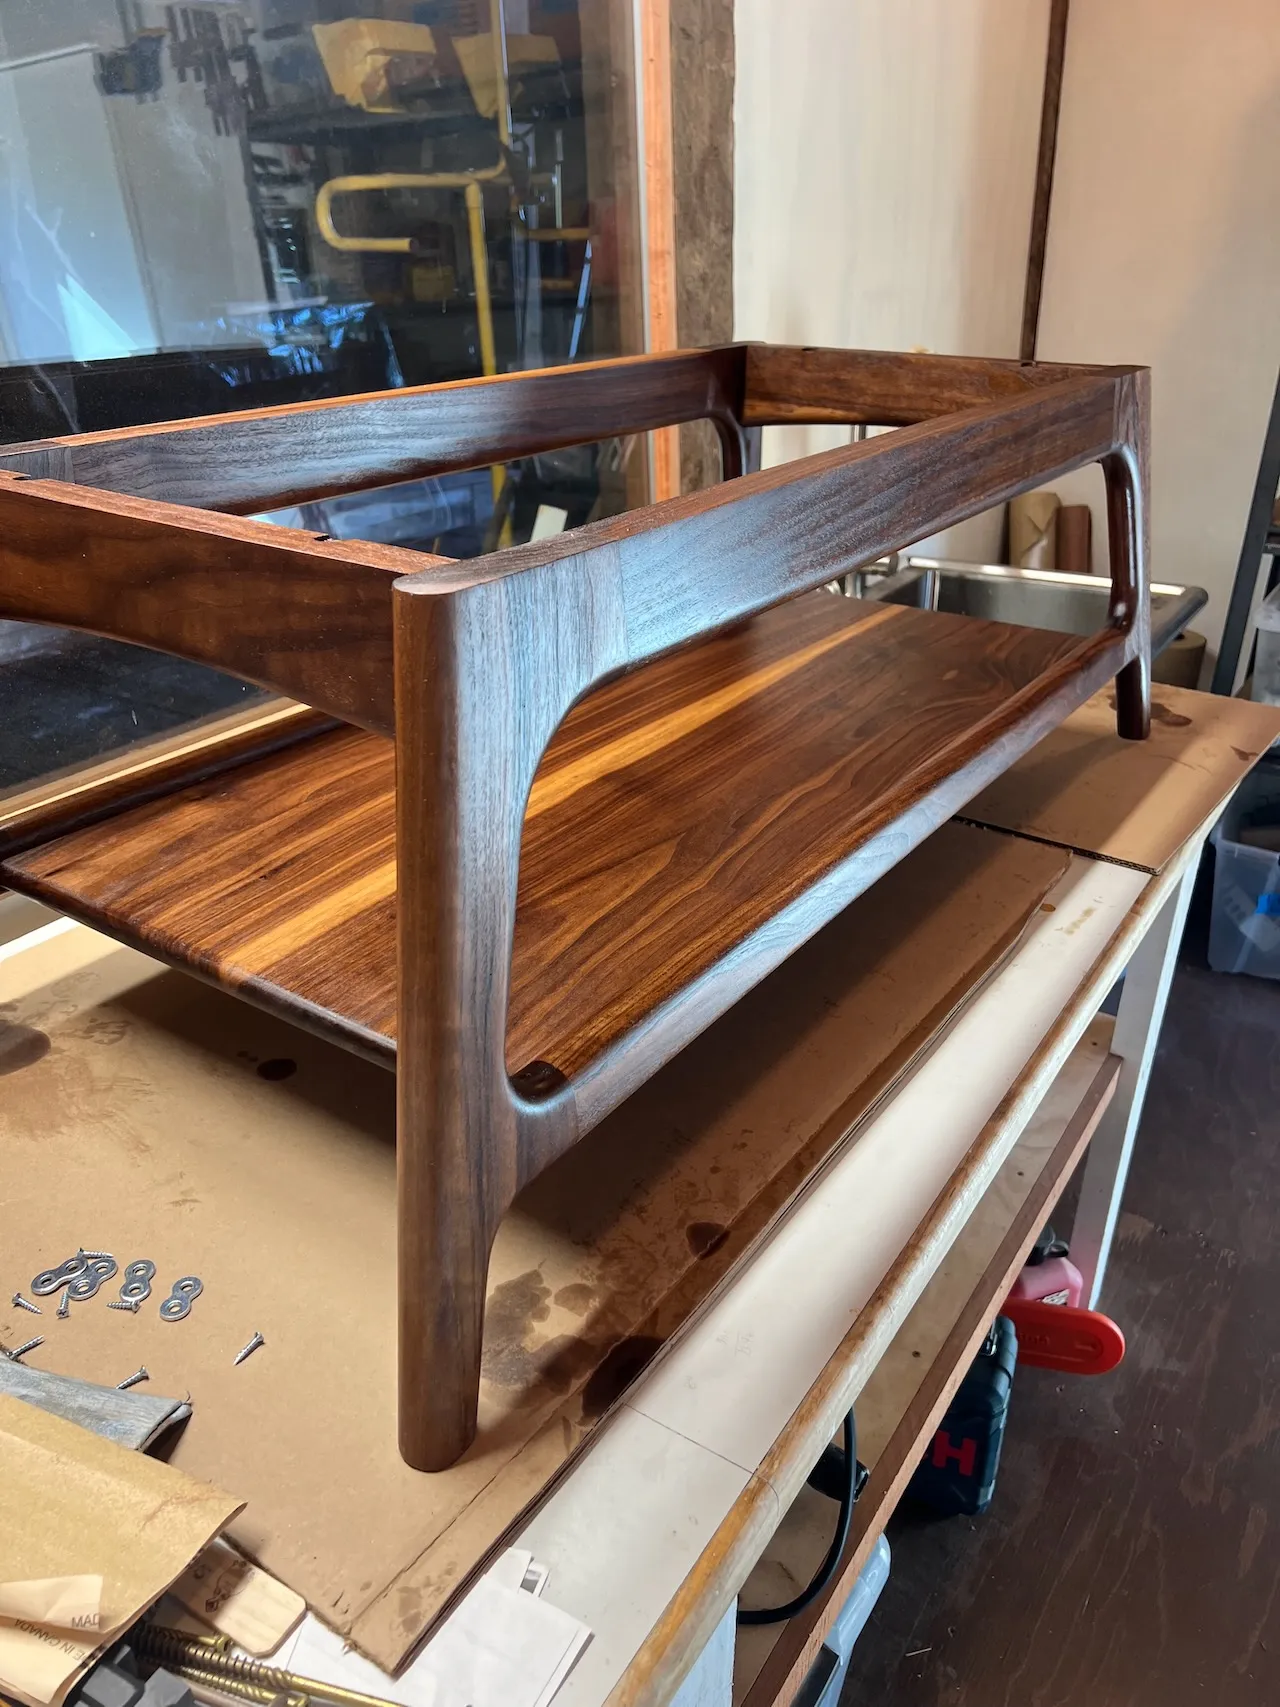
Legs
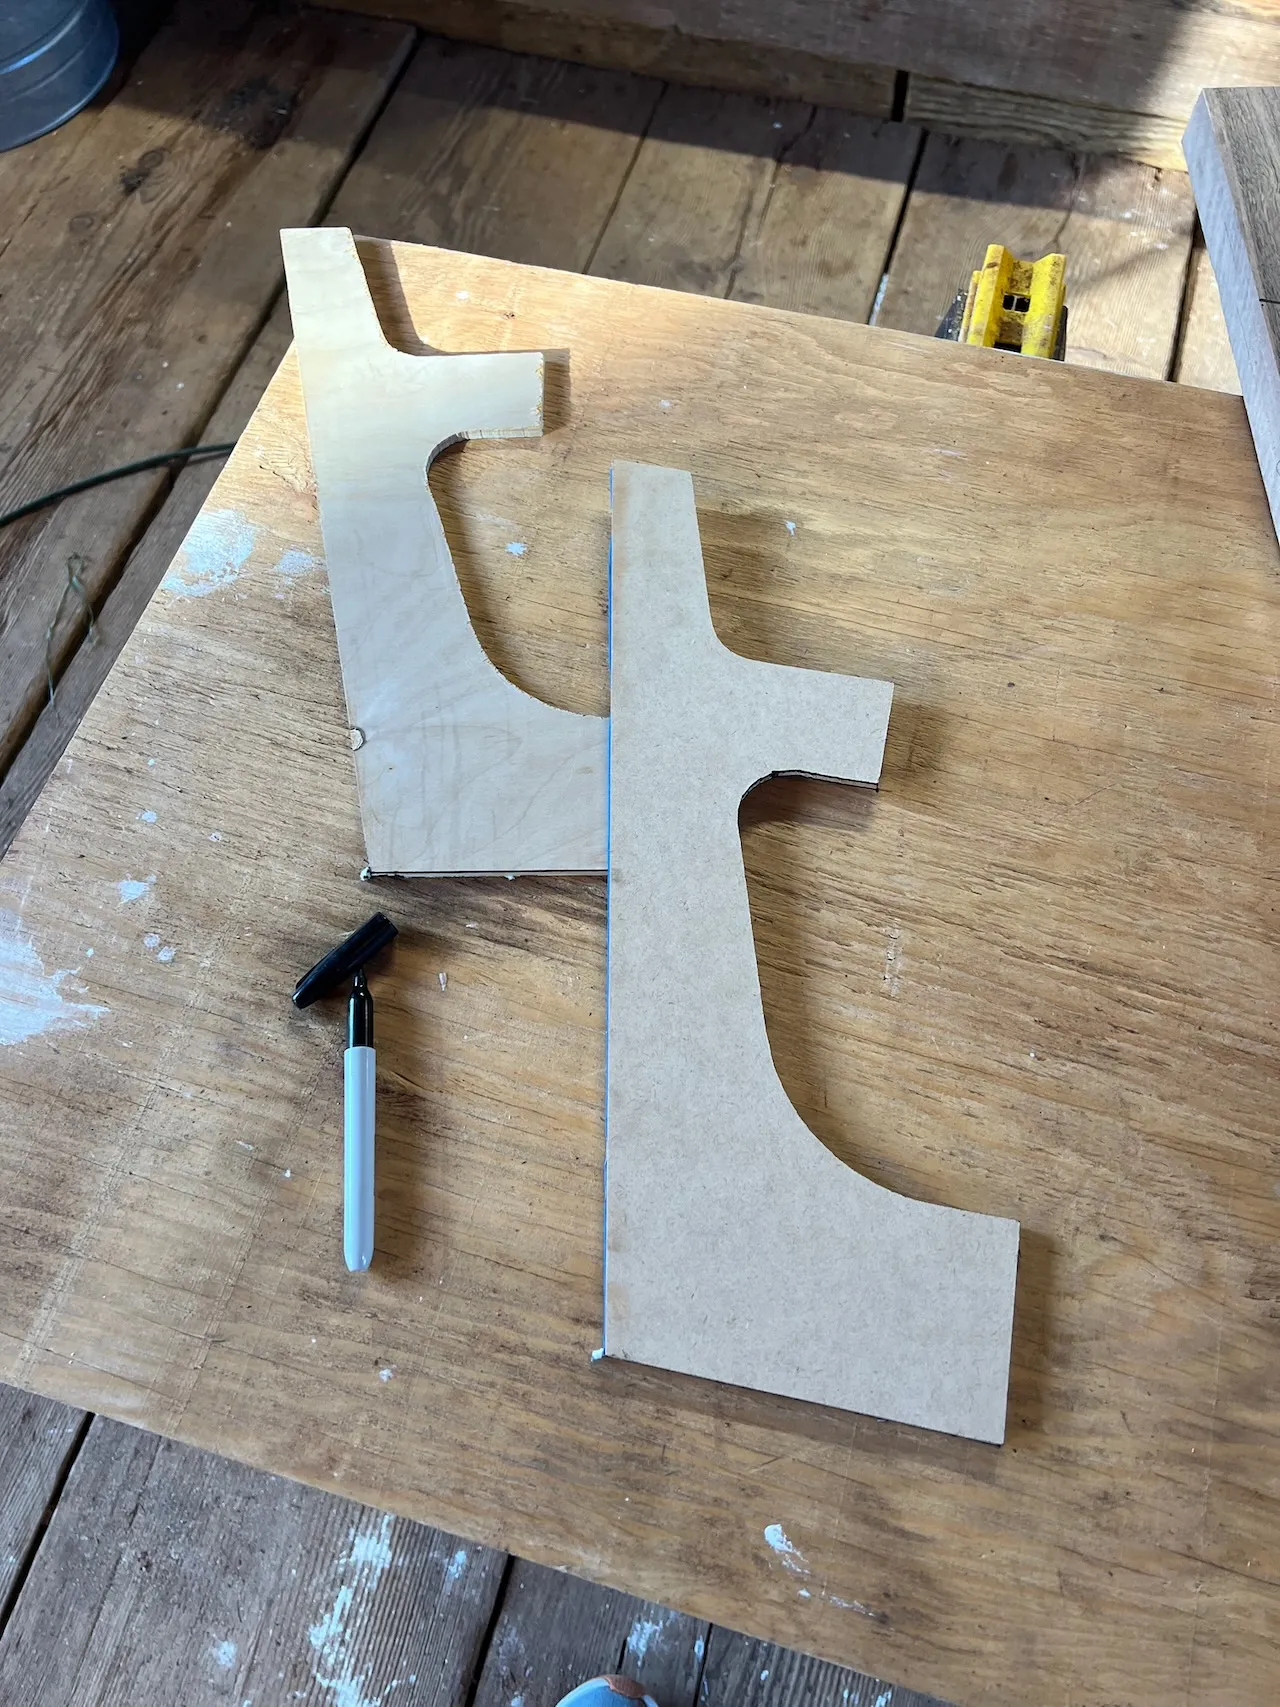
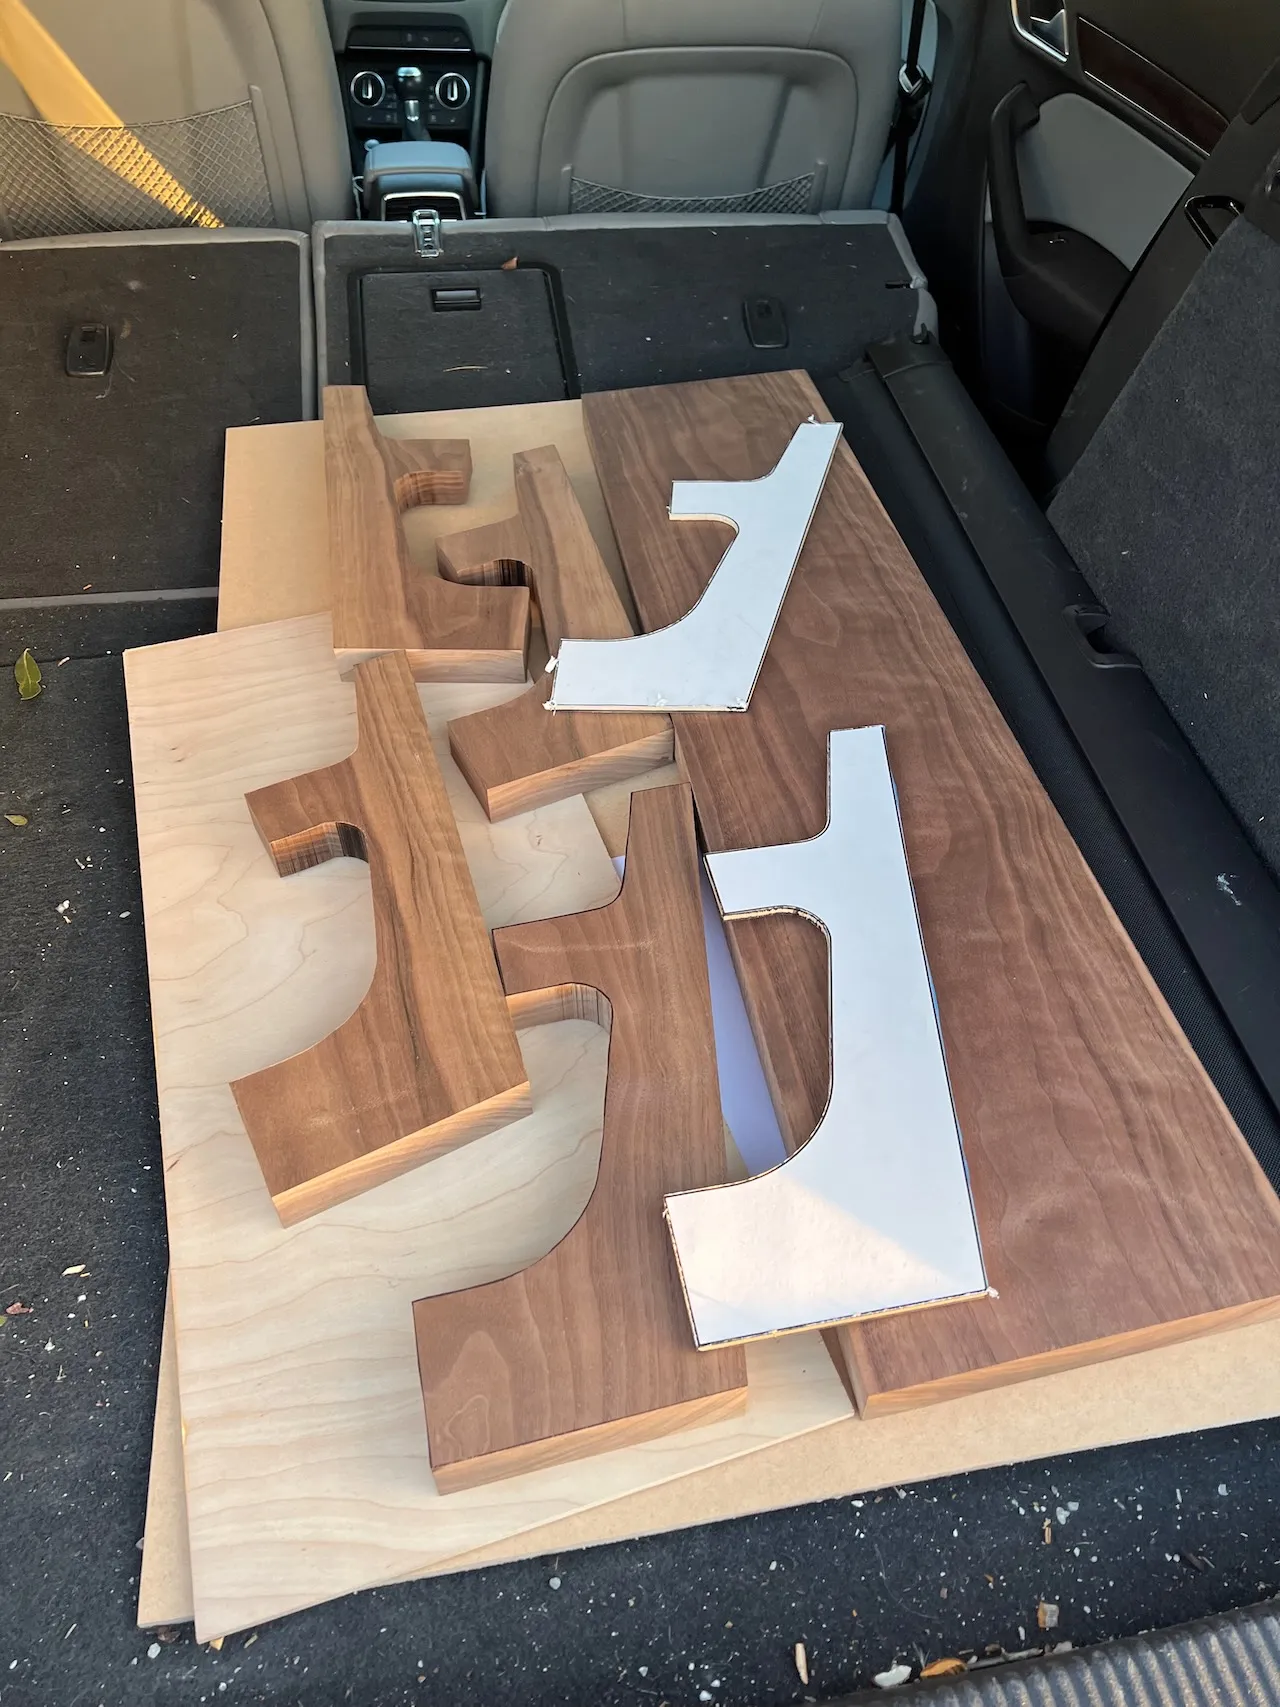
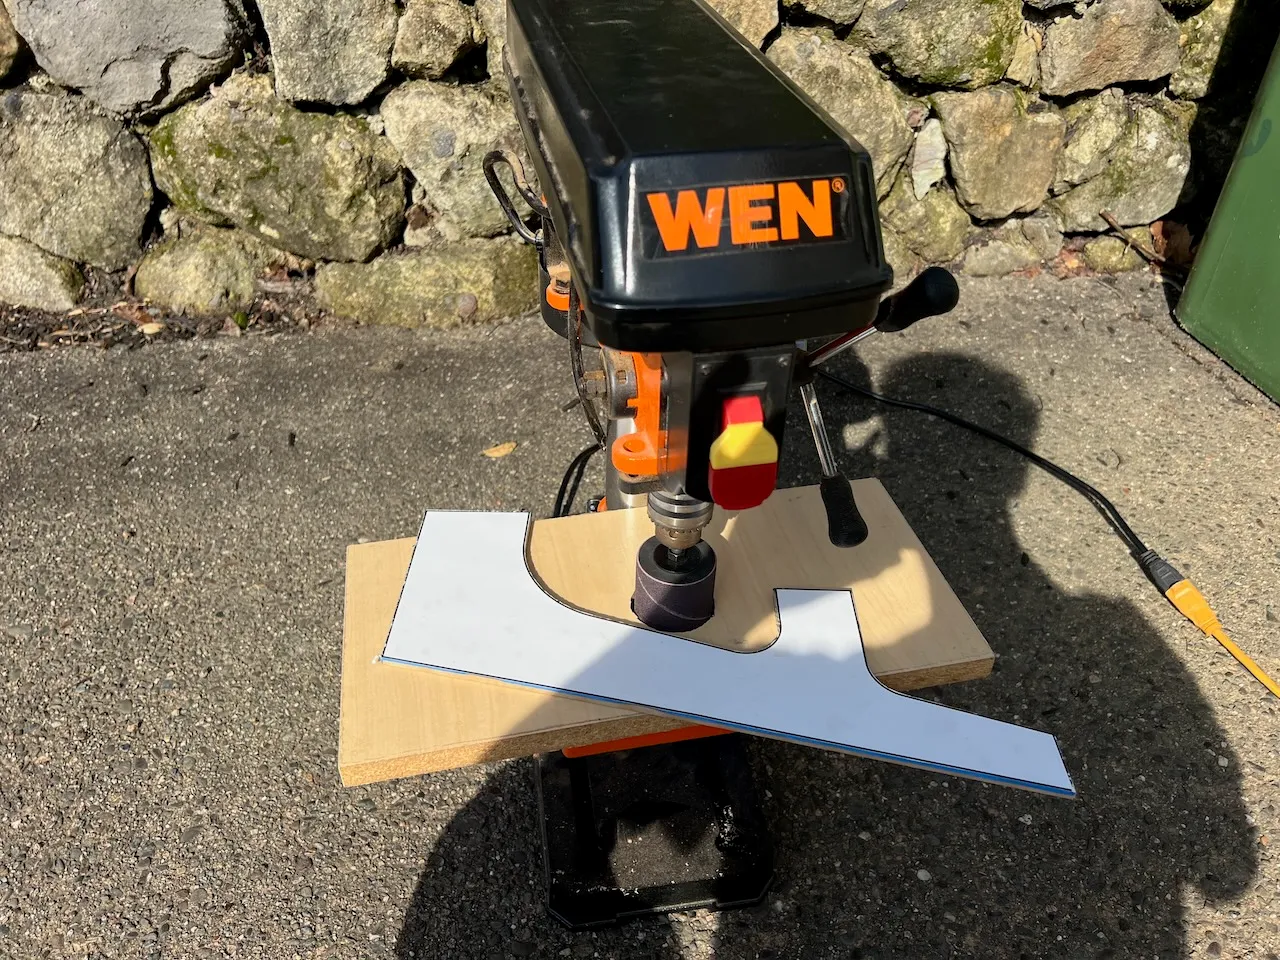
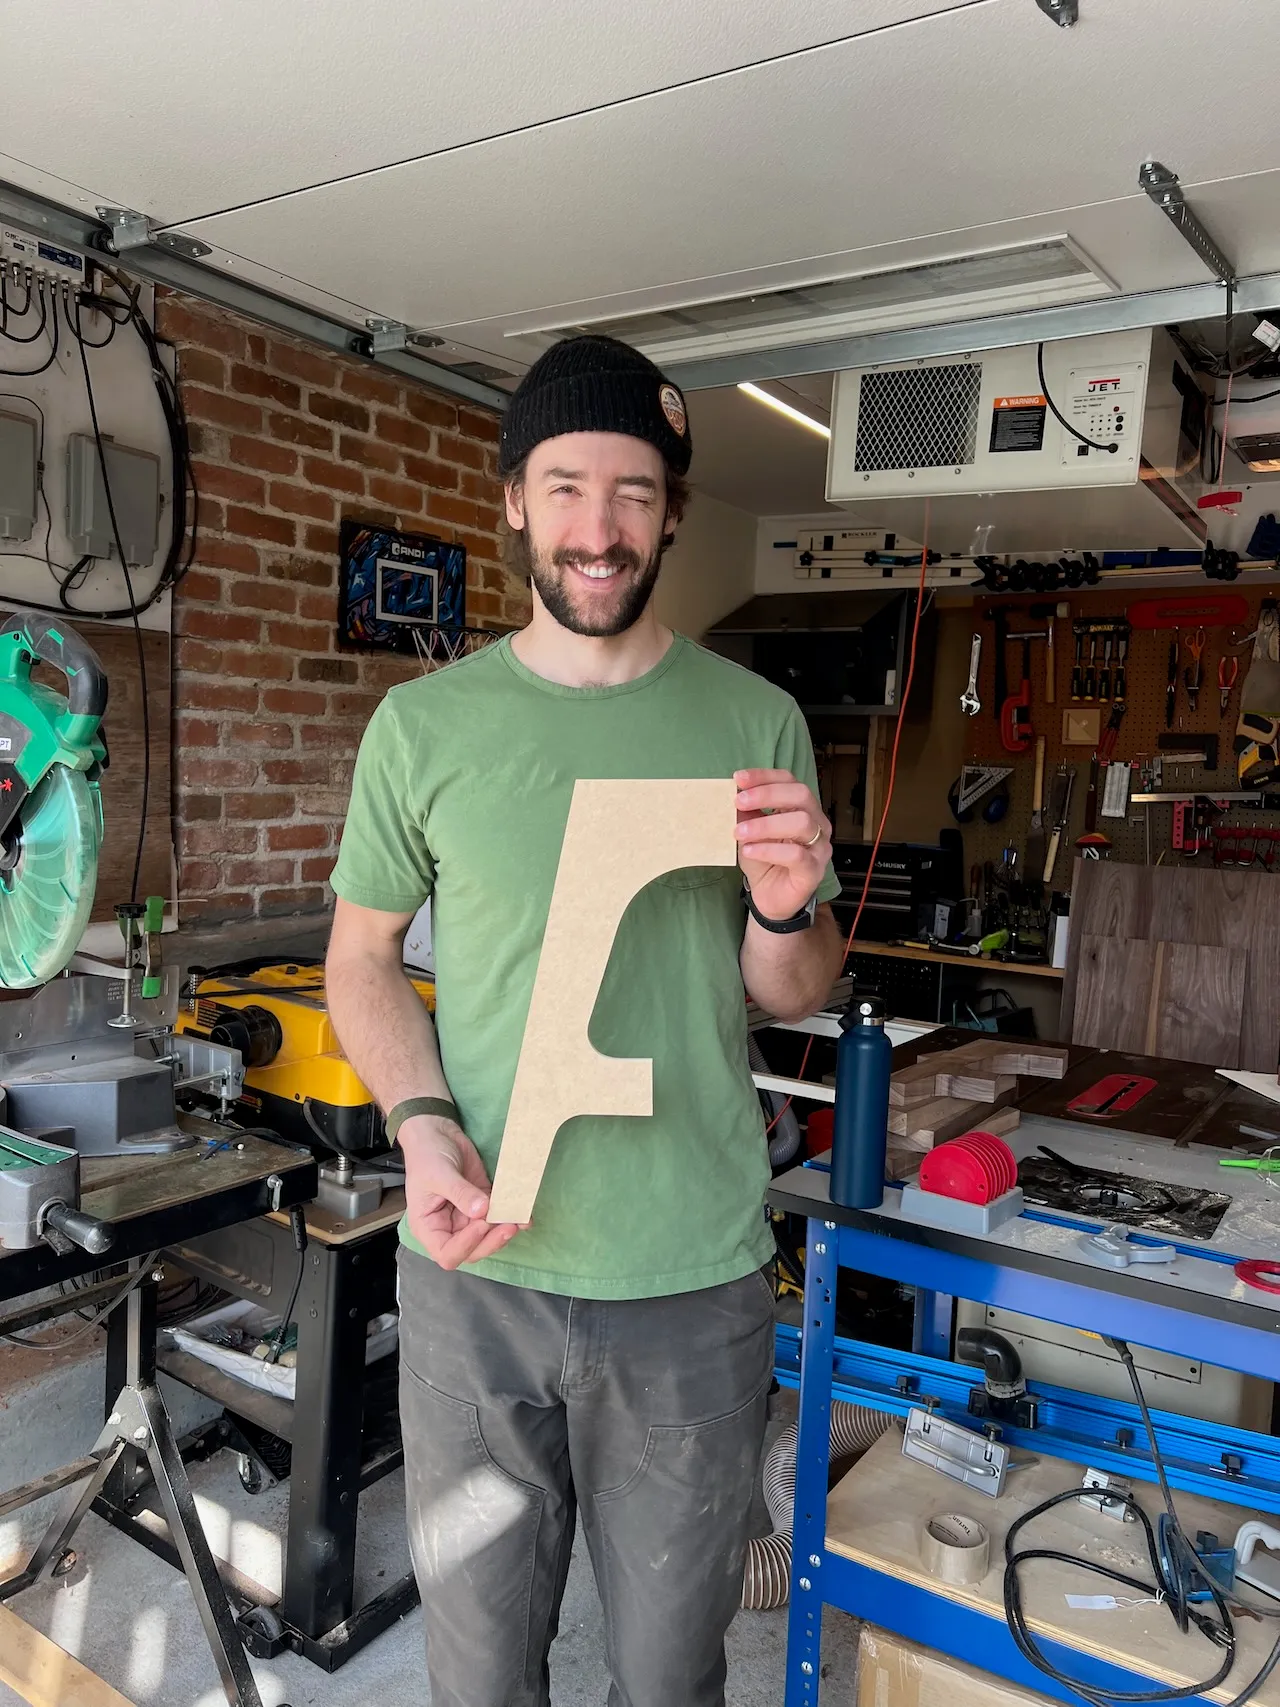
For the legs, I decided to make a paper template, which I stuck to a piece of ¼" MDF, which I cut with a band saw and sanded down with a spindle sander (or, rather, a drum attached to a drill press). From there, I could trace the template onto the raw walnut and roughly cut the legs on the band saw. Then, I double-sticky taped the template to the leg and used a flush trim router bit to get to final shape.
We had a scary moment with the router table. It kicked back. After some head scratching, we determined that it was due to us (1) moving the piece into the bit starting on end grain (2) trying to trim the whole 6/4 material in one pass. I ended up taking off as much material as possible on the spindle sander before carefully moving the leg toward the router bit, starting in an area with the grain heading in the most agreeable direction.
Boo-boo caused by a dip in the router table; the bearing lifted above the template and the bit dug into the piece.
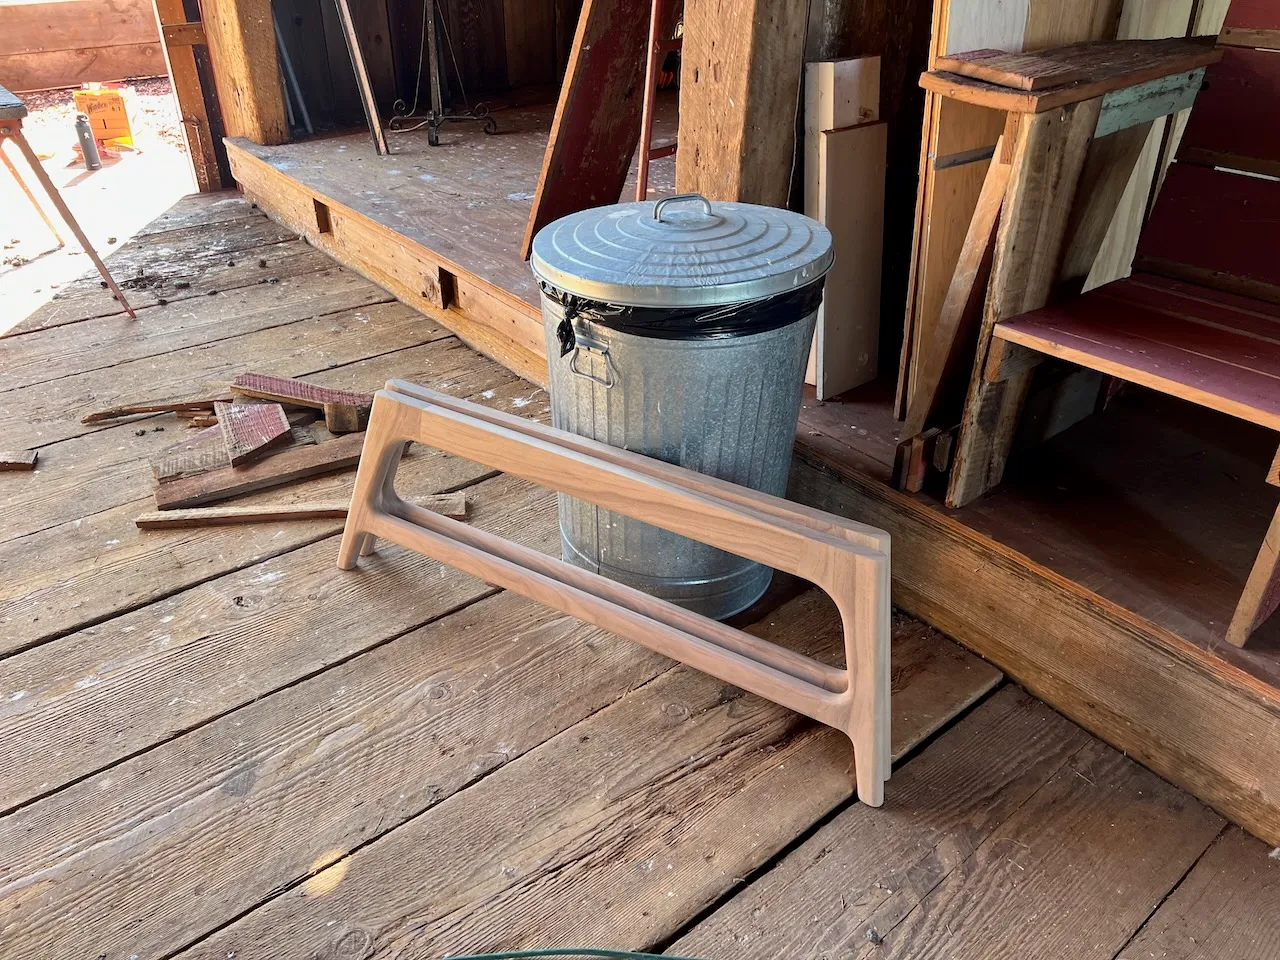
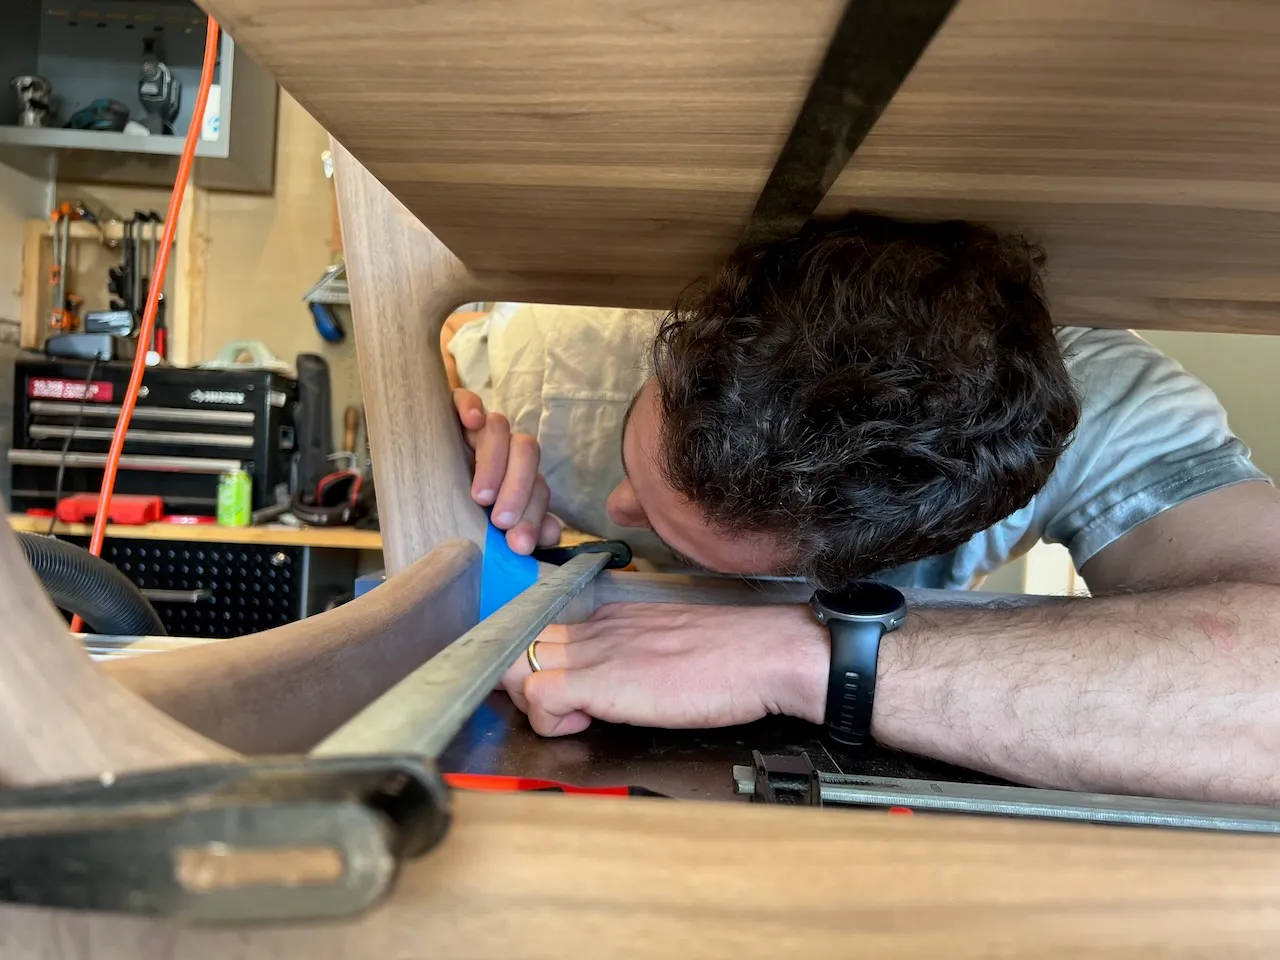
Leg assemblies
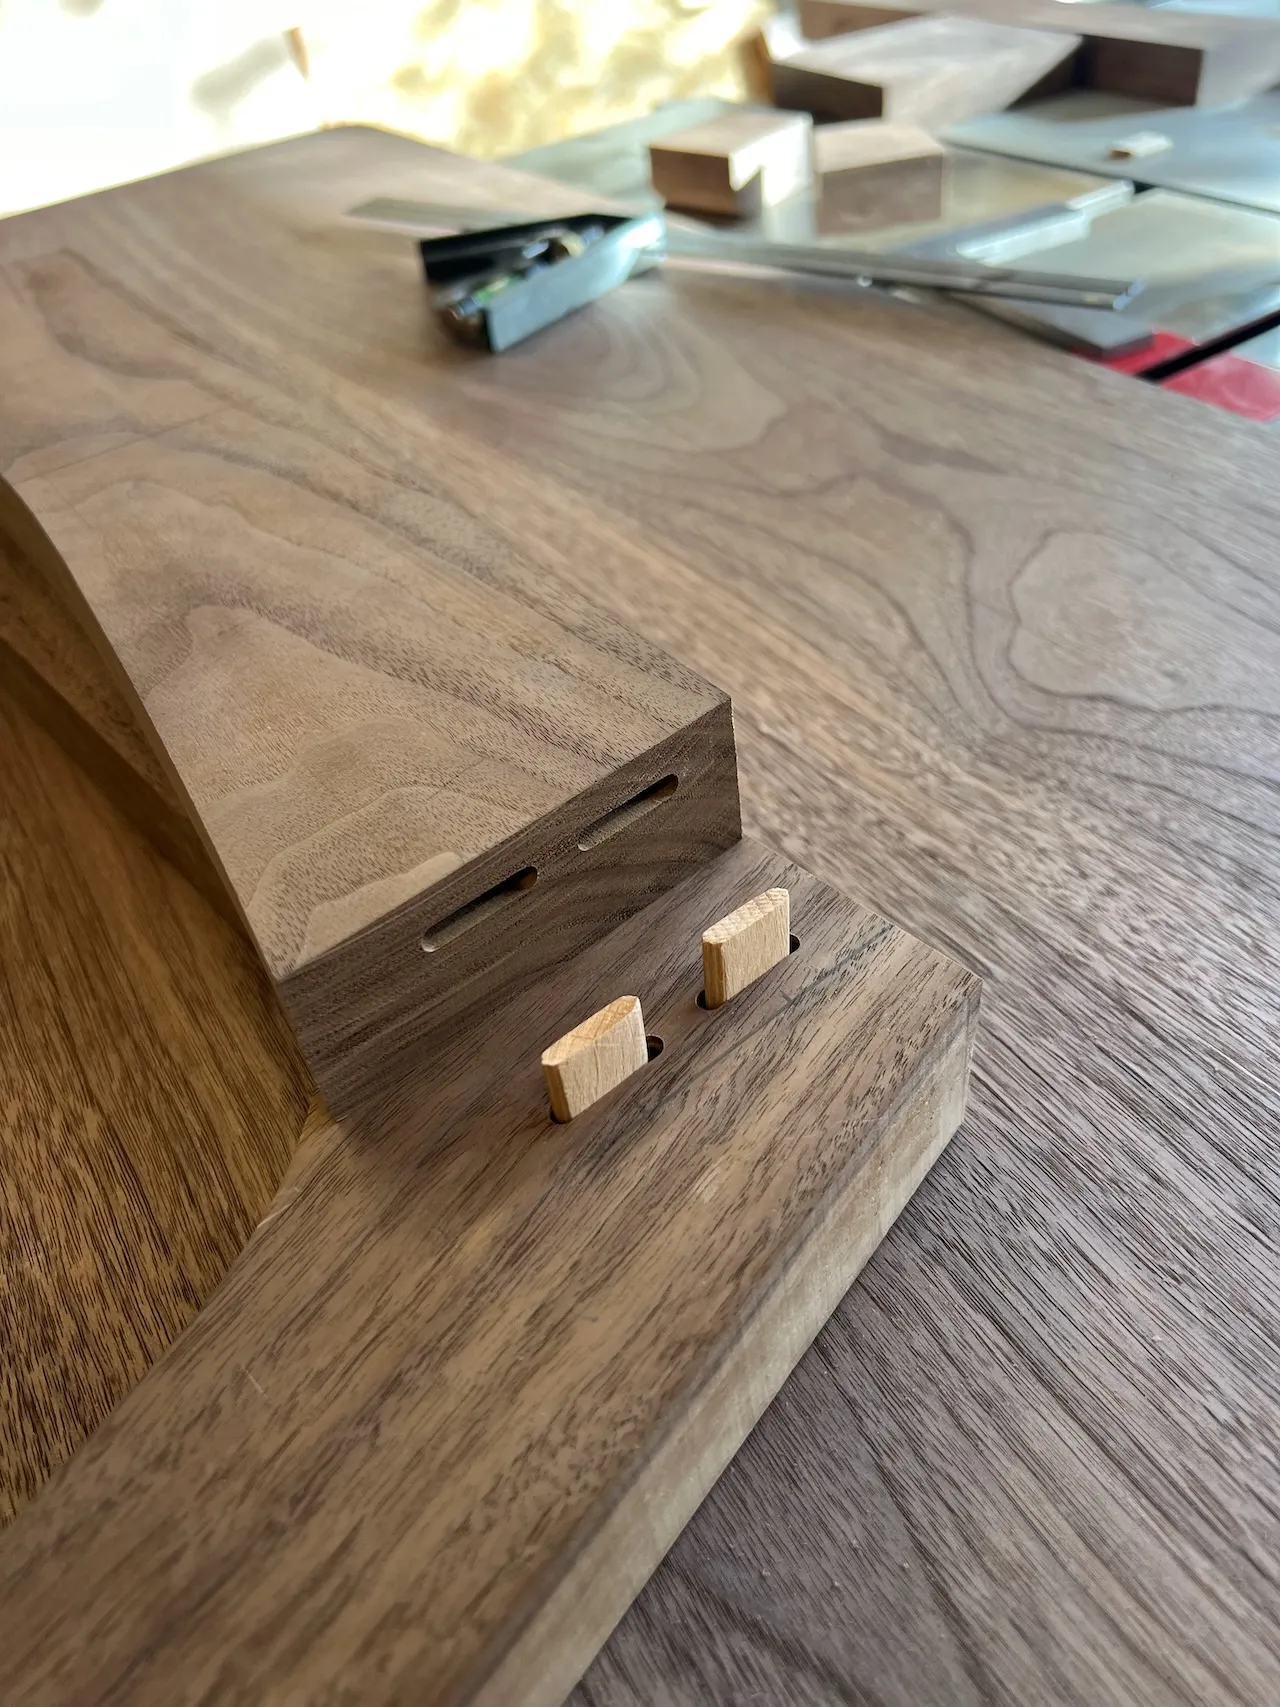
Some clumsy clamping (our outside wedges wanted to slip), but the Domino made alignment relatively straightforward.
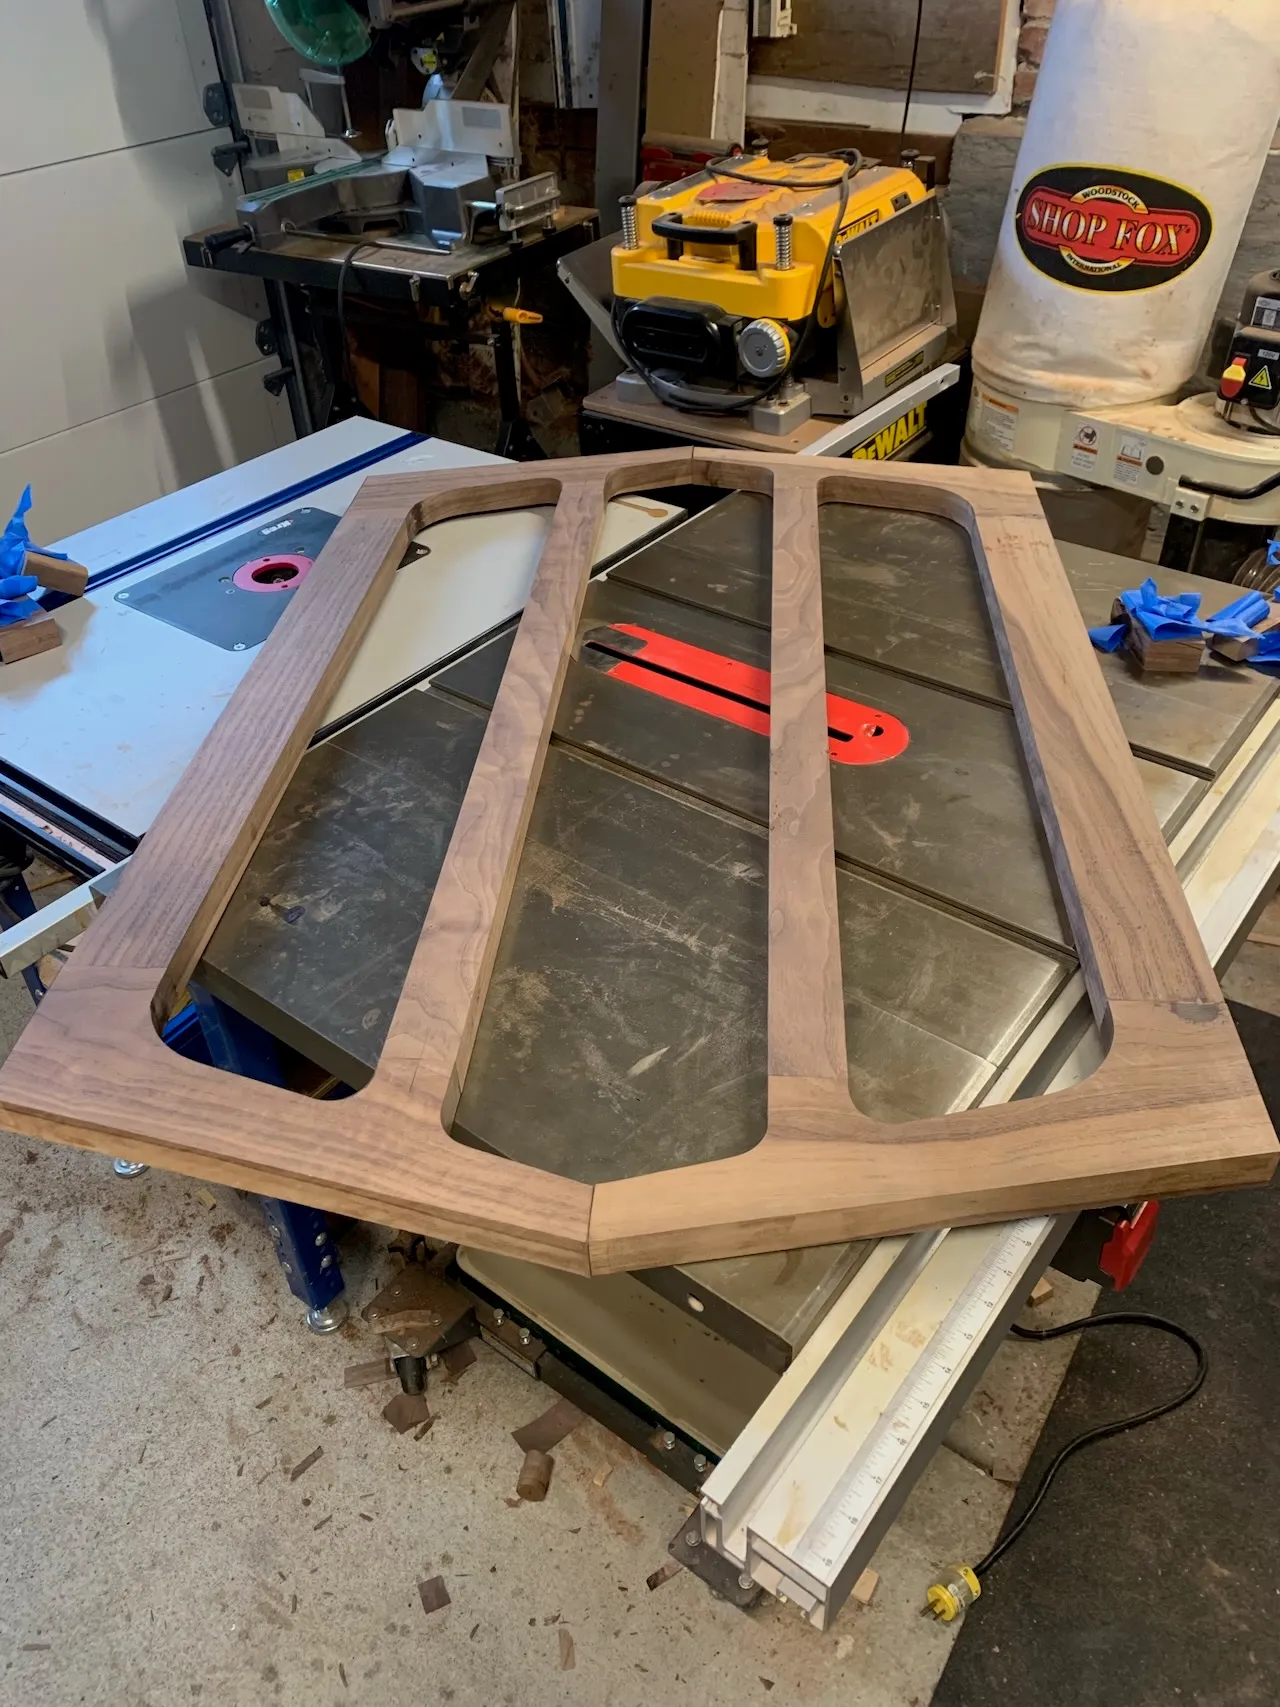
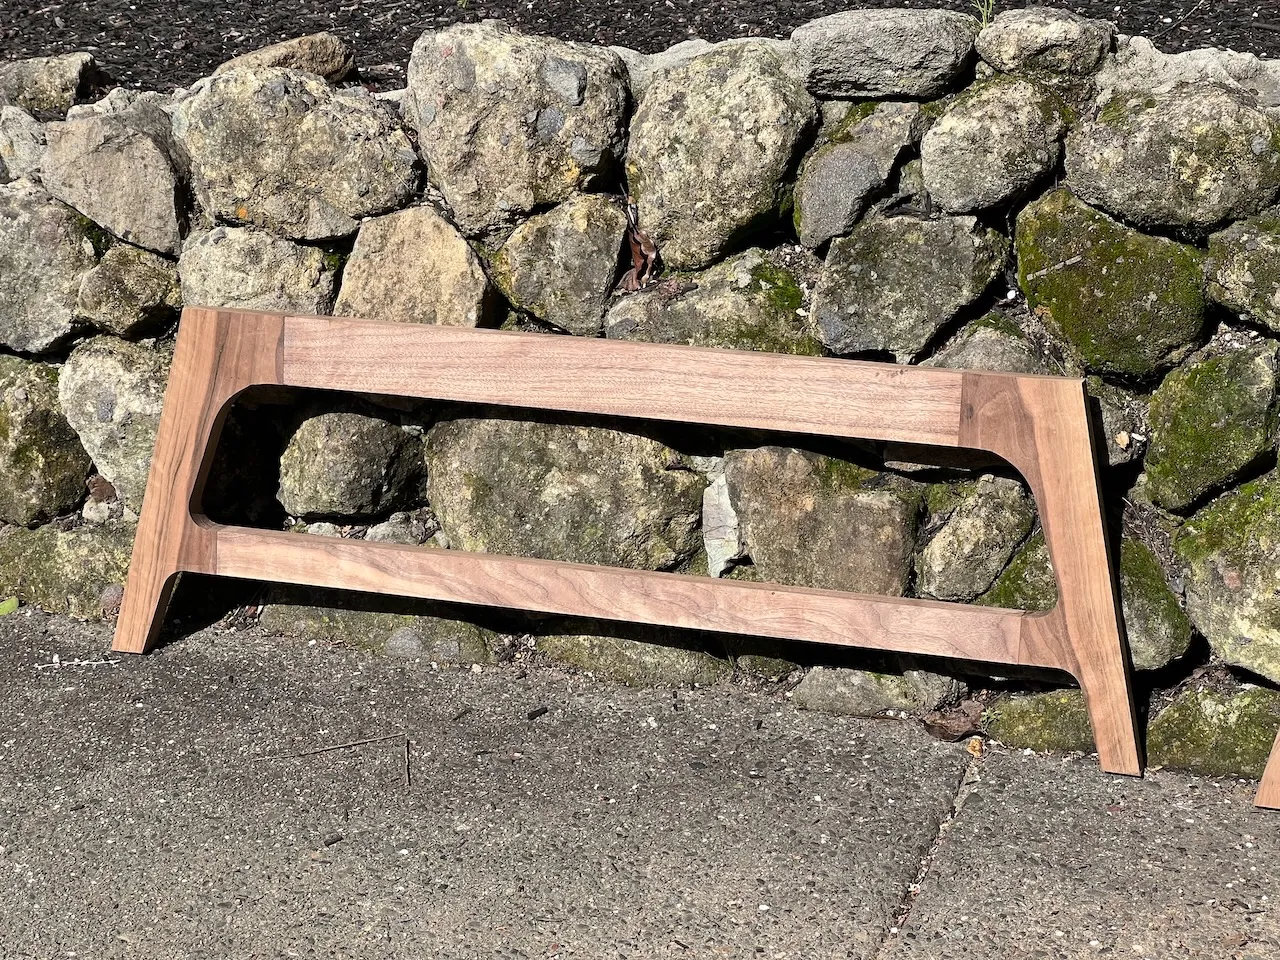
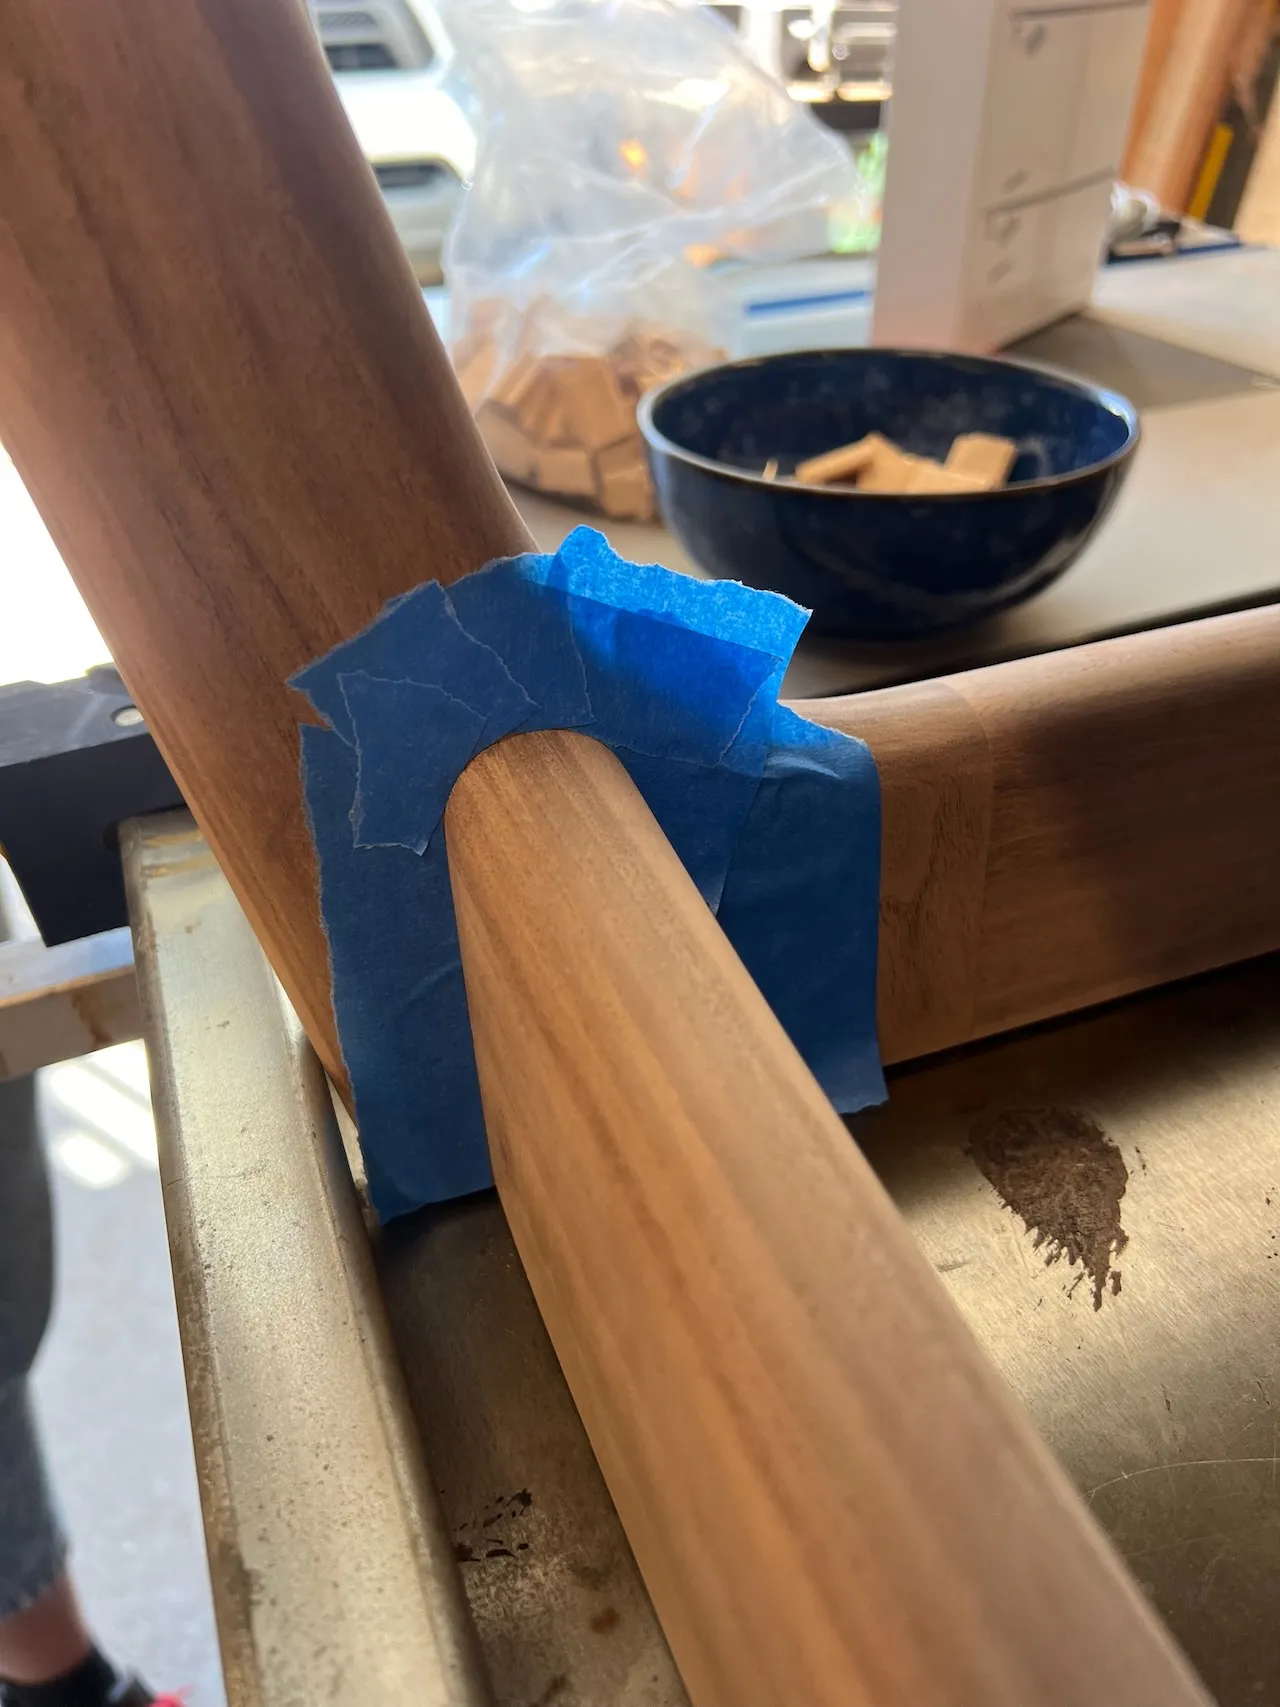
Originally, I planned to hide the sapwood sides of the legs on the interior of the table, but I actually grew to like the contrast, so I flipped both leg assemblies around relative to what I'd had in mind.
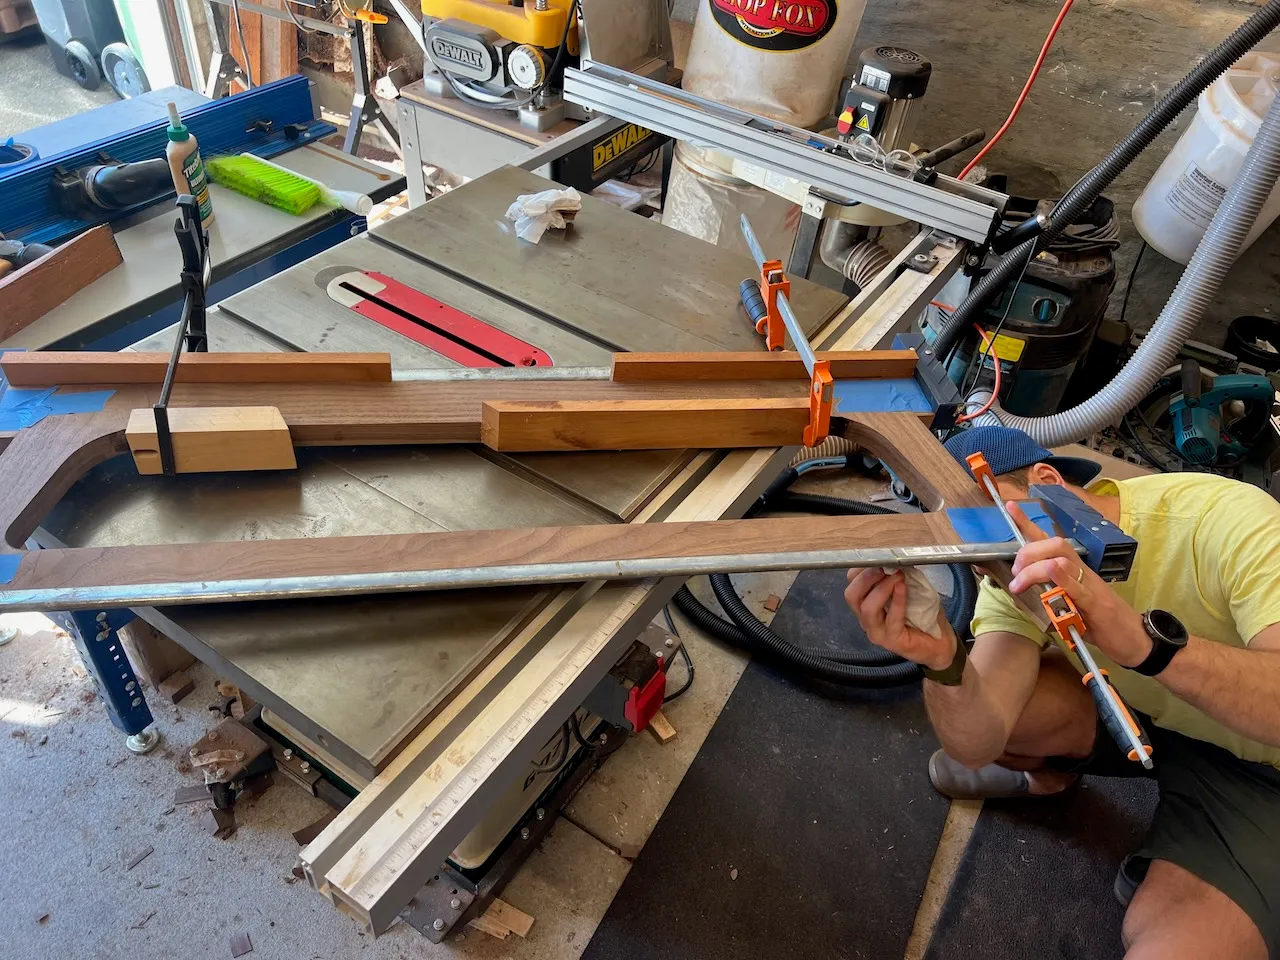
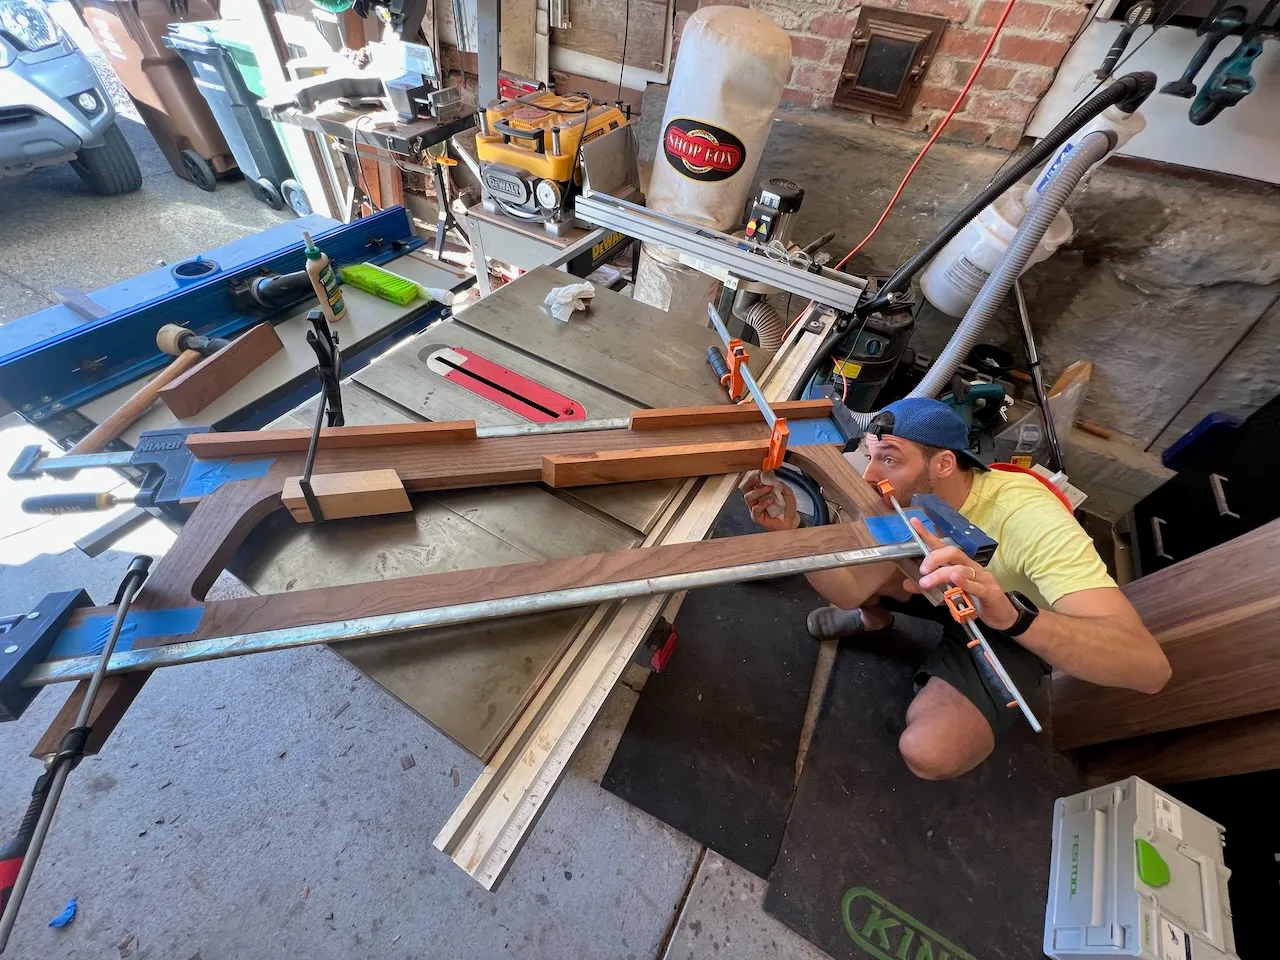
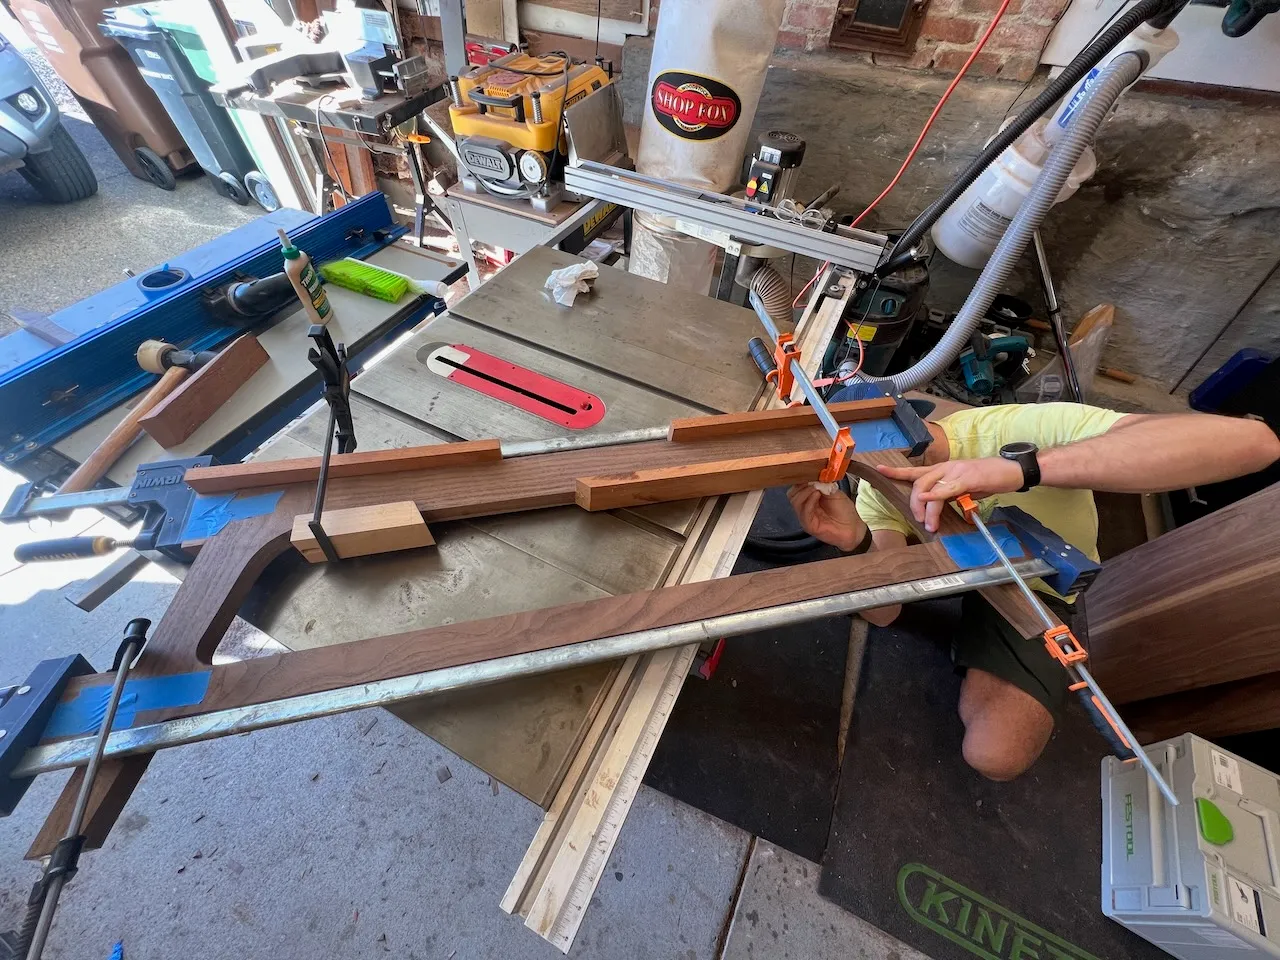
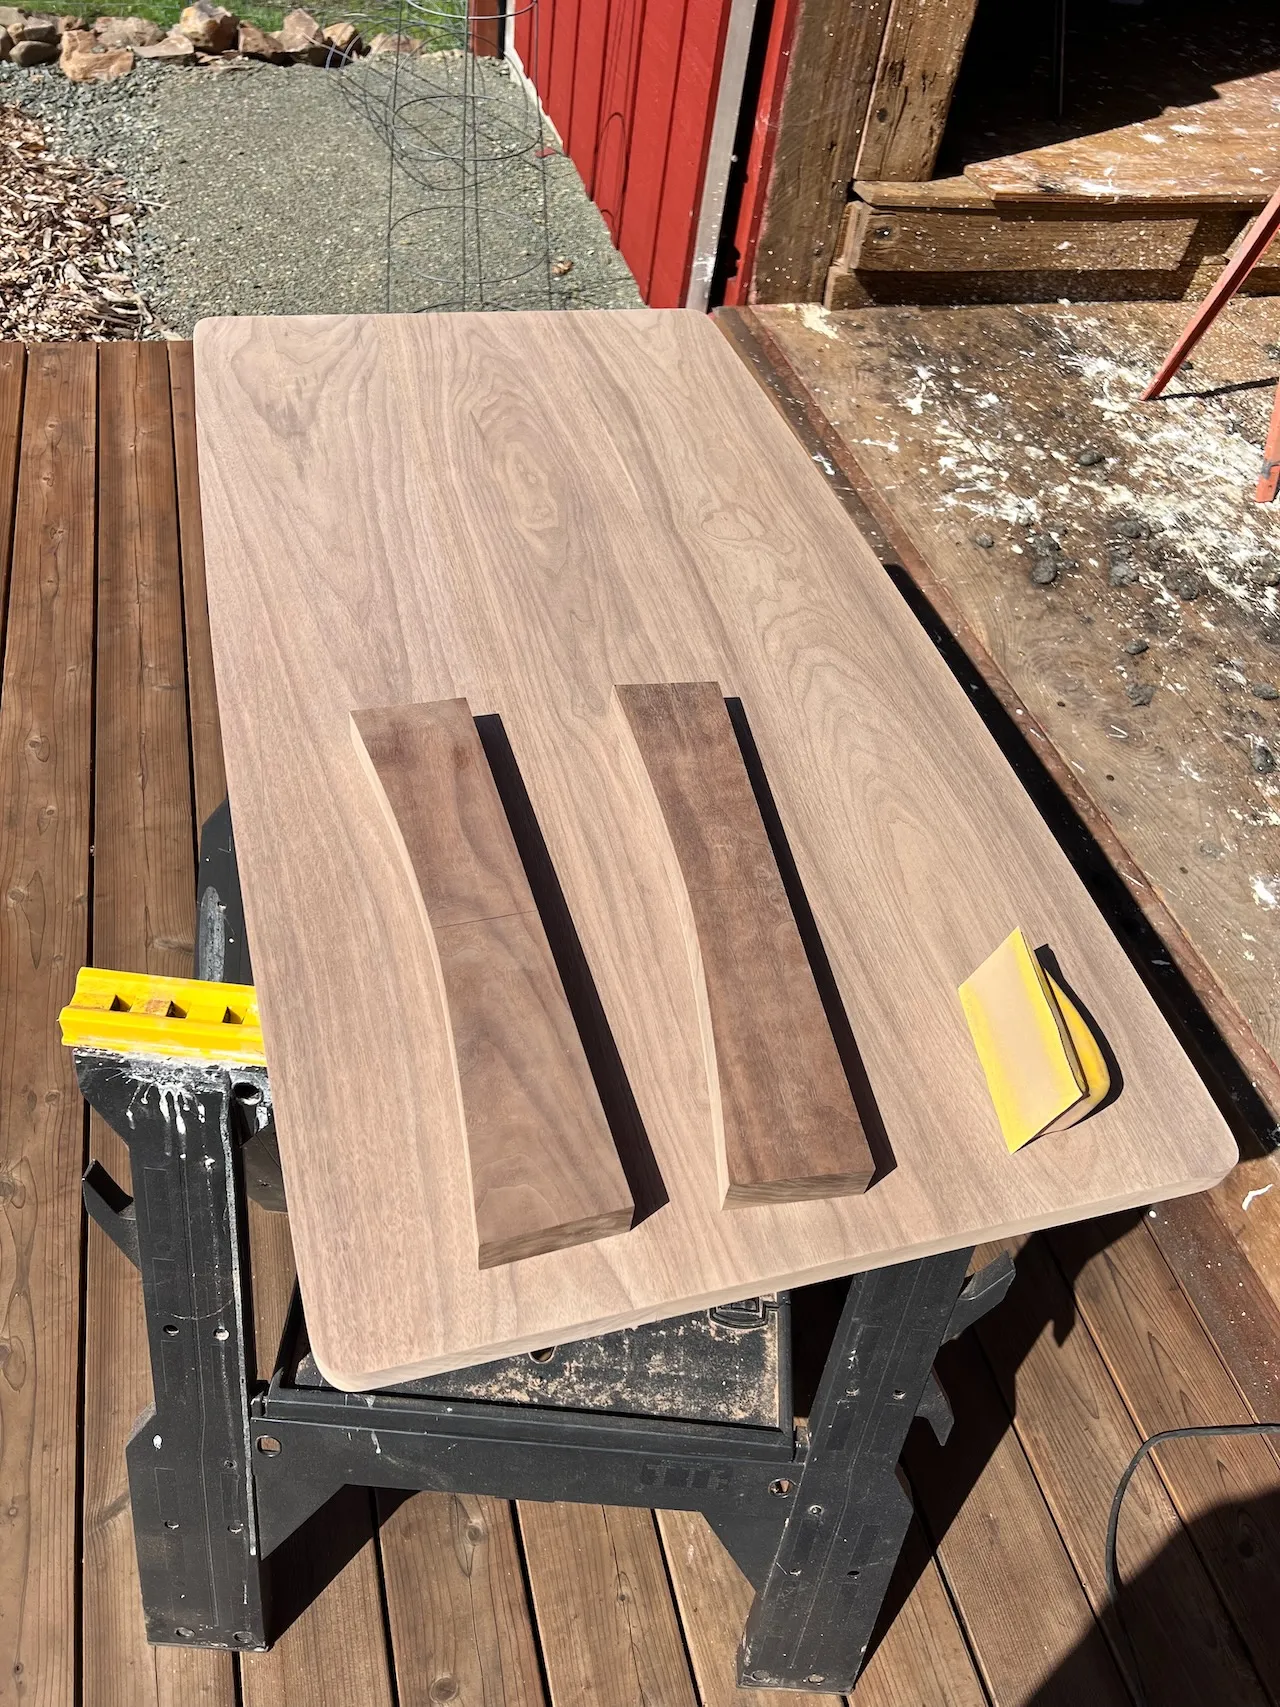
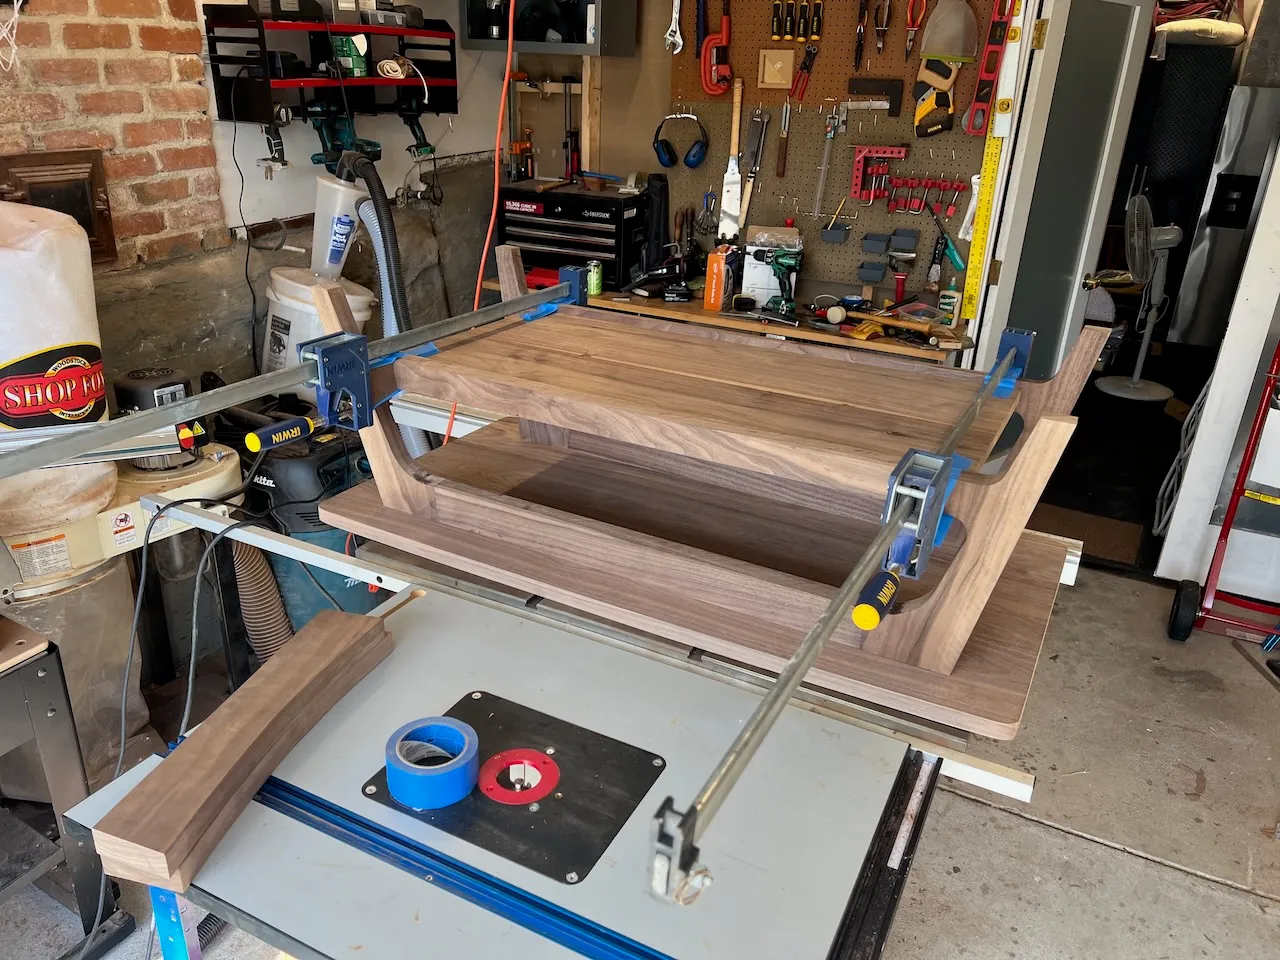
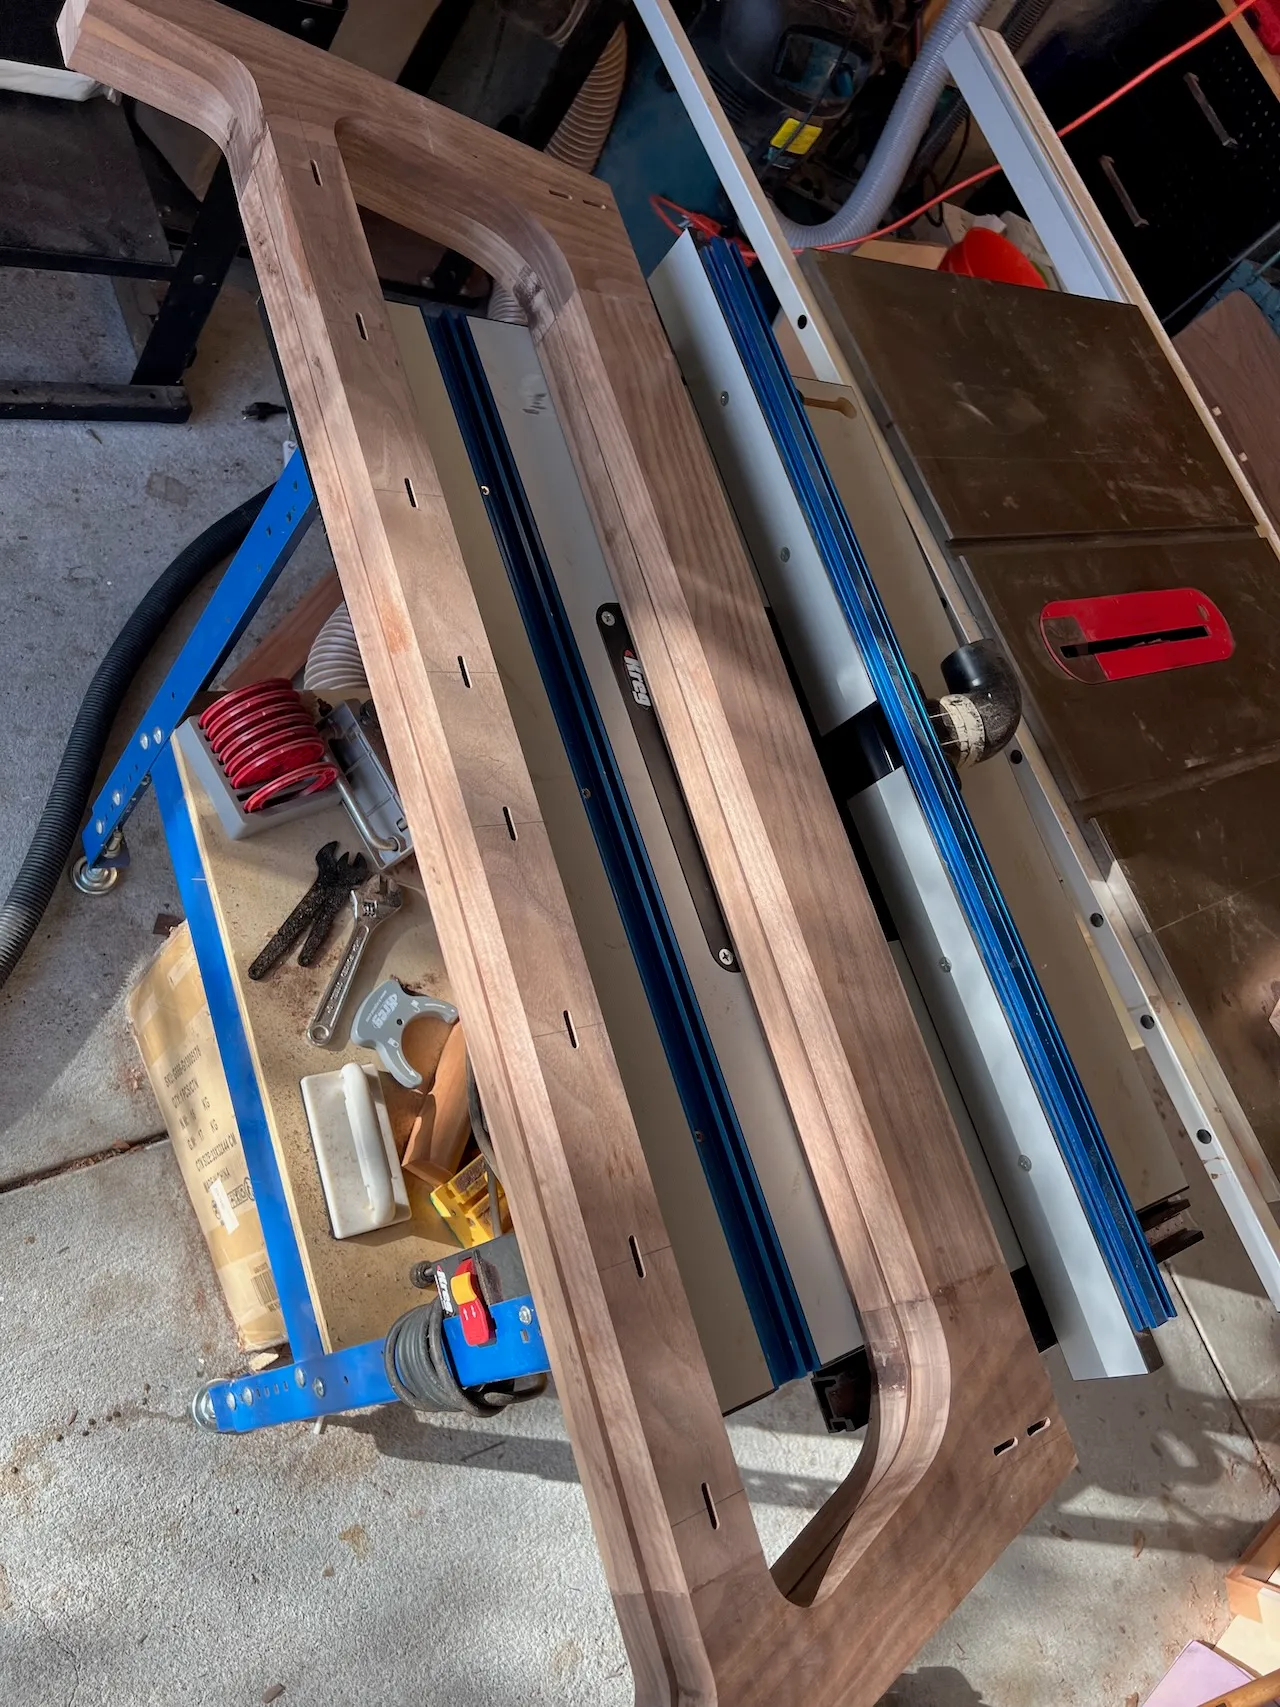
Table top & stretchers
Not pictured: a real team maneuver on the bandsaw to cut subtle arcs into the sides of the (large, heavy) table top.
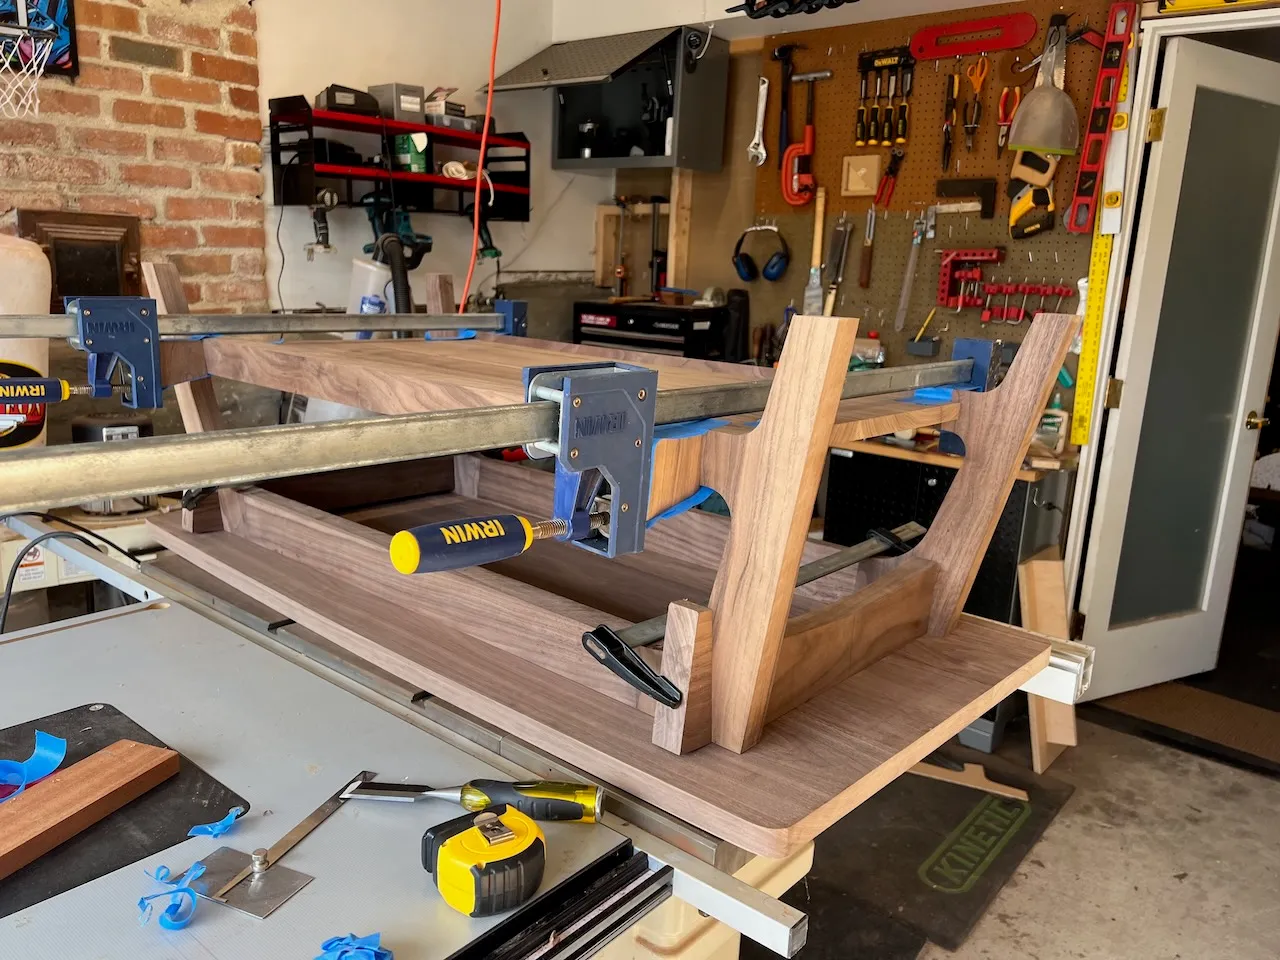
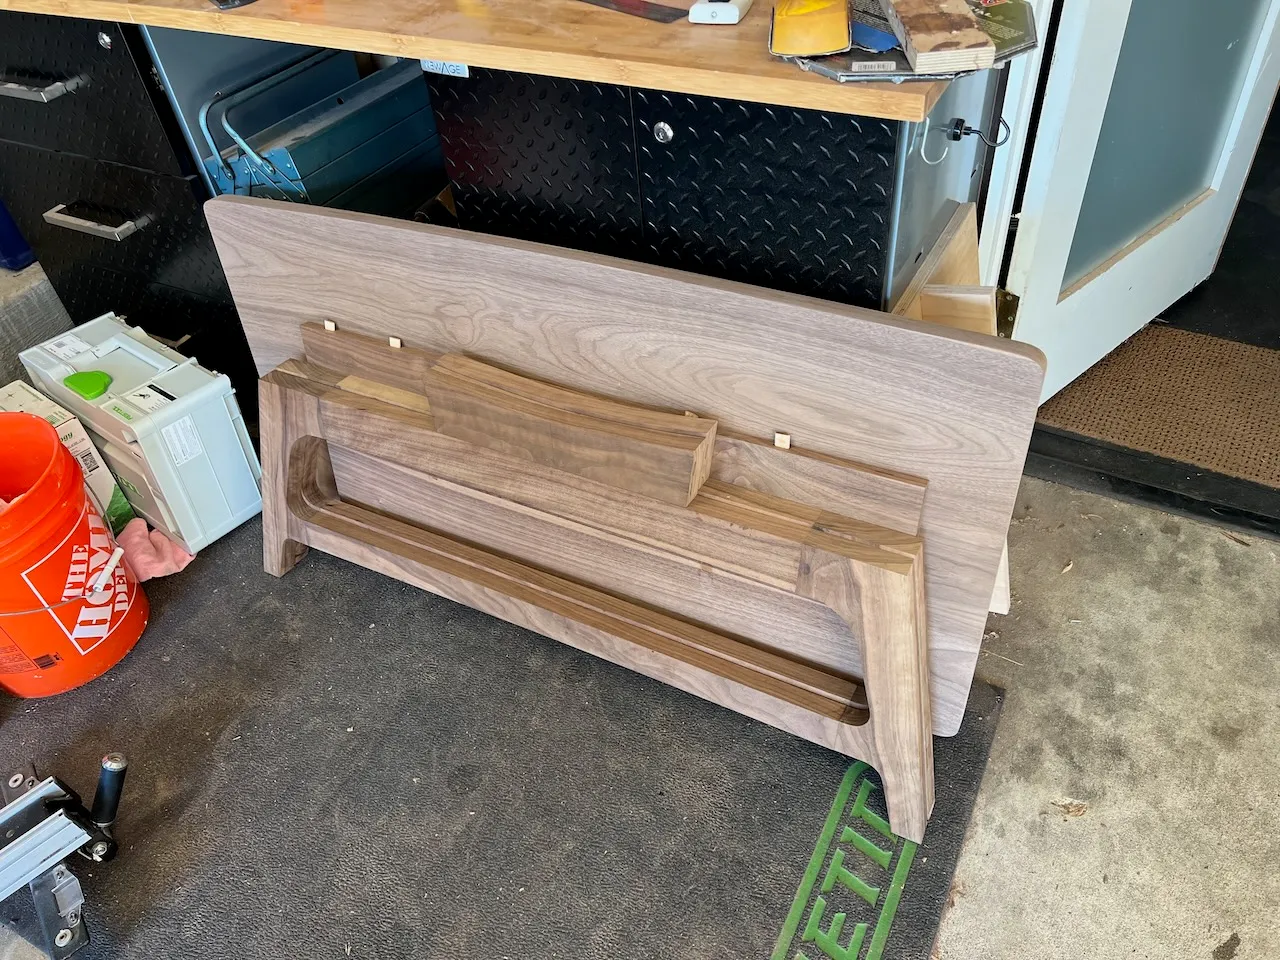
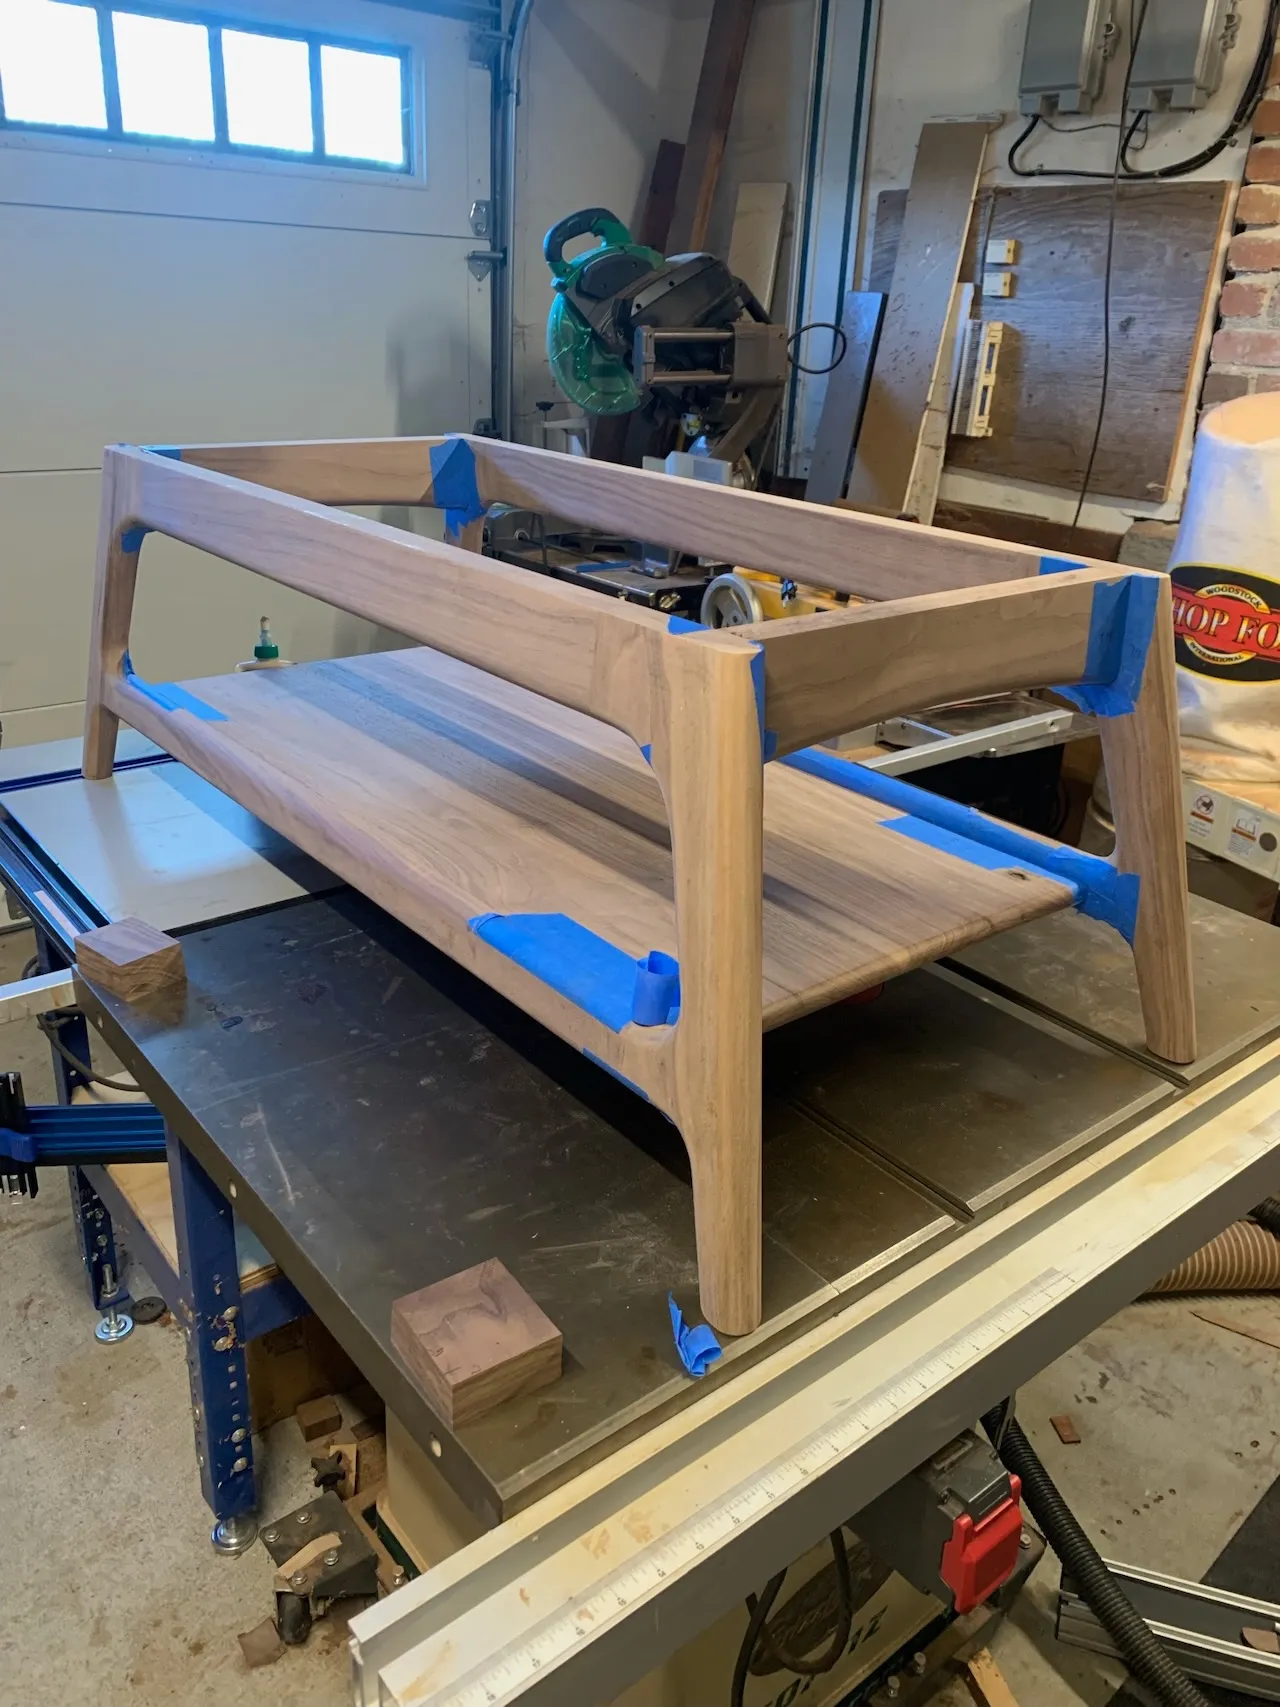
Dry fit
A real gut-check for alignment, and also proportions. At this point the table was feeling complete, if a little chunky. But I had to trust that the roundovers would take care of that.
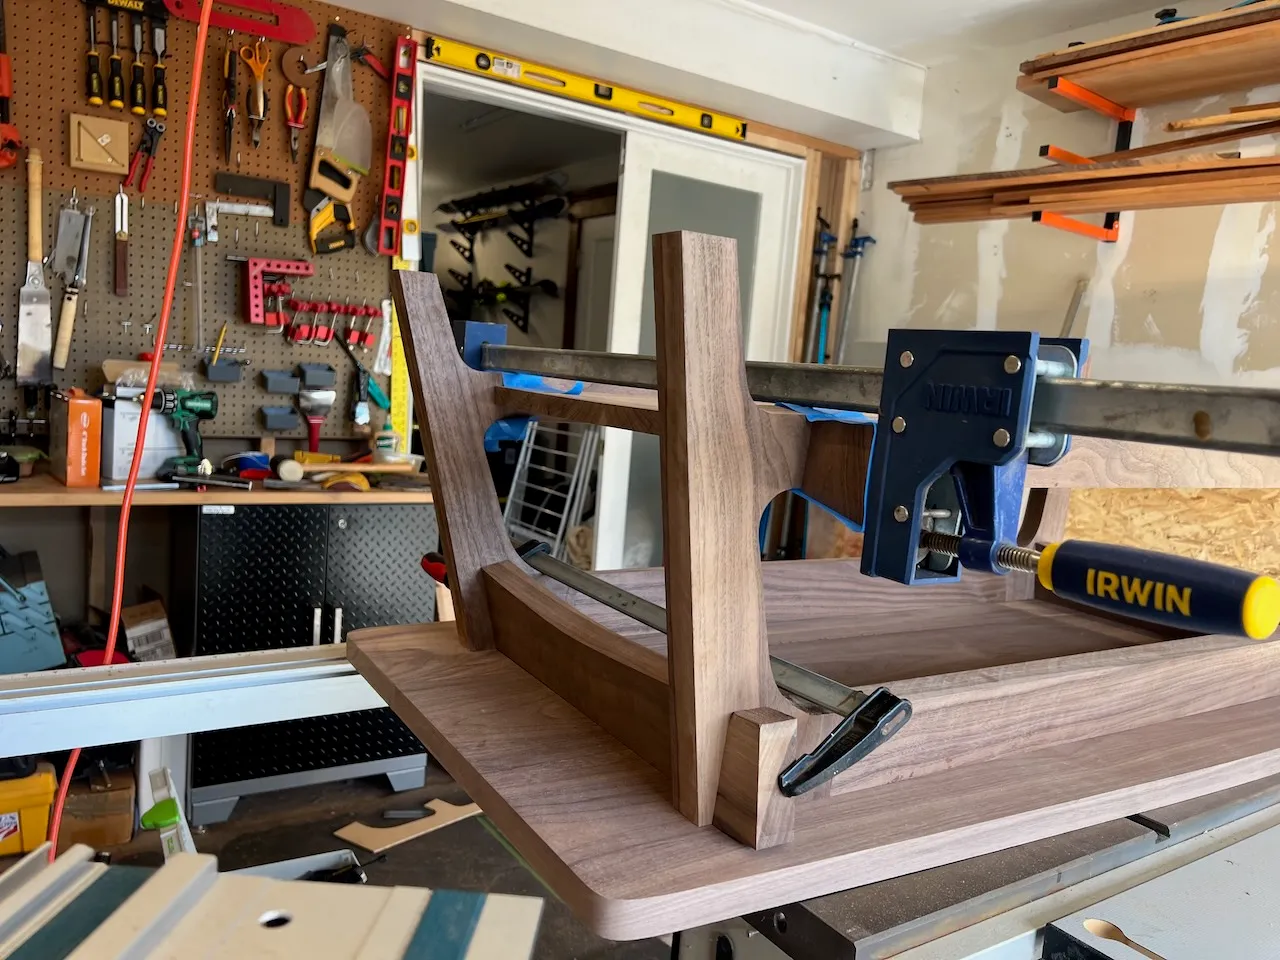
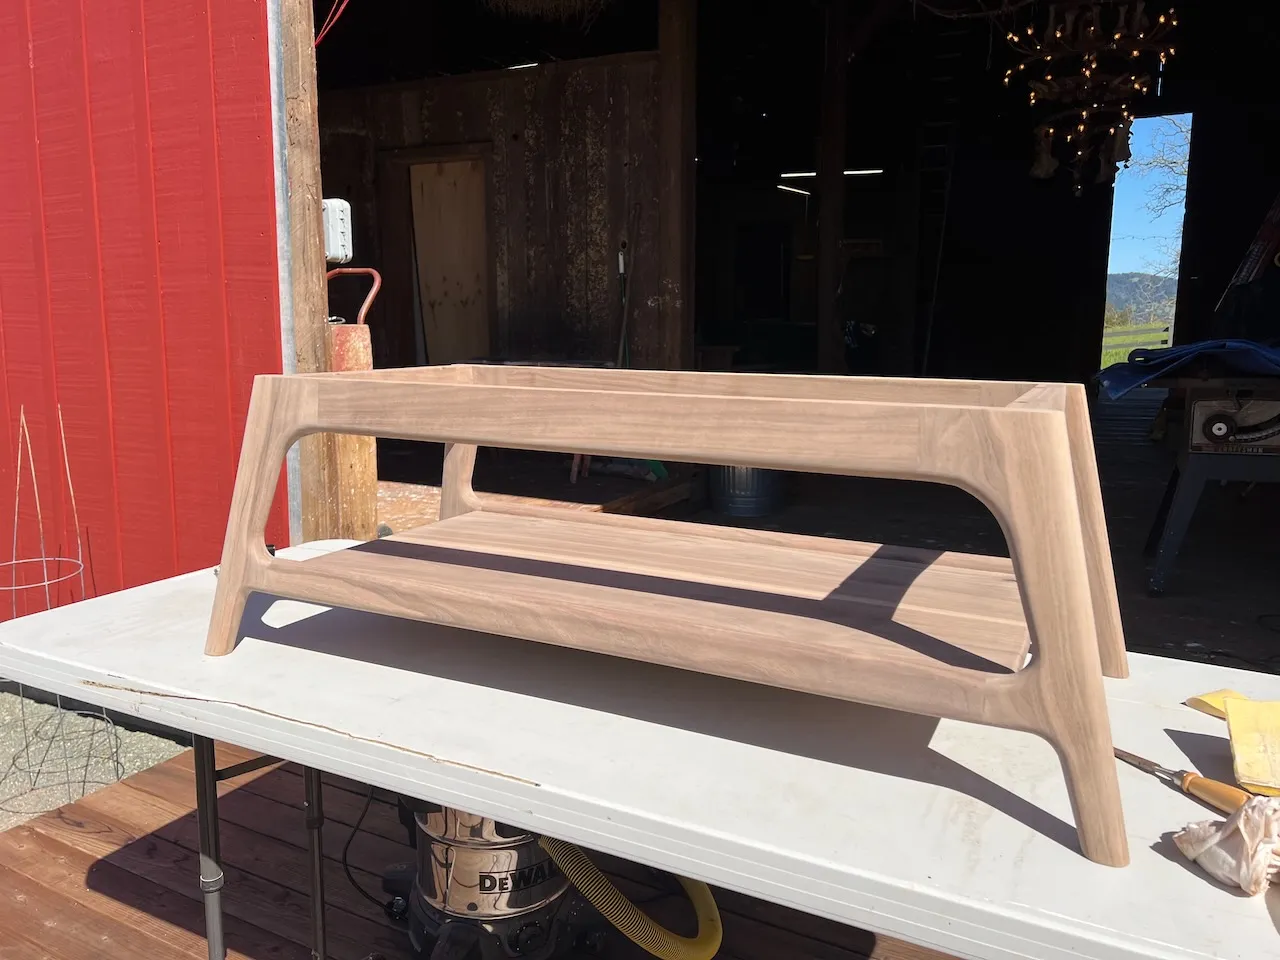
Shaping & sanding
Wow, this is where it felt like it was coming together! Getting roundovers carved into the leg assemblies and sanding all the interfaces between pieces was the moment the piece started to evoke the feeling I'd imagined.
Glue-up
This was still one of my first glue-ups, but since then, I've still never had a glue-up that wasn't stressful to some degree or another. Still, our prior dry fit helped ease the worst of my anxiety here. So did the help!
Finishing
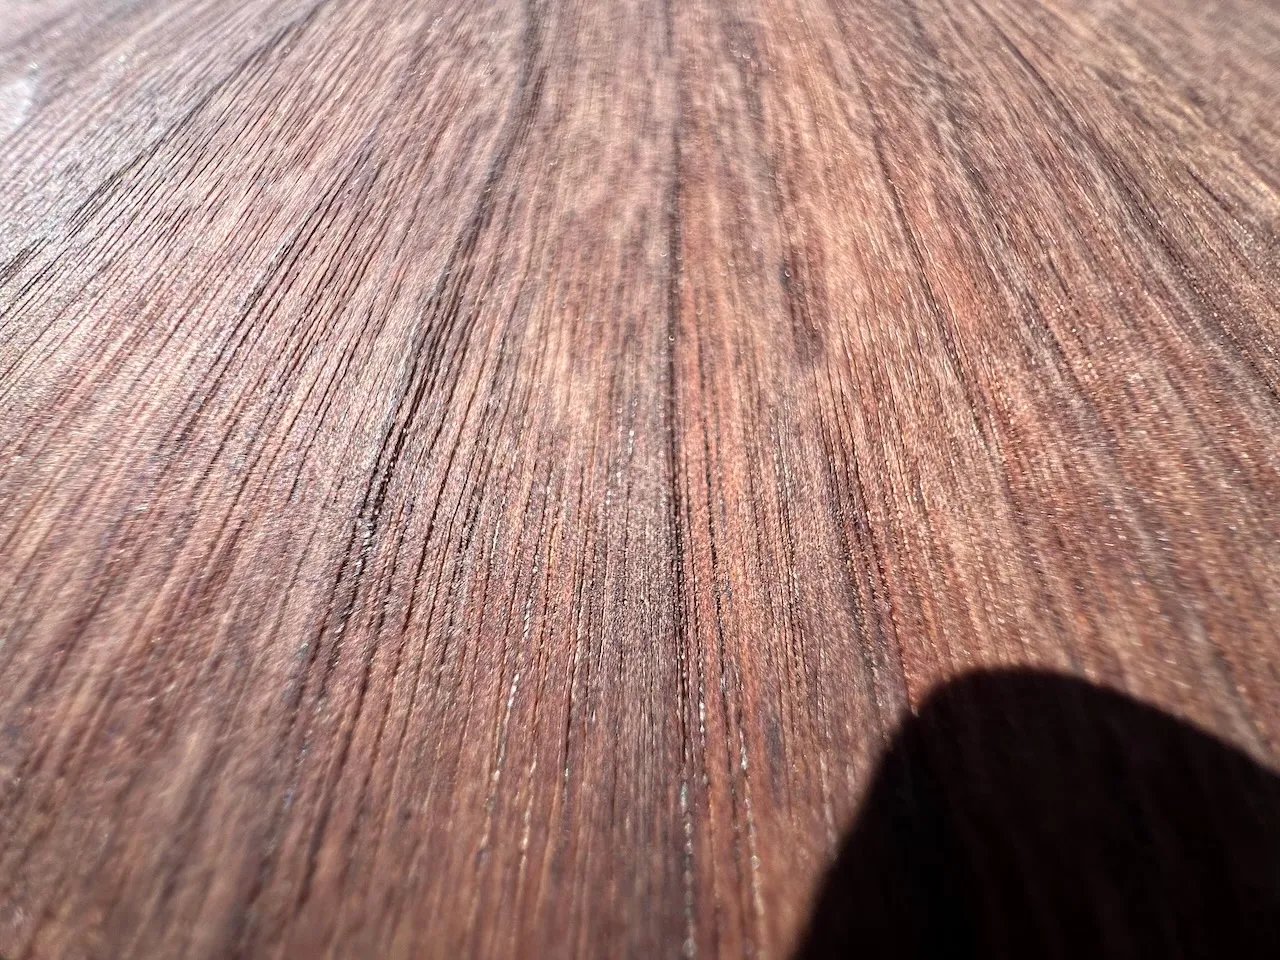
After three coats of Simple Finish, I was dismayed to see a "dusty" quality to the table, which appeared to result from wax settling into the open grain of the walnut, especially on more figured areas (end grain).
Finishing, again
I figured maybe just... more coats? This did the trick. My conclusion was that the end grain was thirsty, and I needed to apply enough of the finish to build up a smooth layer of wax at the outer surface.

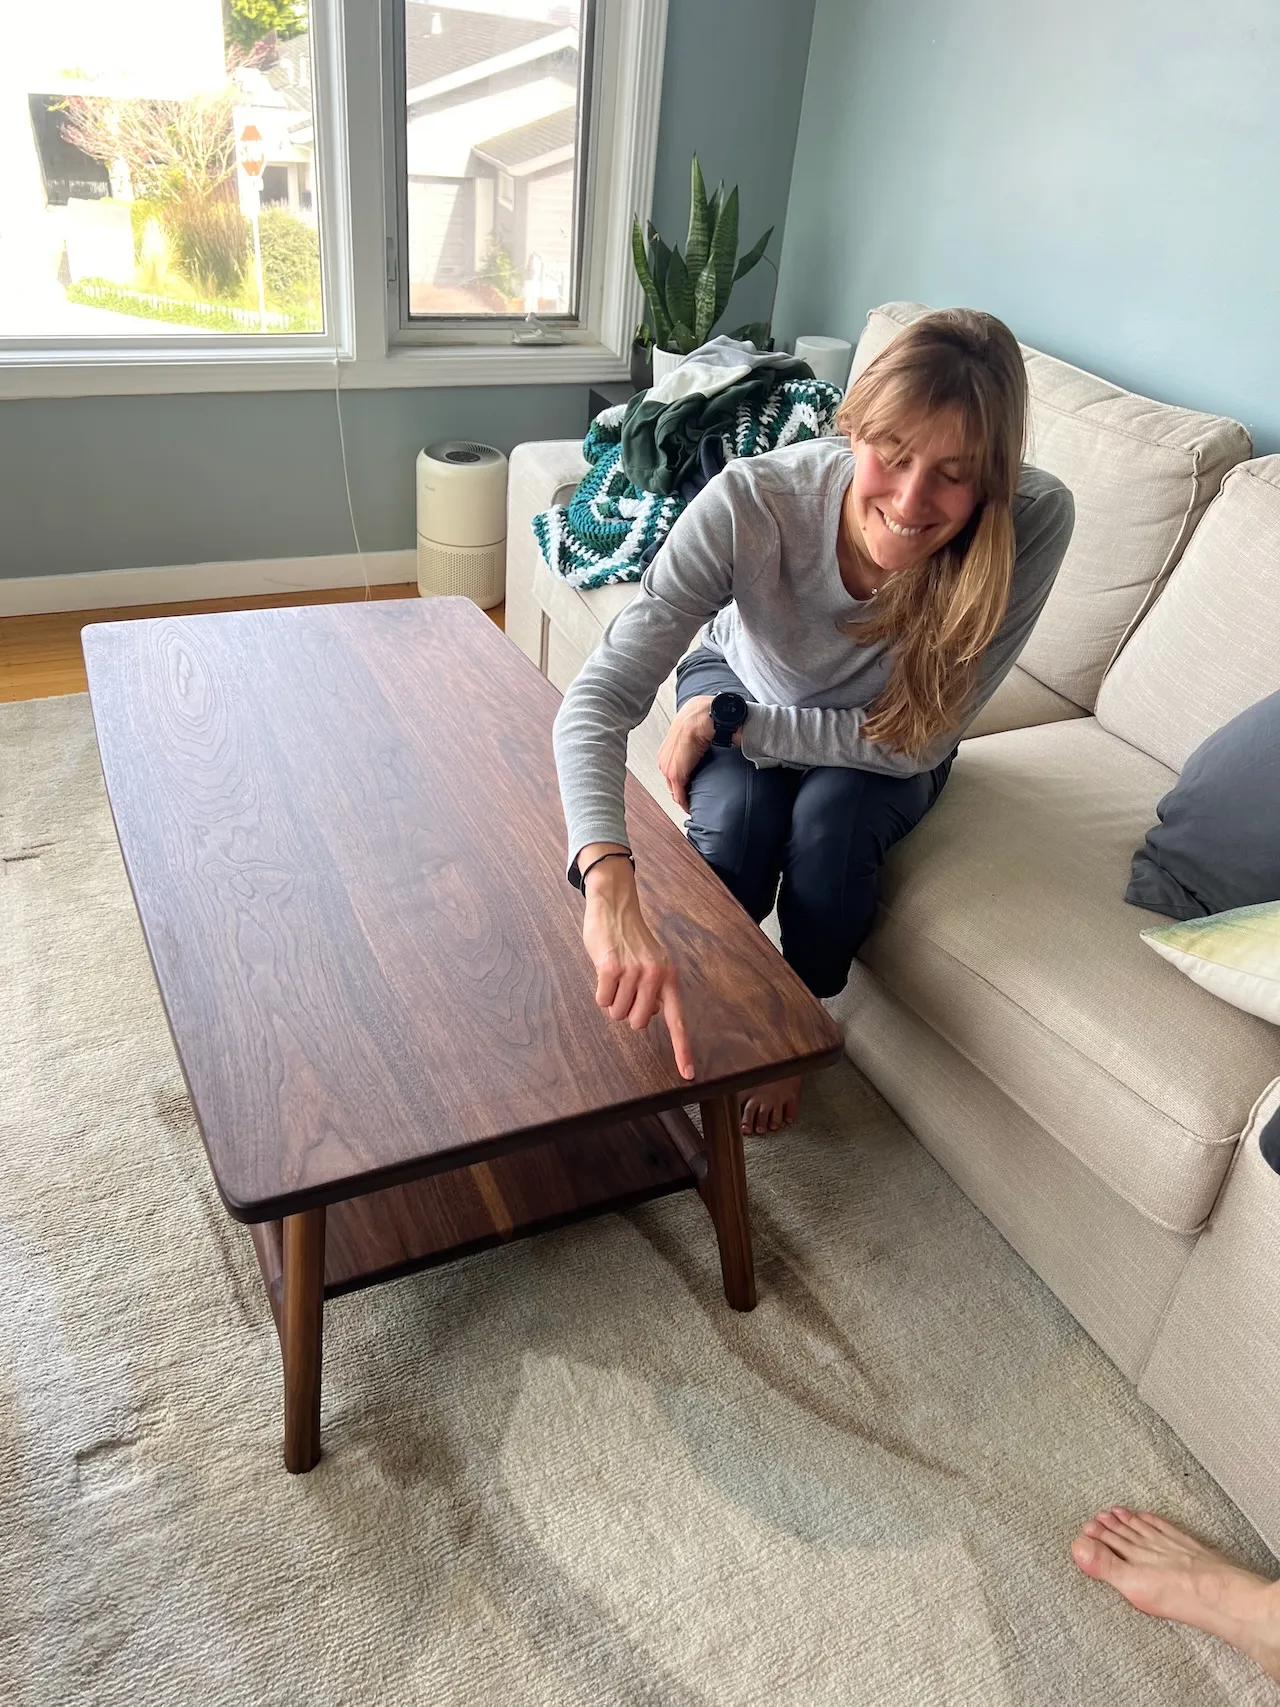
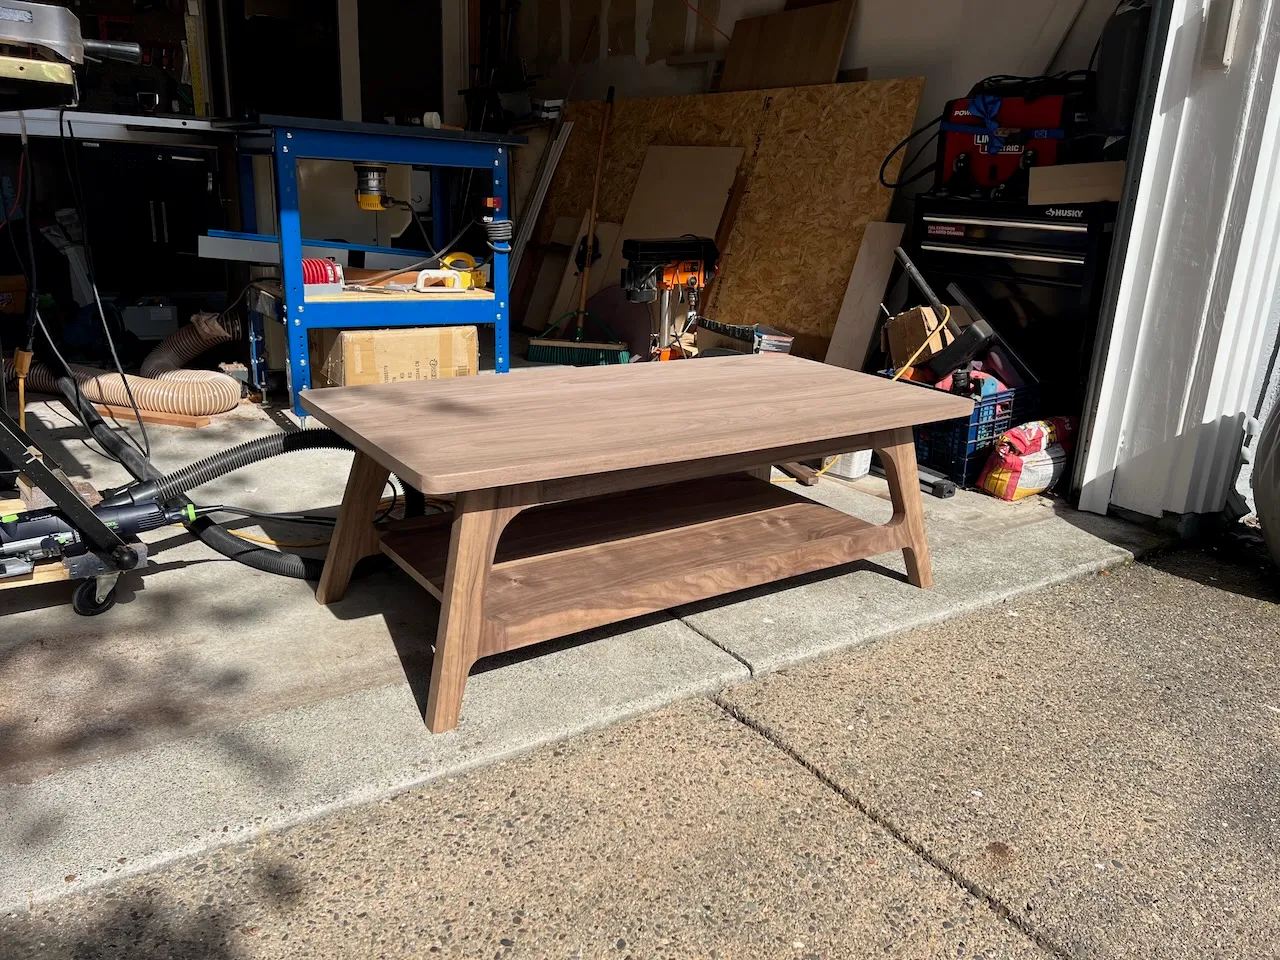
Result
It felt good to finally deliver this table after more than three months of sporadic work. The best part was that I kept the project as a surprise, and even though it arrived two months after the wedding, I think it was most appreciated.
My favorite part of the table ended up being the sapwood contrasts, which I hadn't included in my original design. If I could change one thing about the table, I'd try some kind of tapered edge on the side of the table top instead of the simpler flat edge with small roundovers.
I'd given woodworking one shot before this and quit in a combination of frustration and missing motivation. Turns out, I just needed to want to make something specific. The curiosity, learning, and work ethic followed from there.