Shop cabinets & cleats
Prompt
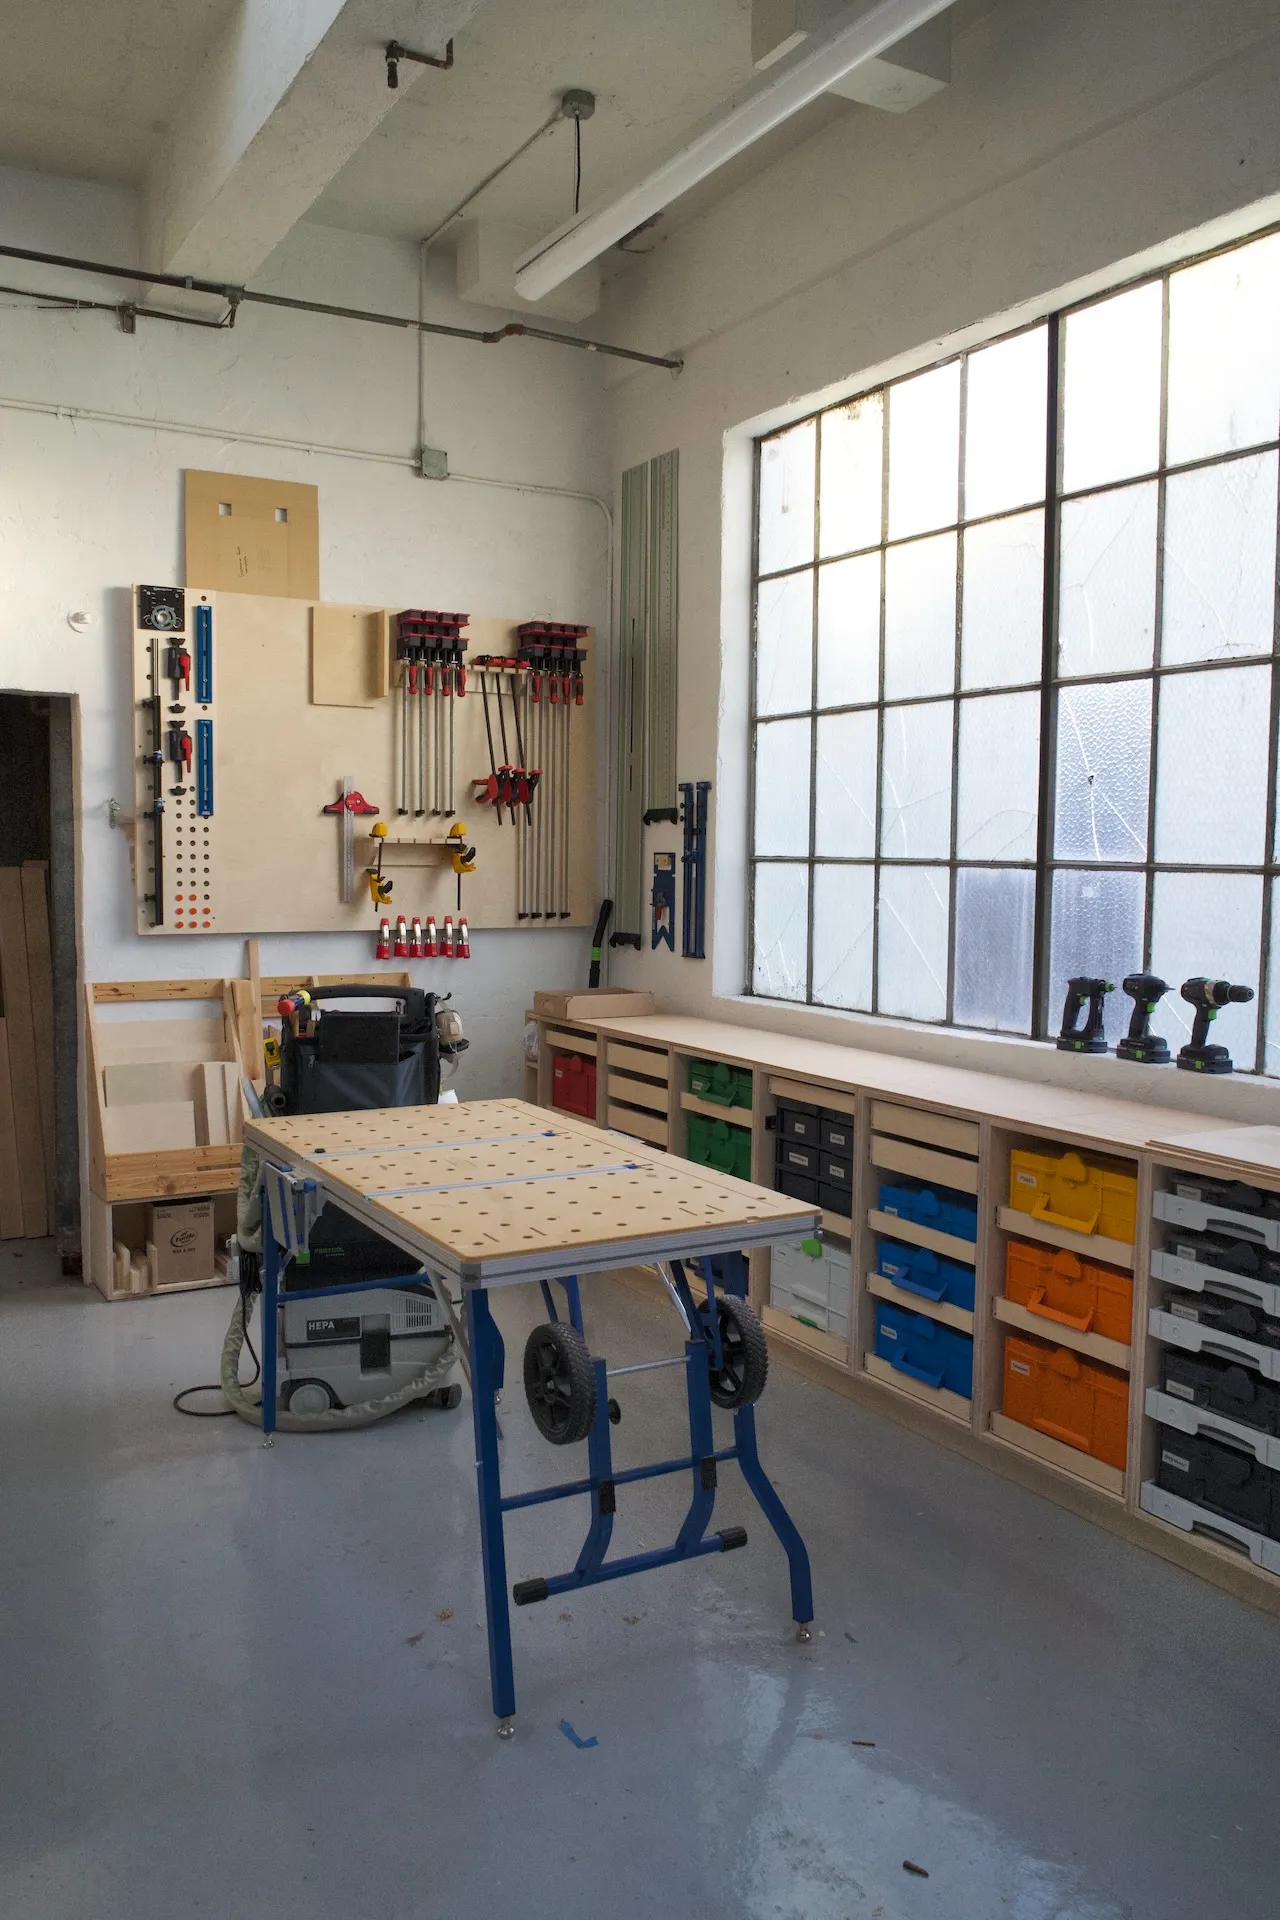
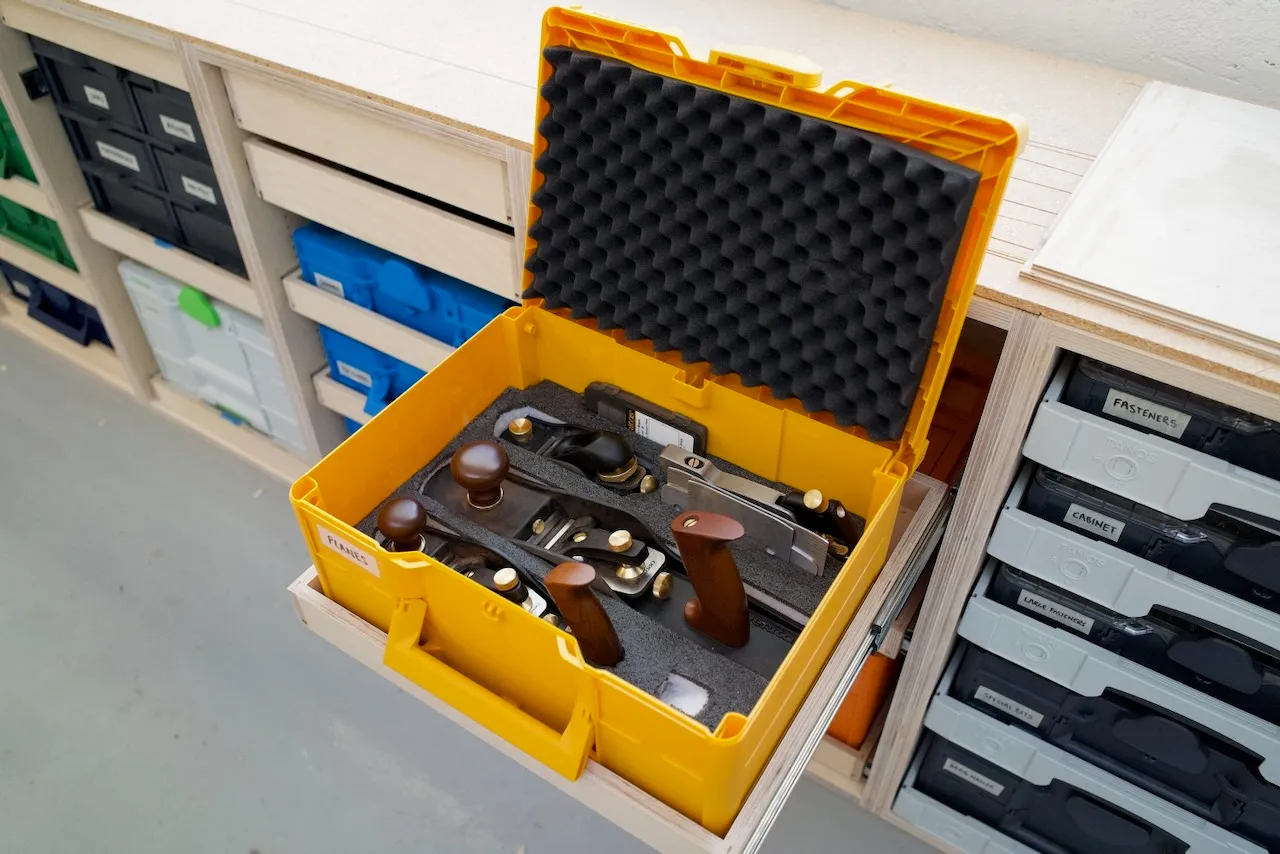
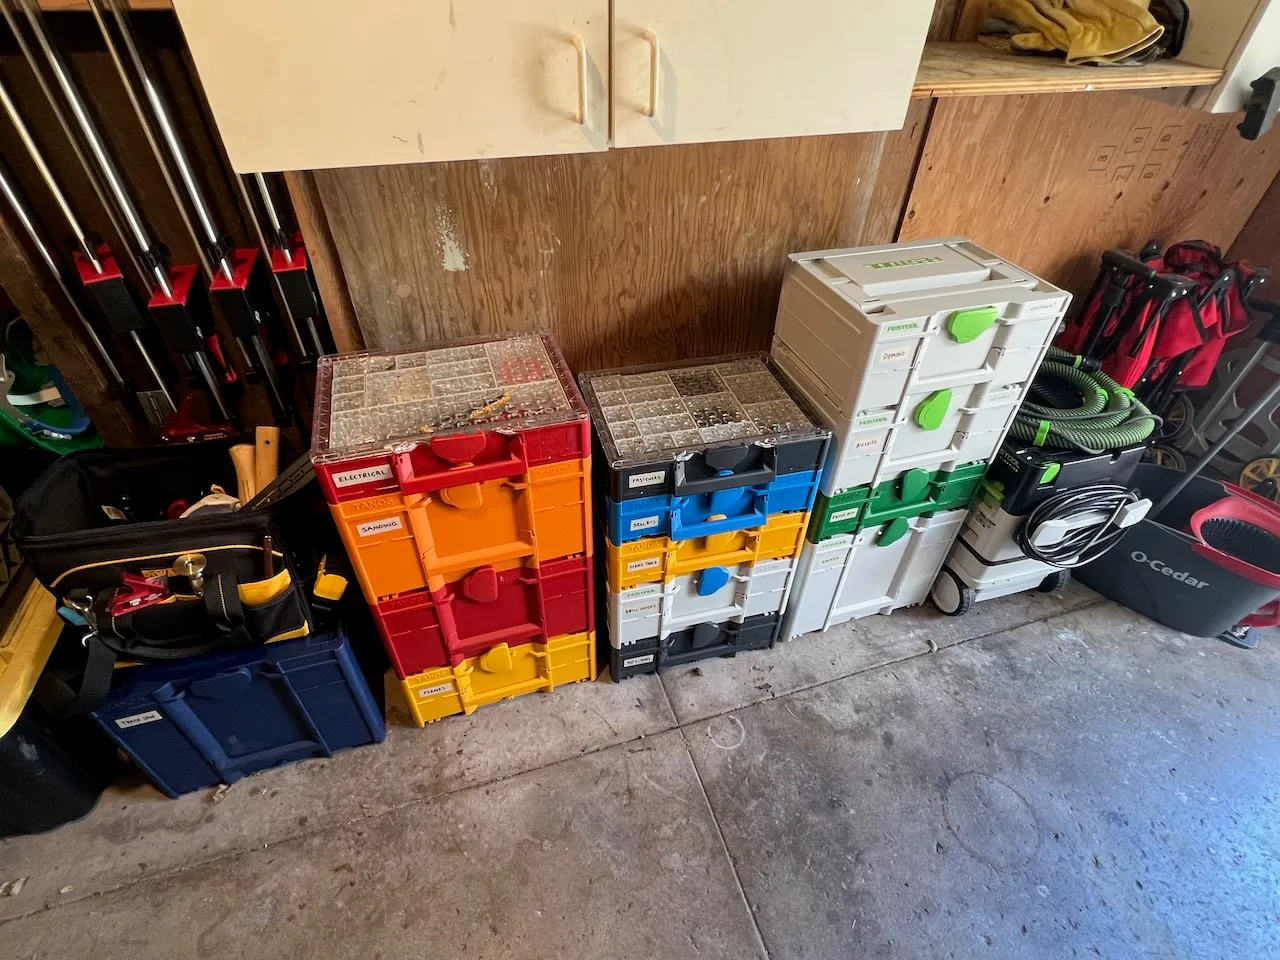
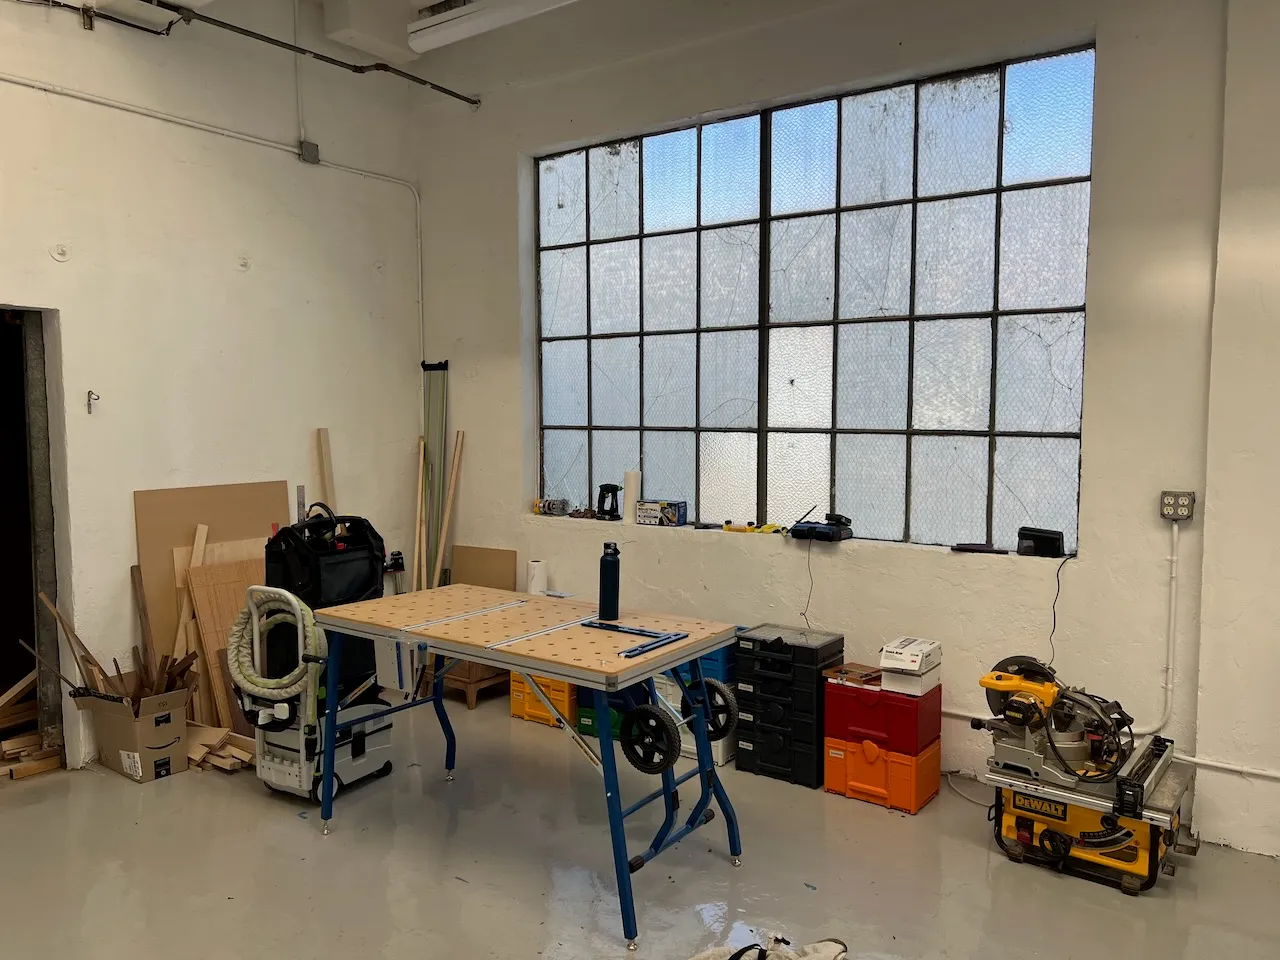
I wanted to set up my workspace at Mission Community Woodshop to accommodate Tanos systainer boxes, which I'd been collecting for my tools. The idea is to be able to move this stuff between workshop and job sites (as I collect more of those!). I also wanted to set up some storage on the wall for clamps and other items.
Design
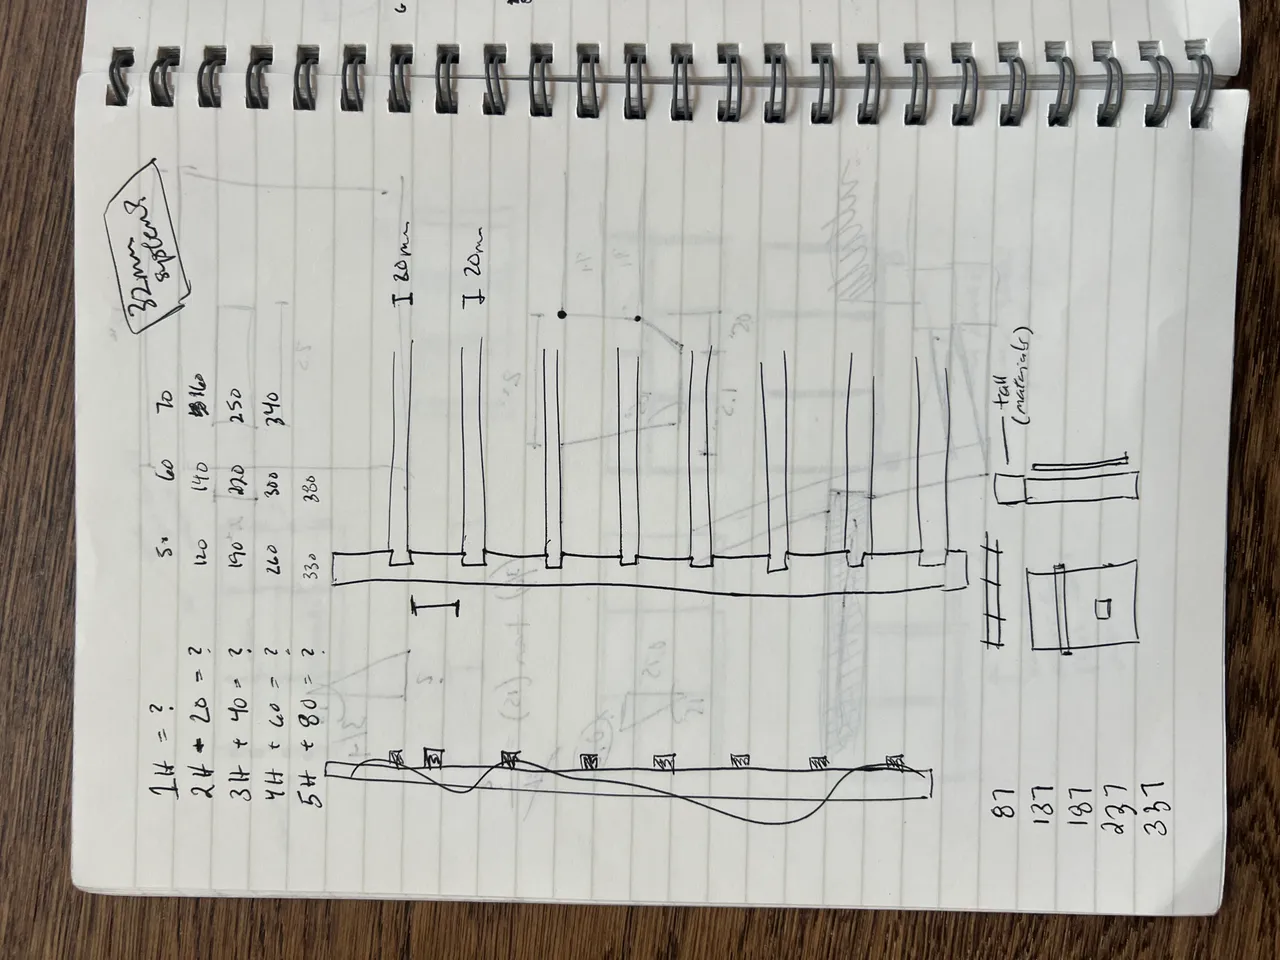
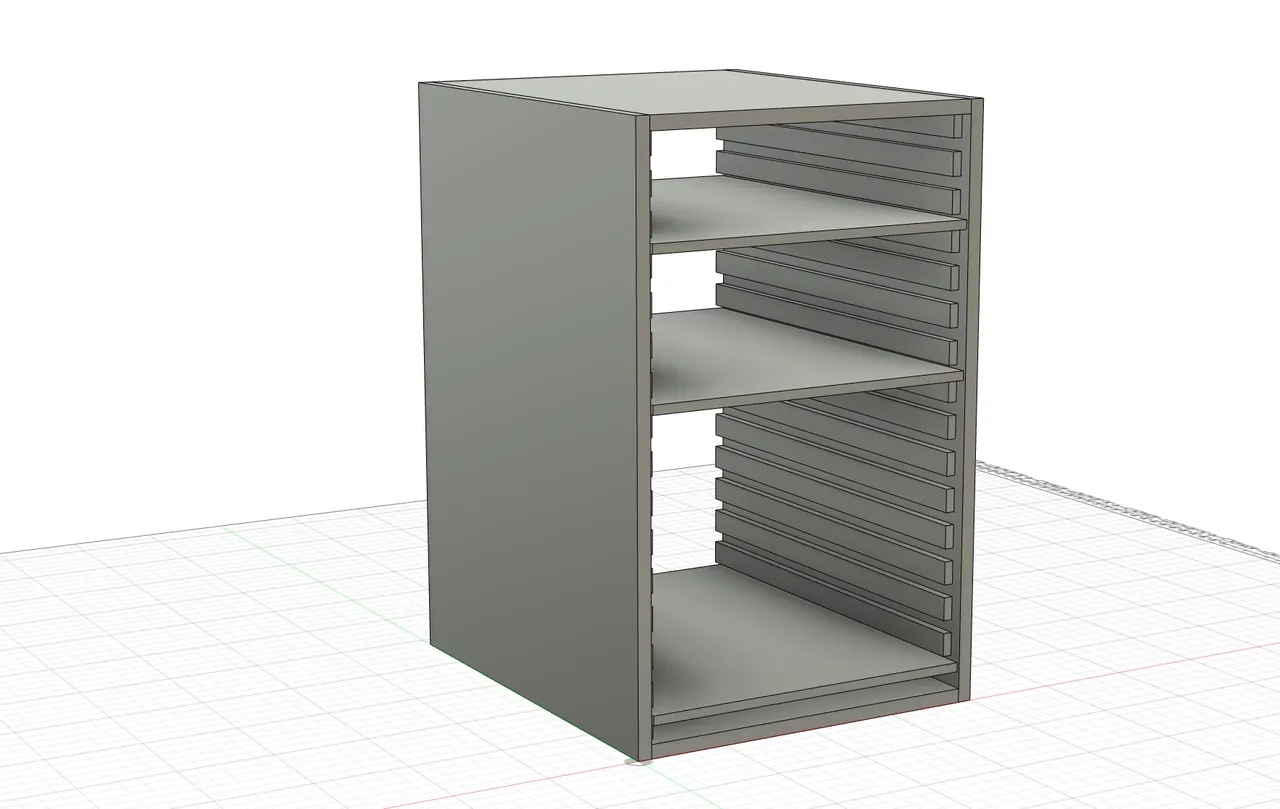
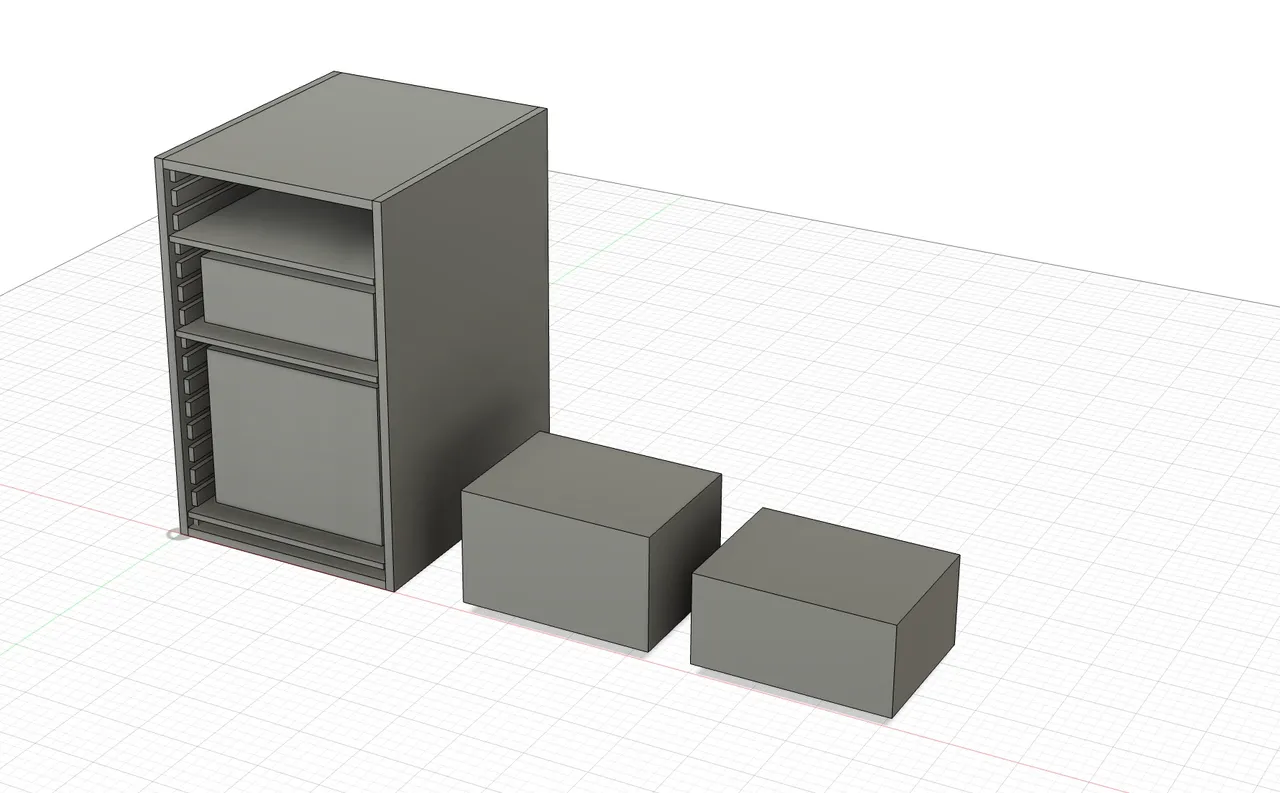
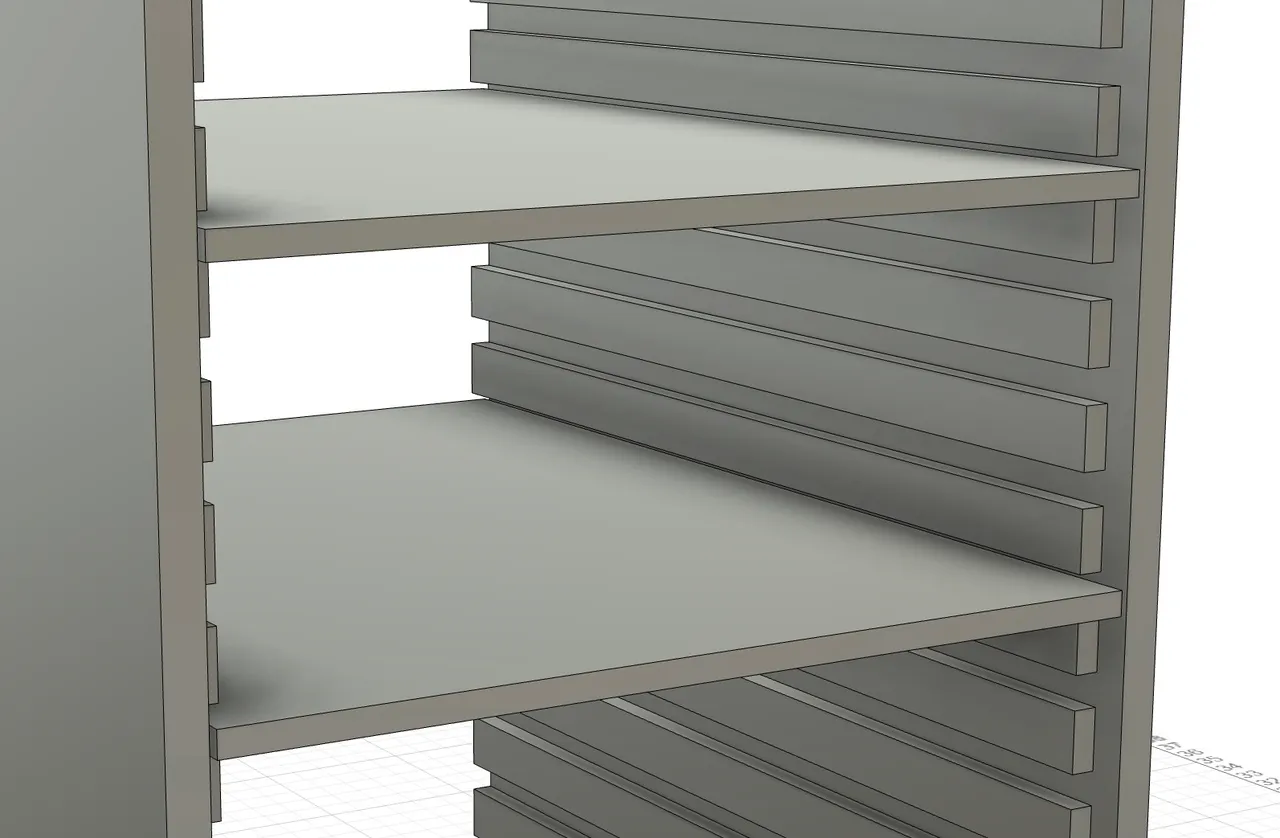
I originally planned to create trays set to slide along grooves in cabinets. The idea was that with a lot of grooves, I could set trays at any height and easily rearrange them, and also avoid the expense of drawer slides. I made a quick prototype but wasn't happy with the result. The trays tipped forward too much, slid unevenly, and racked more than I'd like.
Cabinets
I next decided to make a cabinet for the Sys-AZ drawer slides. I tried rabbets routed into the side panels and pre-drilled 5mm holes for the drawer slides on 16mm centers (twice as dense as the 32mm standard). This worked well, but the drawer slides are expensive and the whole system seemed to now be overly designed around these tool boxes
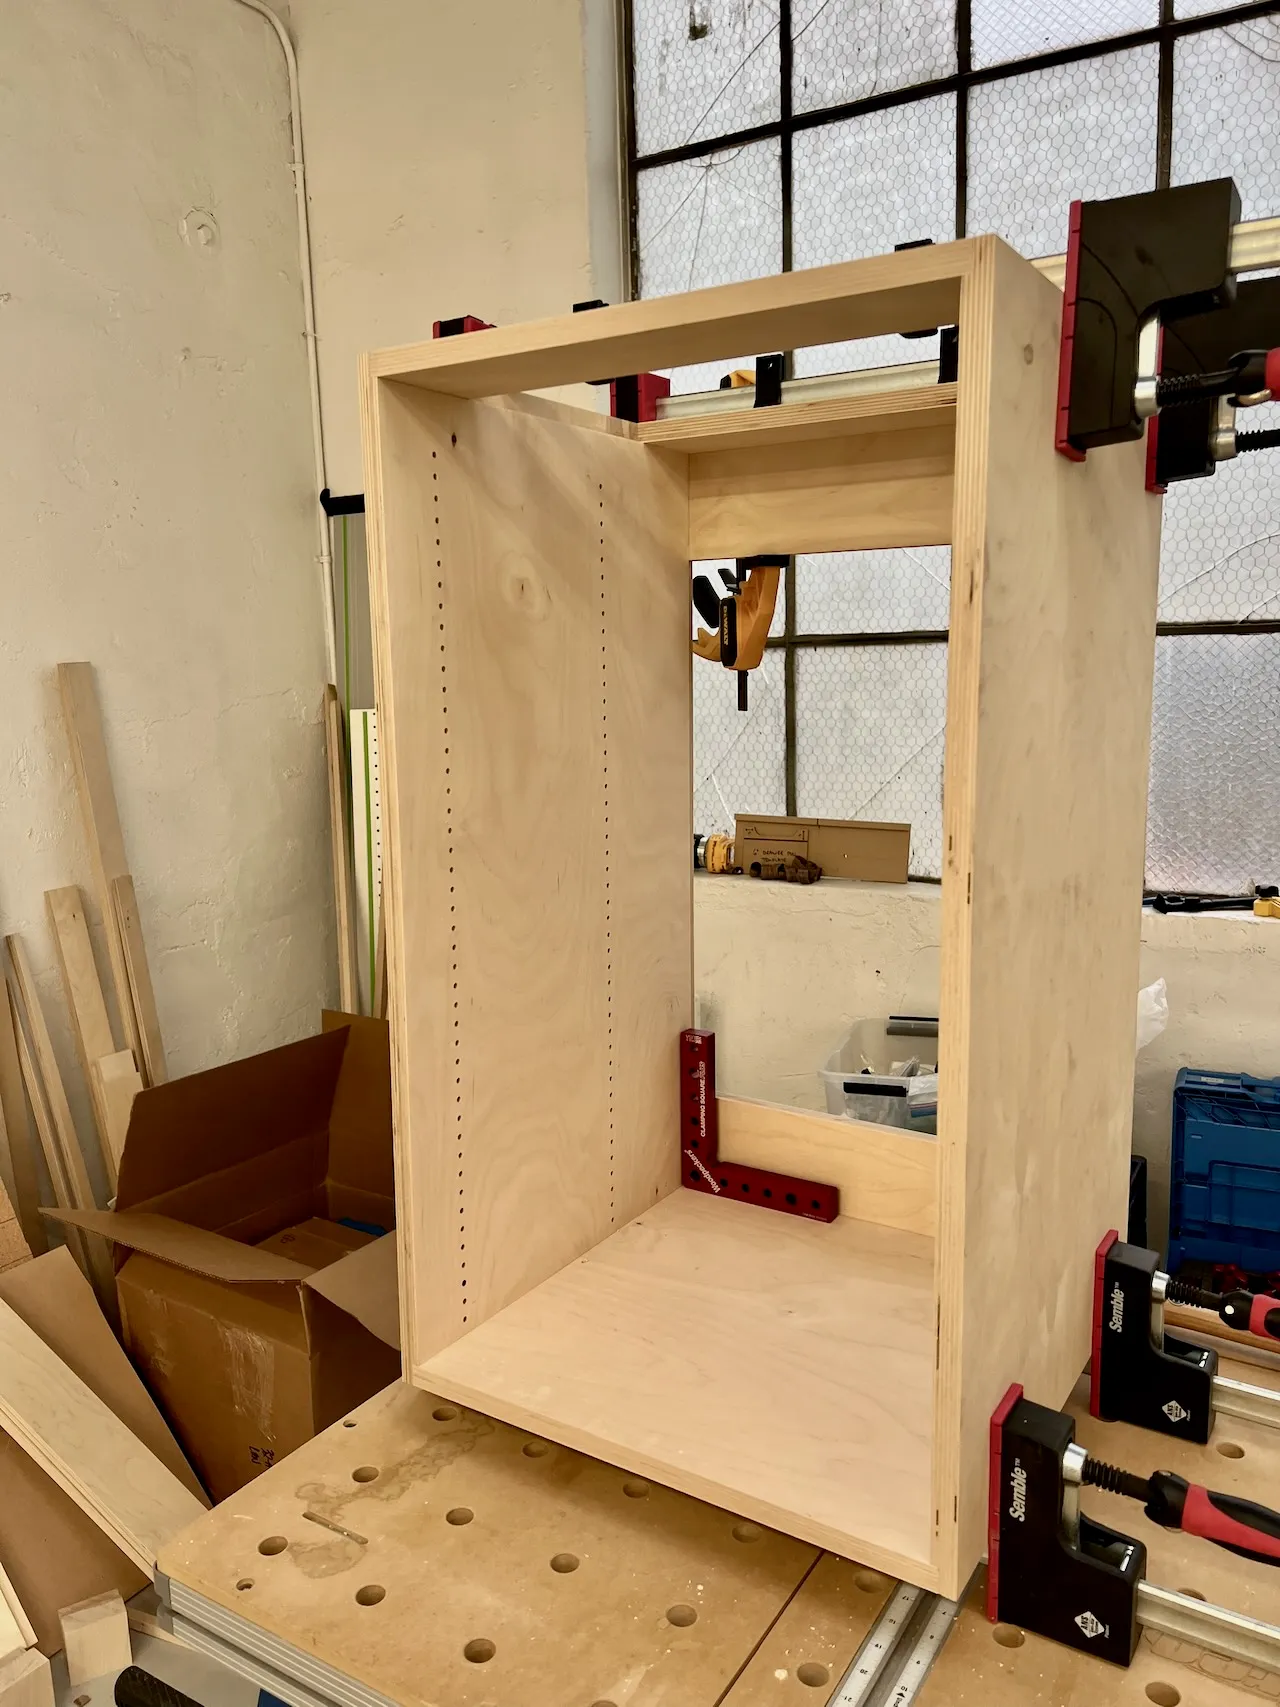
So! Back to the drawing board. This time, I switched to make much more standard cabinets with side-mounted drawer slides. I stuck with the pre-drilled holes (even though this meant drilling over 1100 of them!) and transitioned to butt joints to keep measurements simple. I took a good amount of inspiration / security from this video: STOP overbuilding cabinets - YouTube
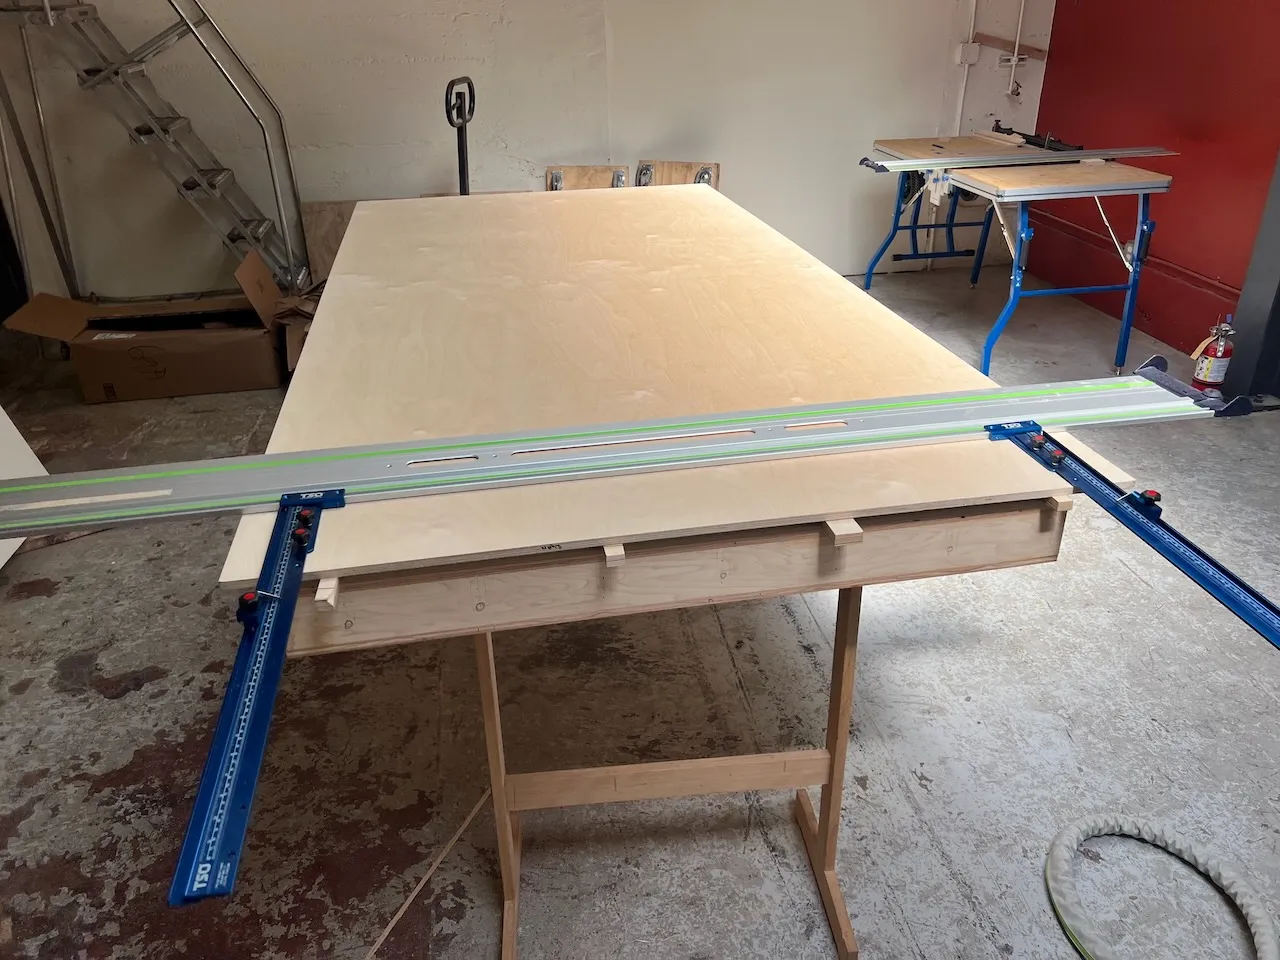
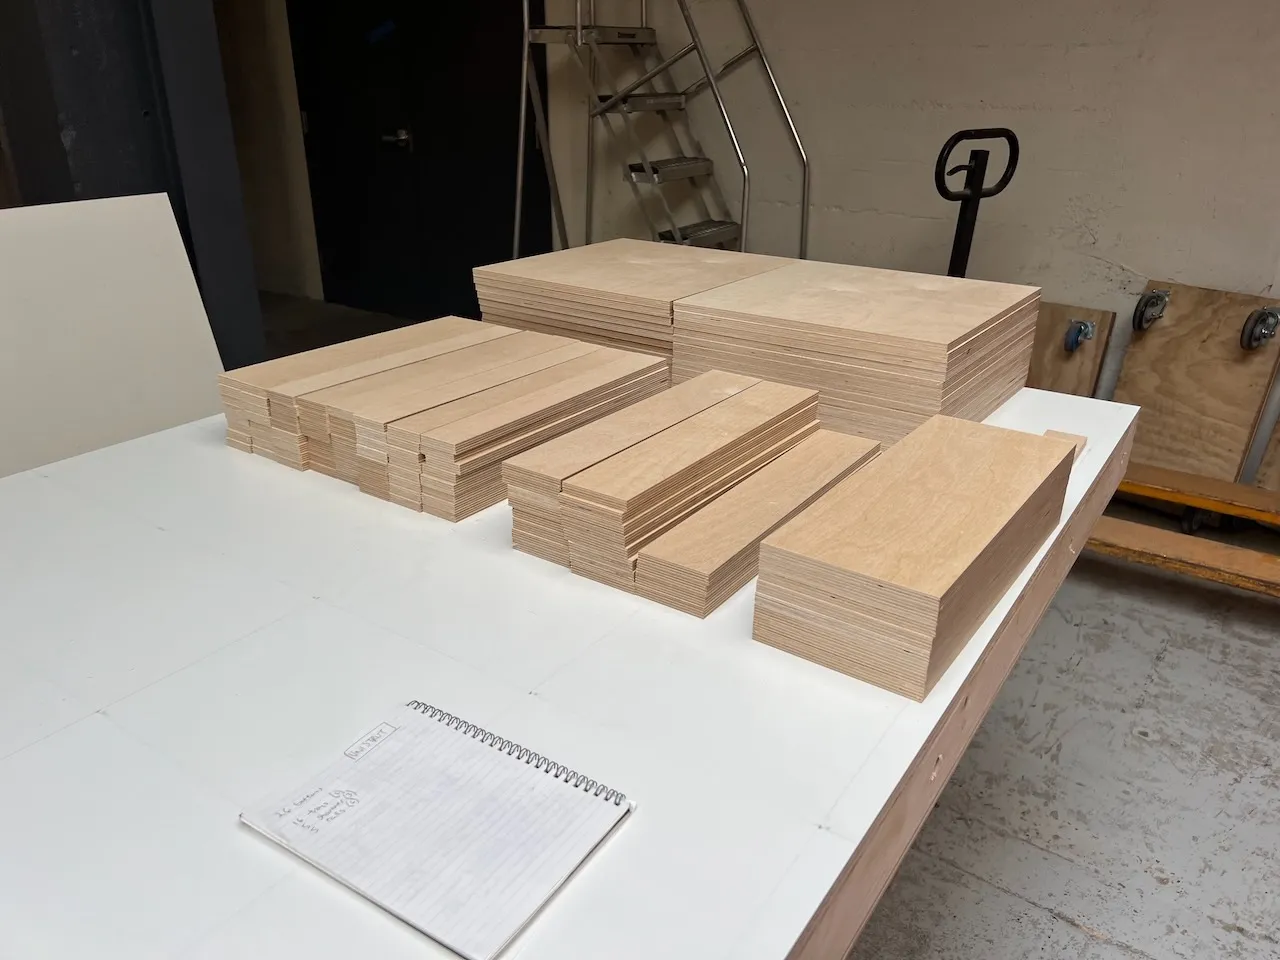
Breaking down the plywood
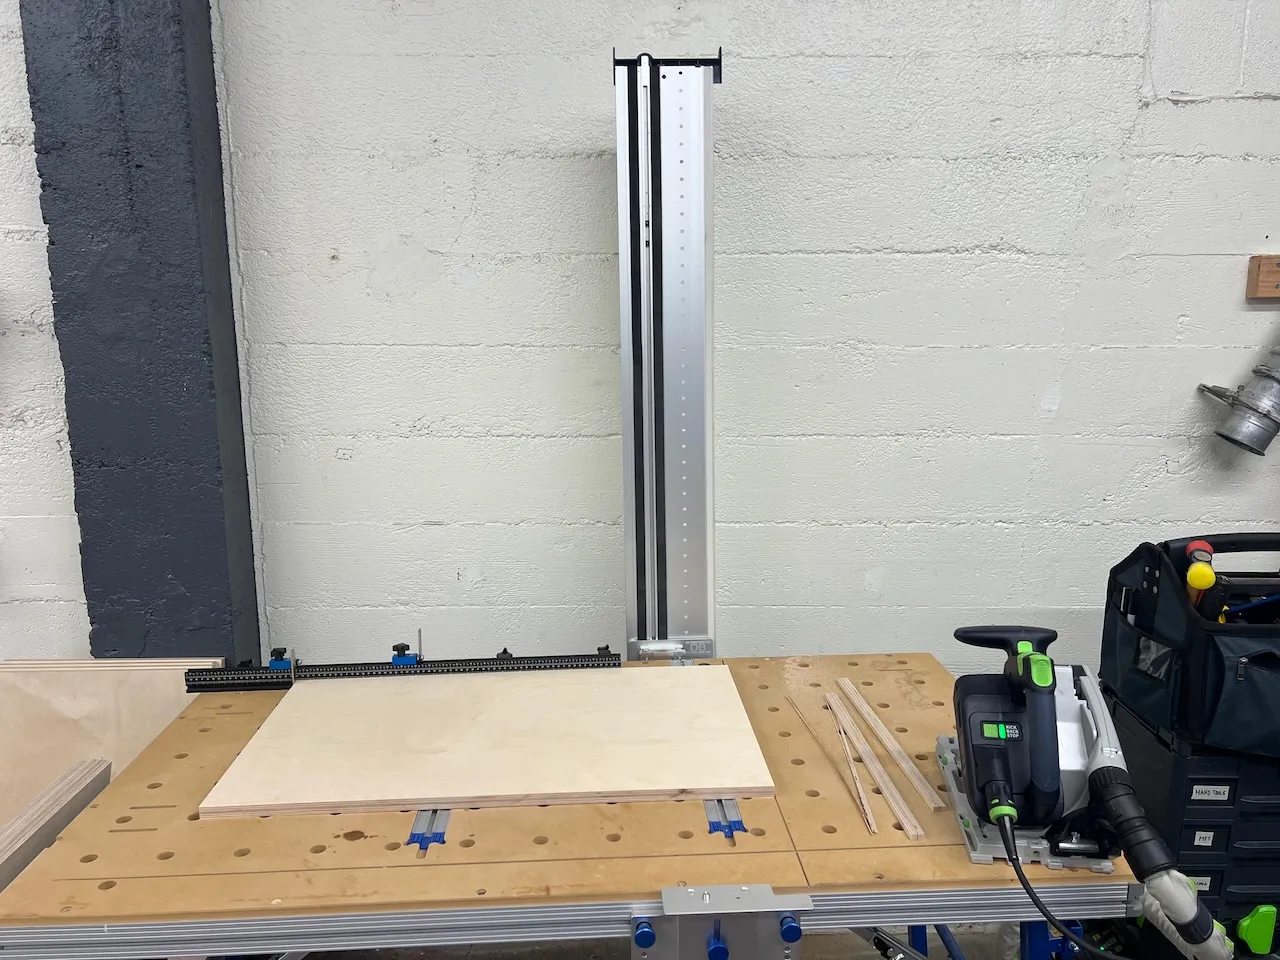
Repeatable cuts
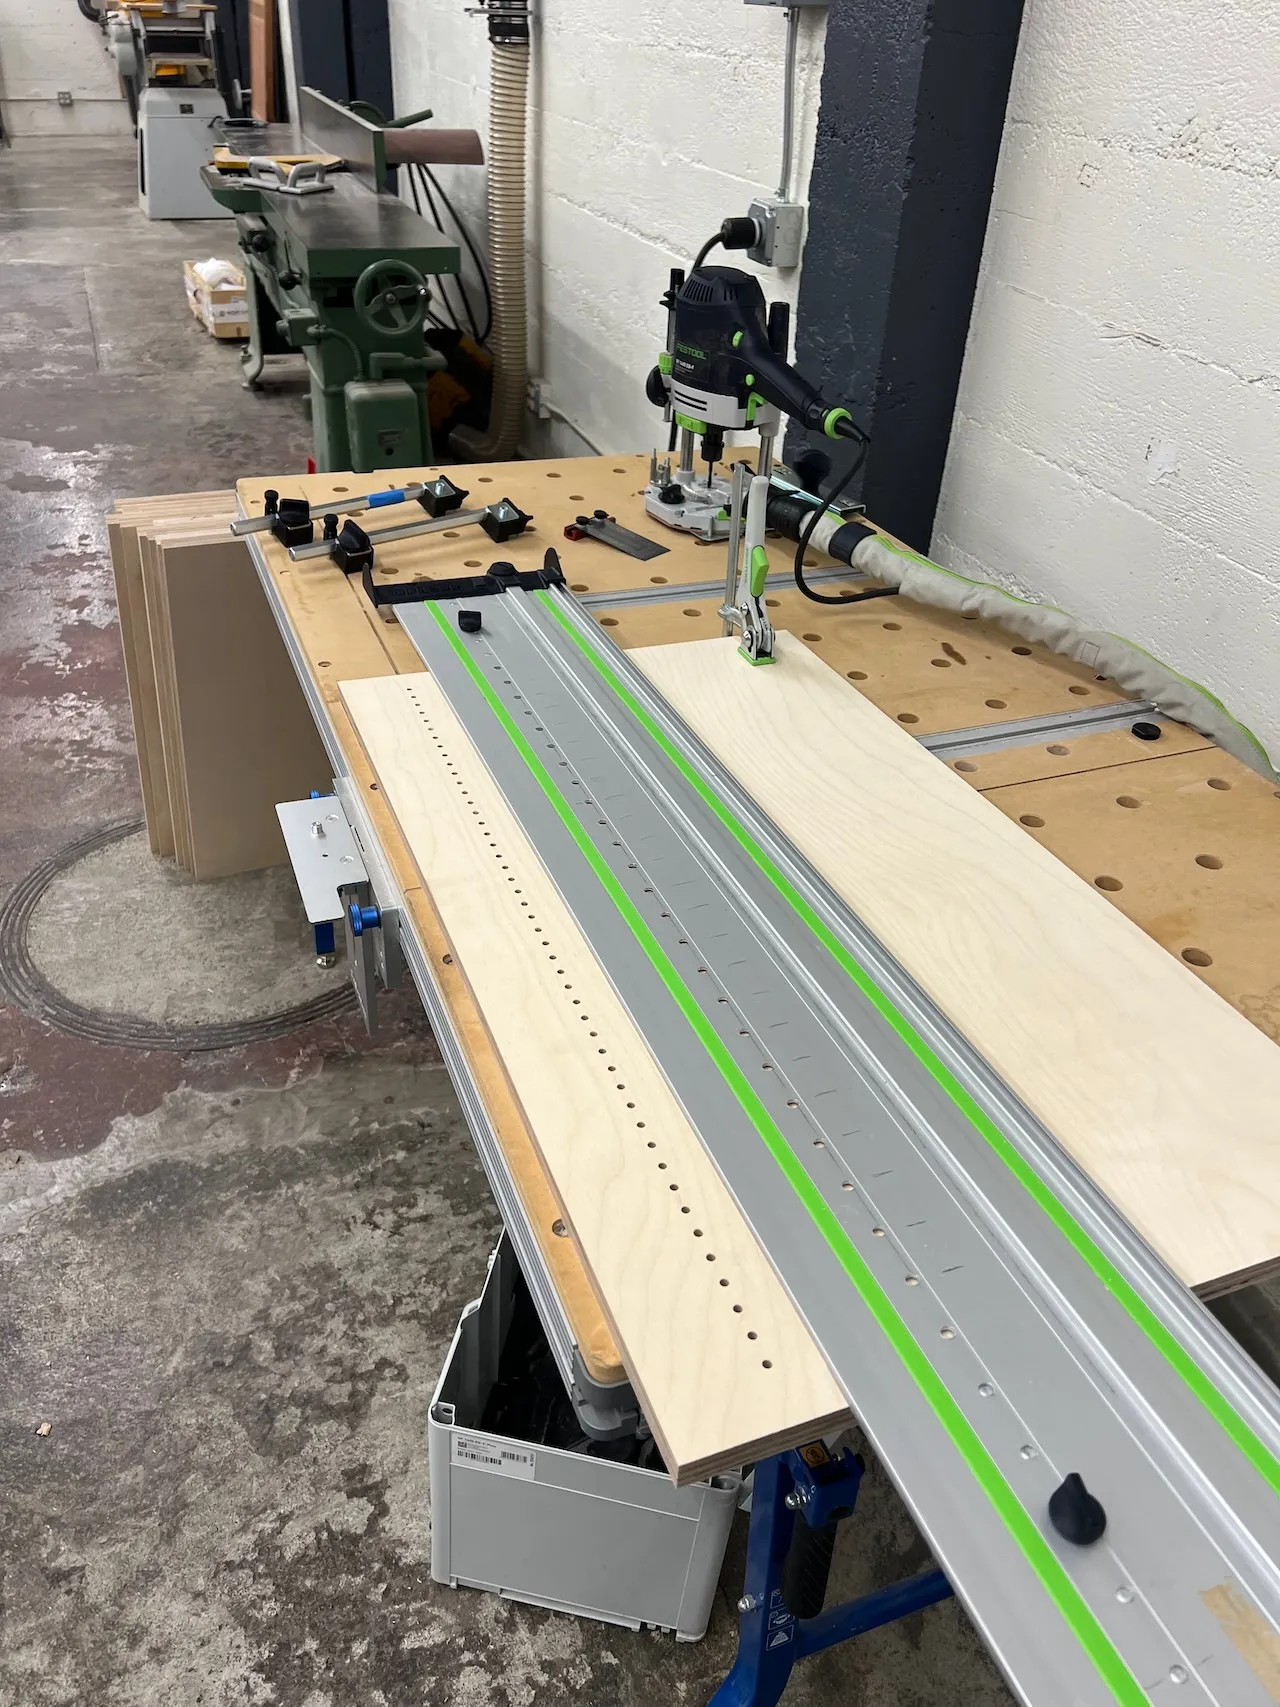
Holes every 16mm
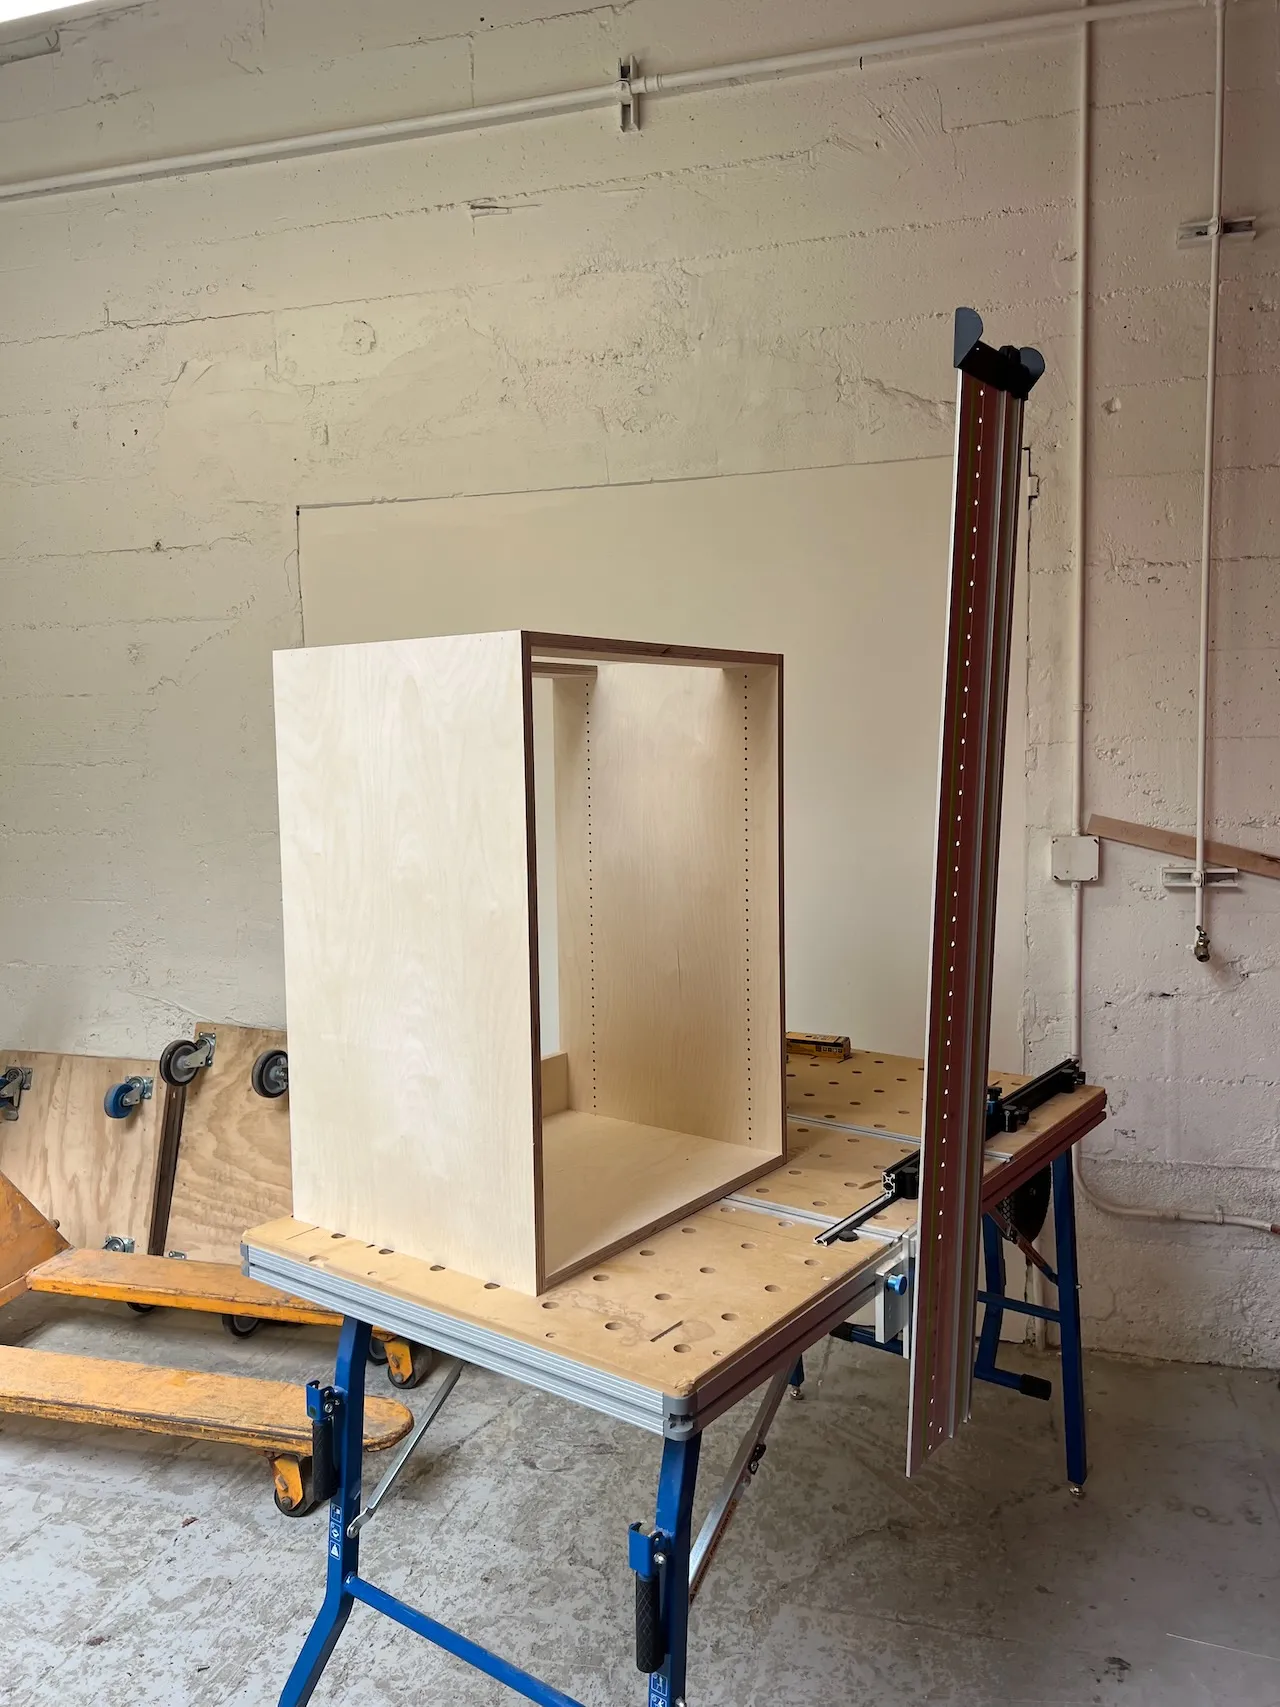
Brad nails and screws, keep it simple
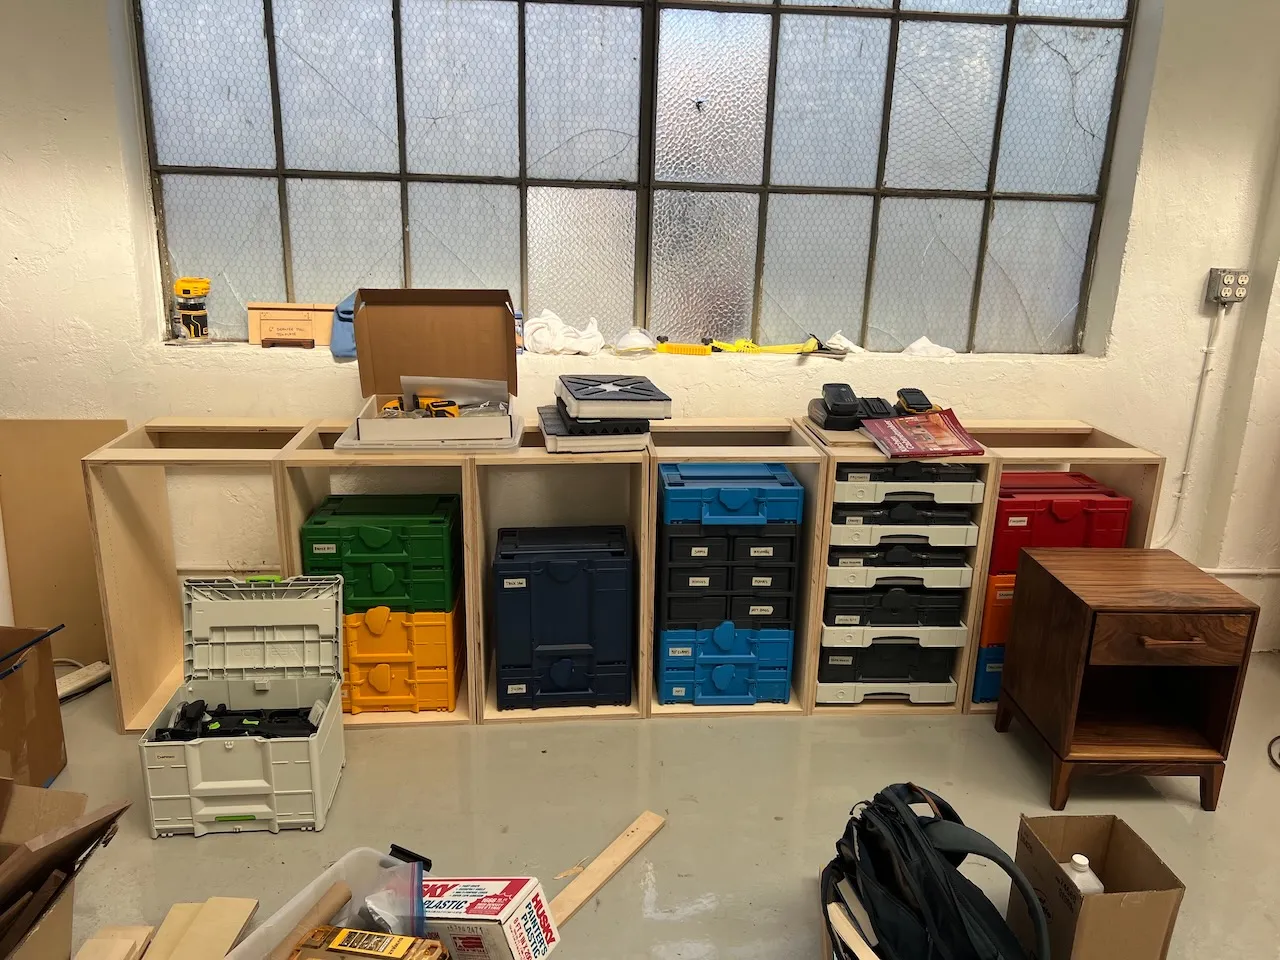
Cabinets in place
Drawers
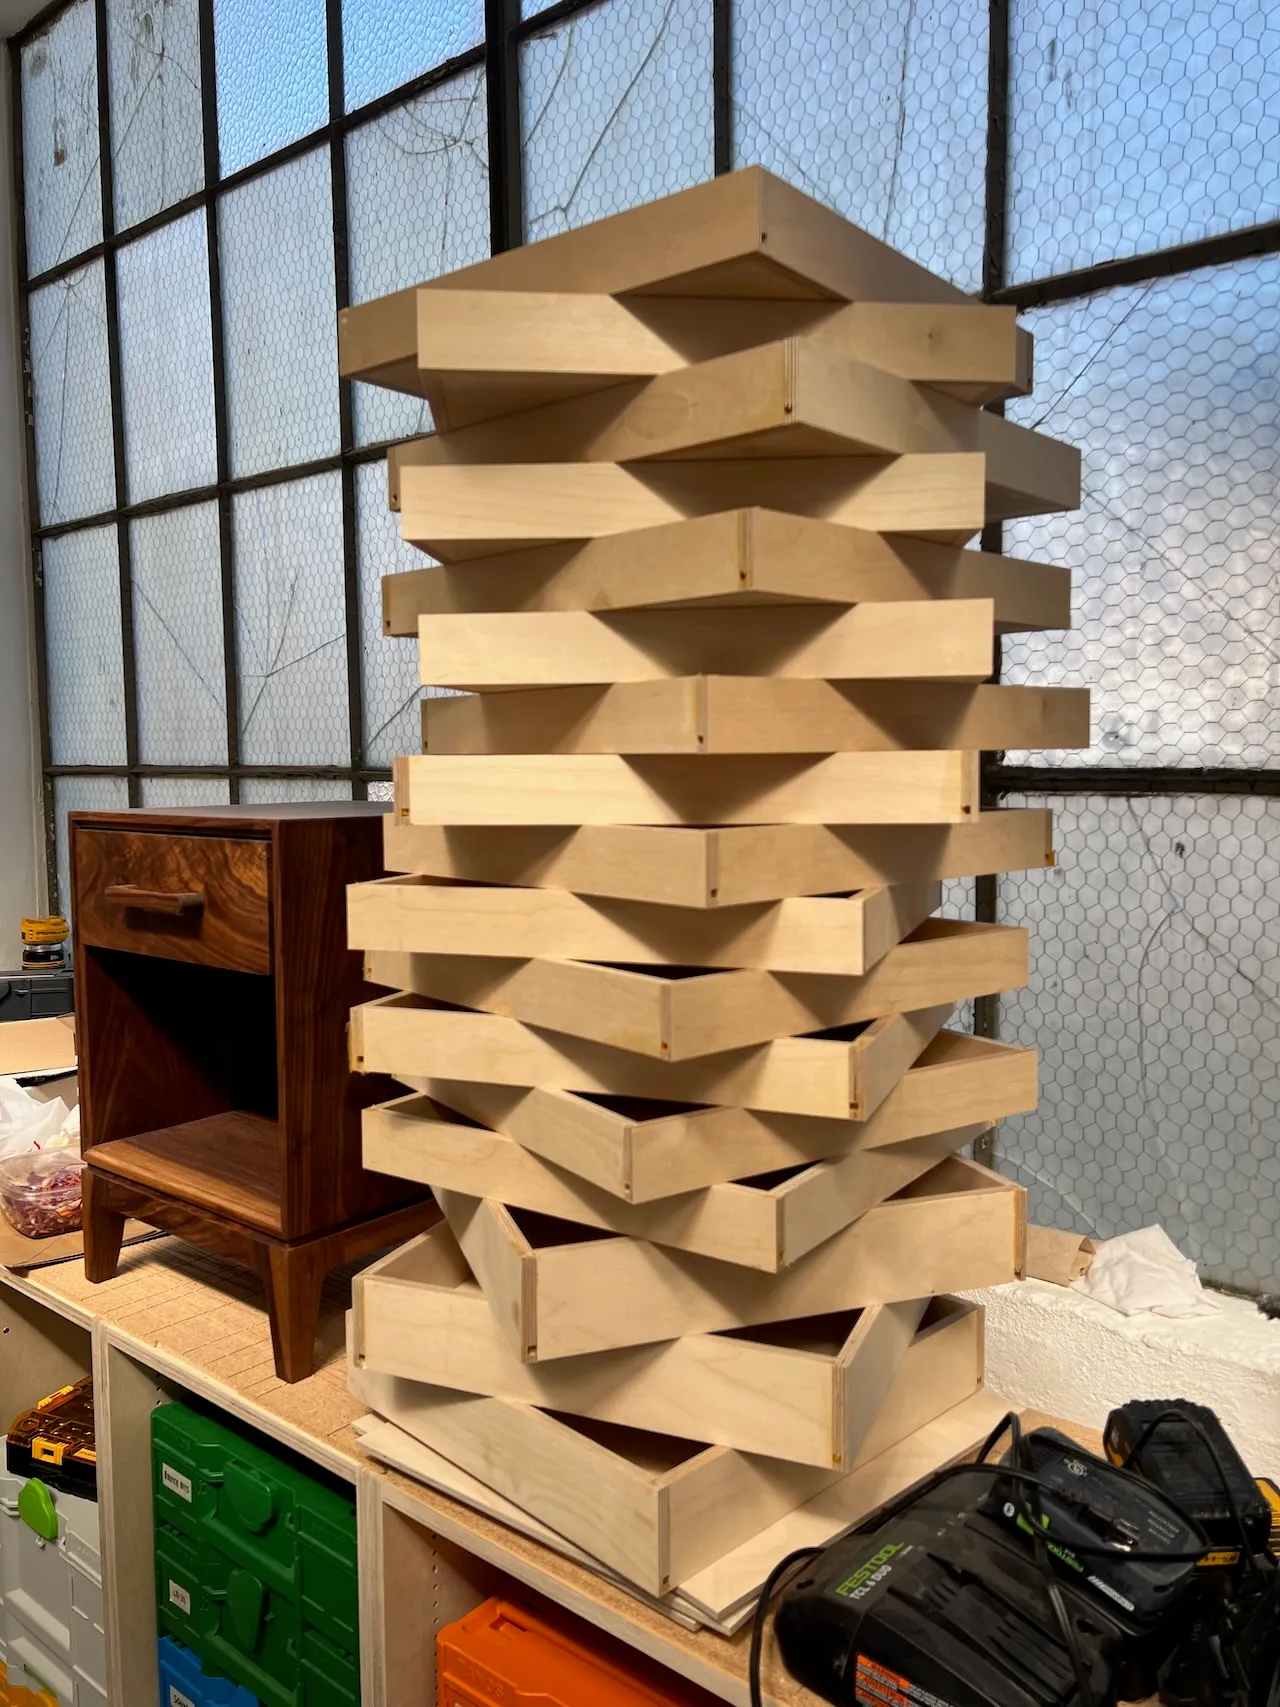
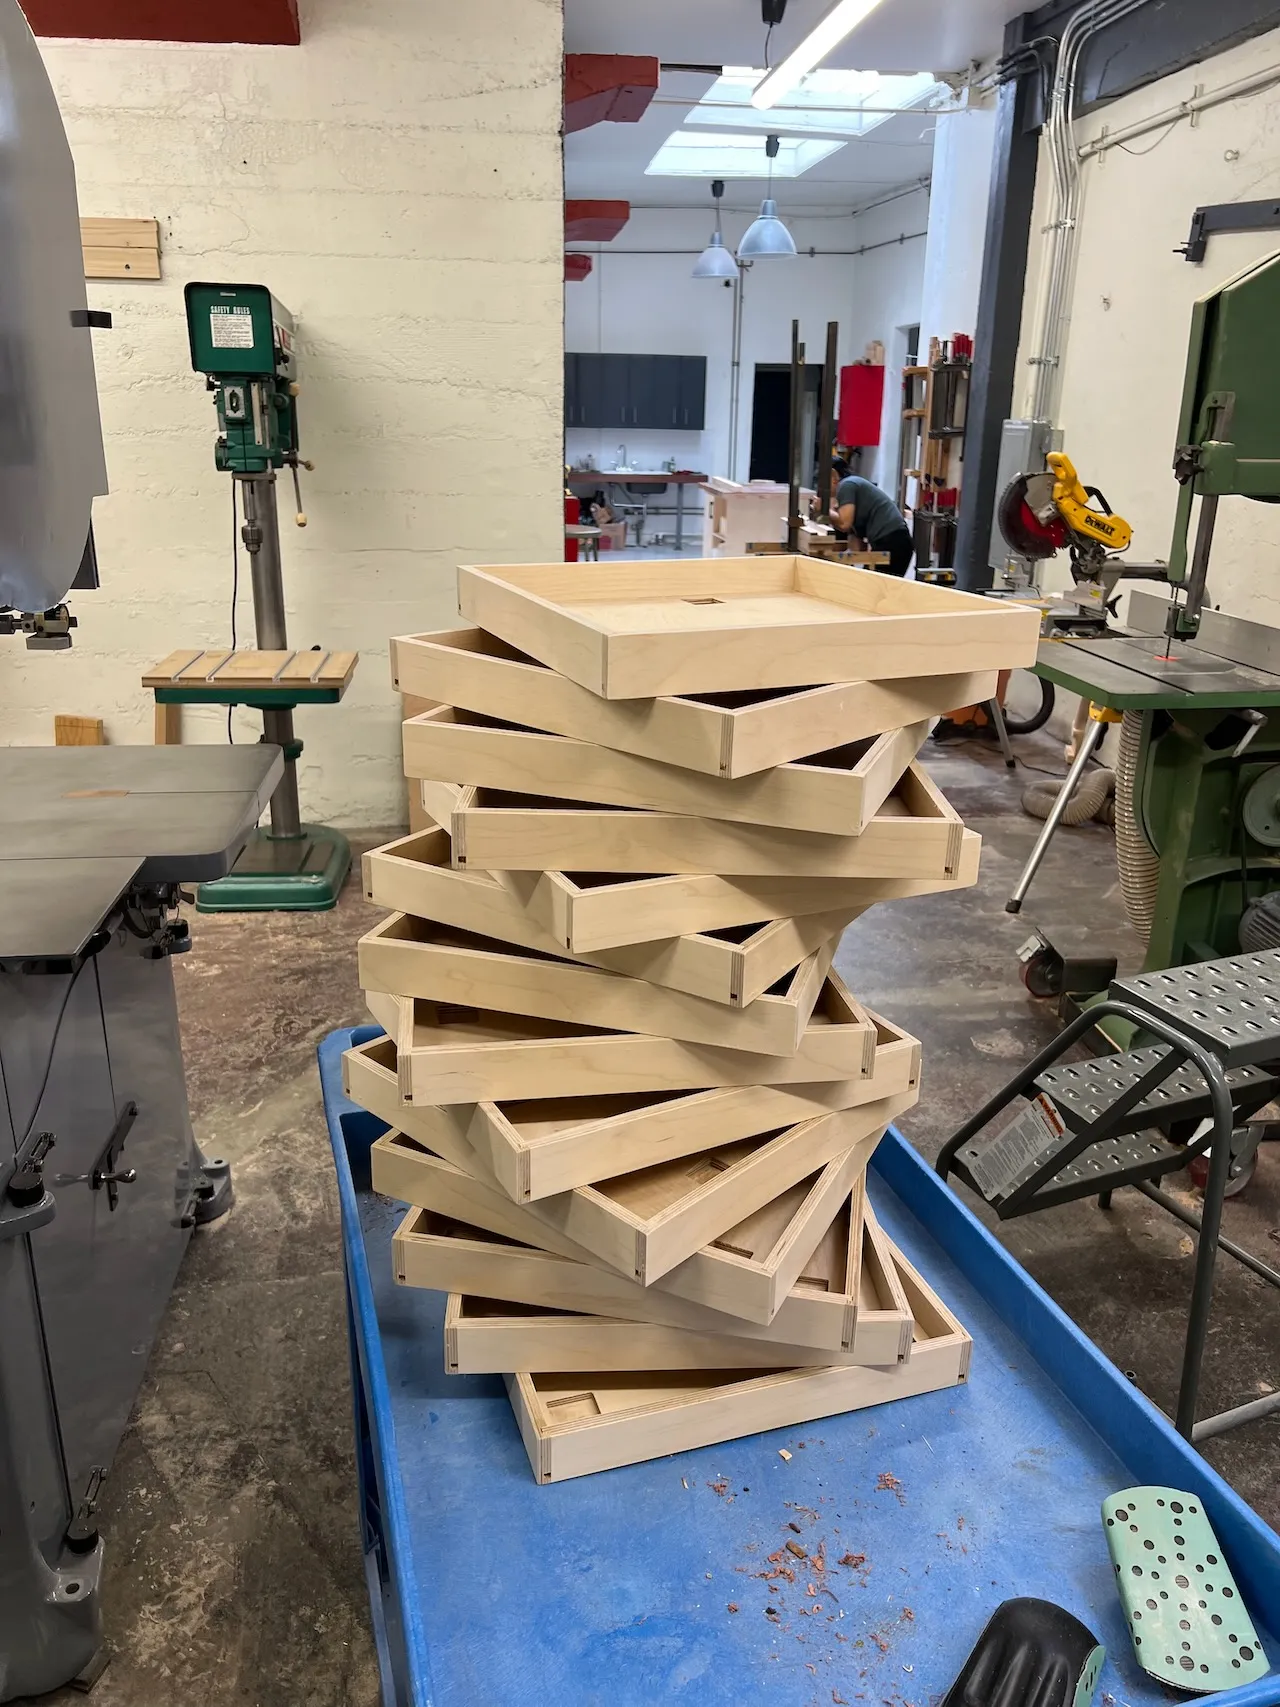
I decided to make 28 drawers (!) and, why not, try a new method: the half-half-half method of routing grooves and rabbets to lock the box together. I figured the setup time on the router table would be worth it with making so many boxes and hoped that the process would simplify glue-ups, since every piece is meant to neatly slot into each other. Overall, I'd highly recommend this method, especially if you're mass-producing boxes.
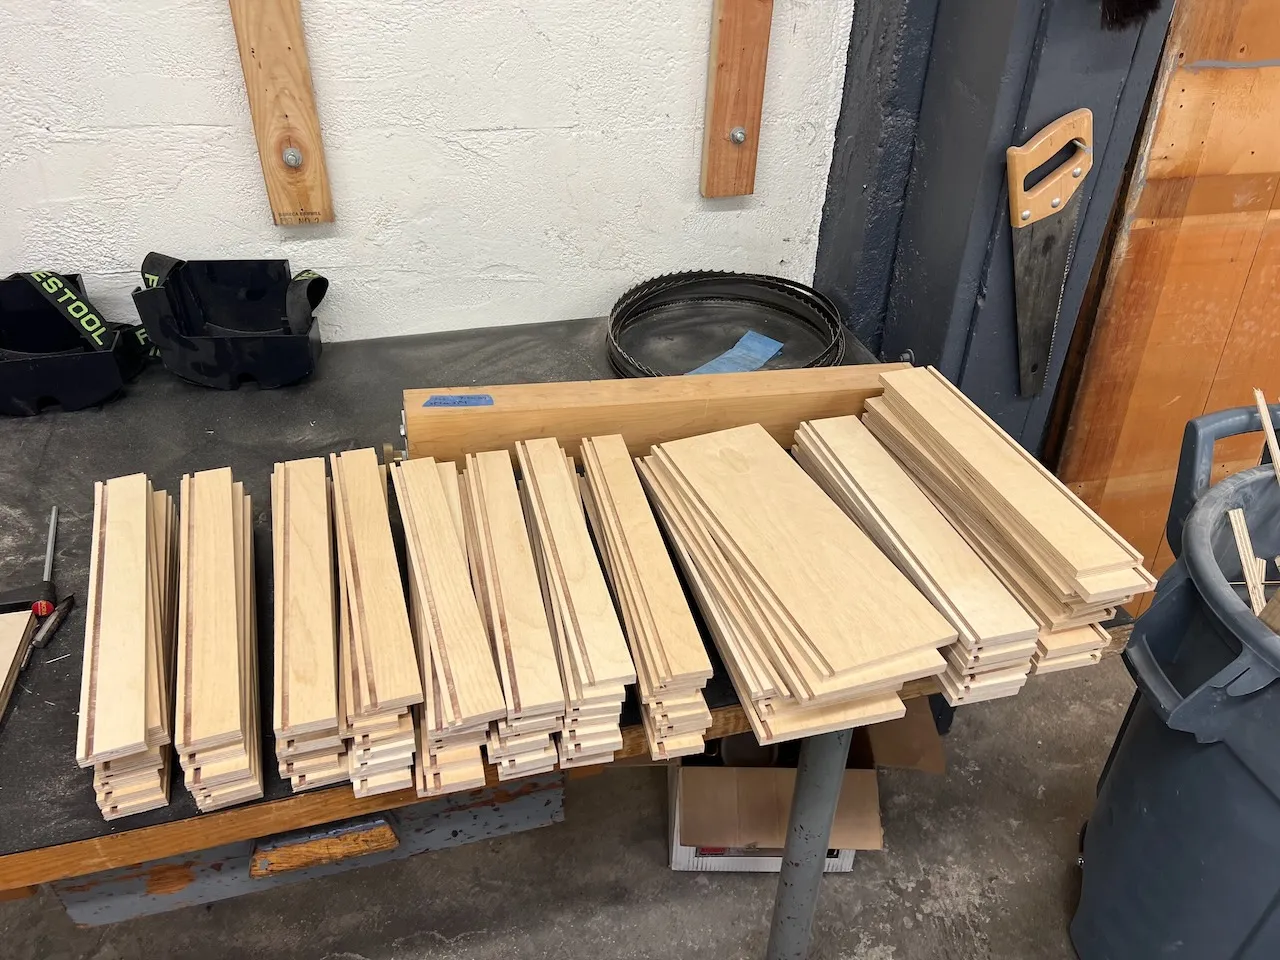
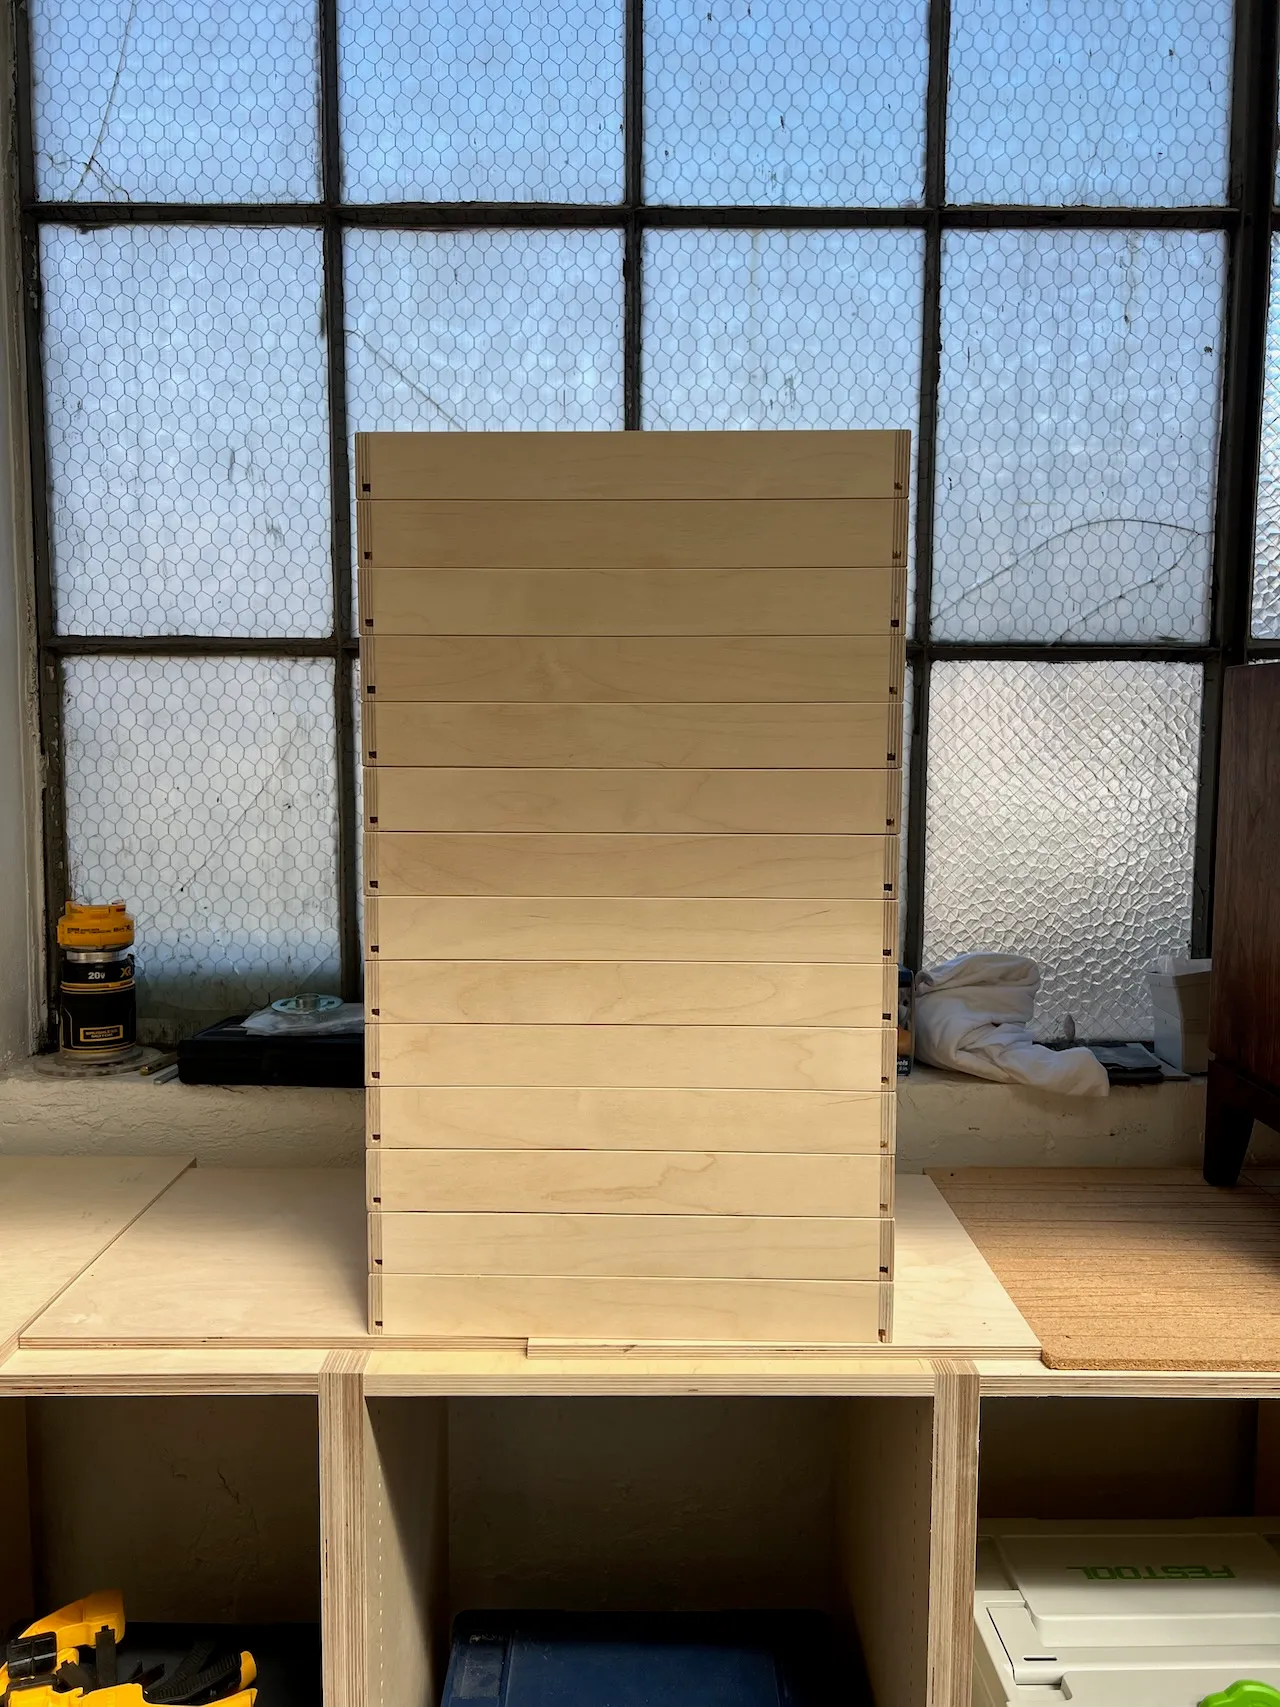
All my sides and bottoms cut to size
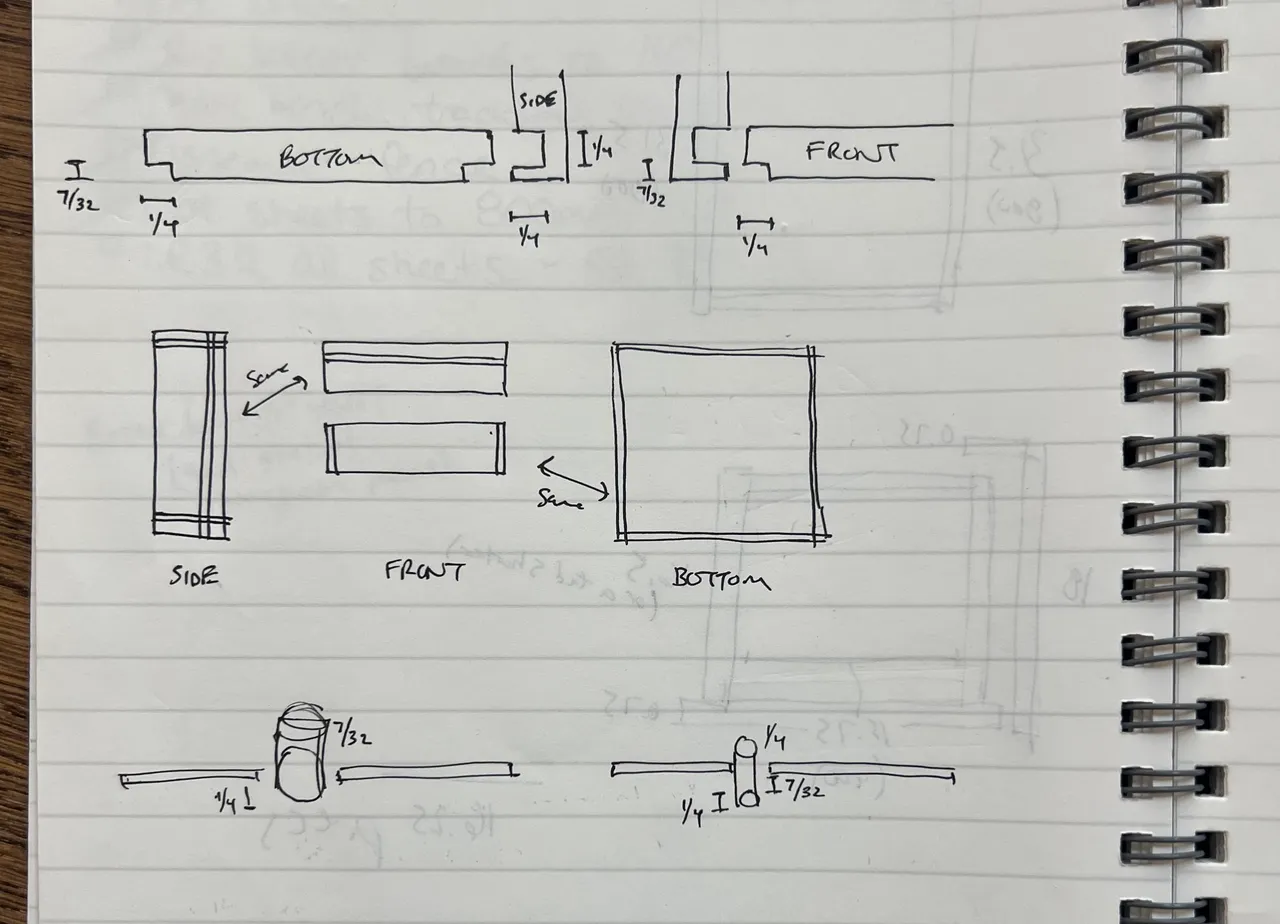
Getting straight on this half-half-half method
I am CNC
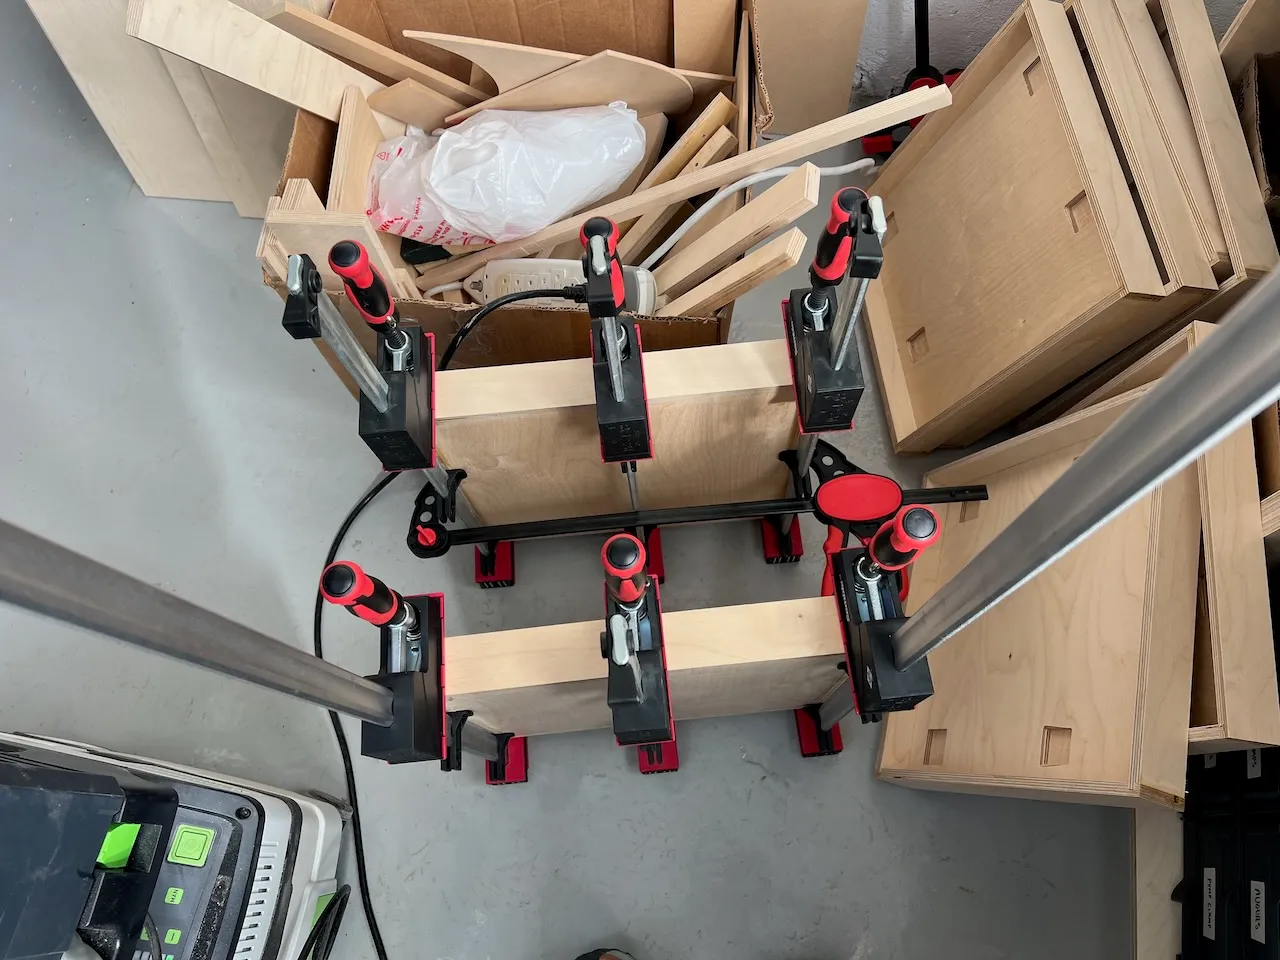
Glue-ups, pretty easy!
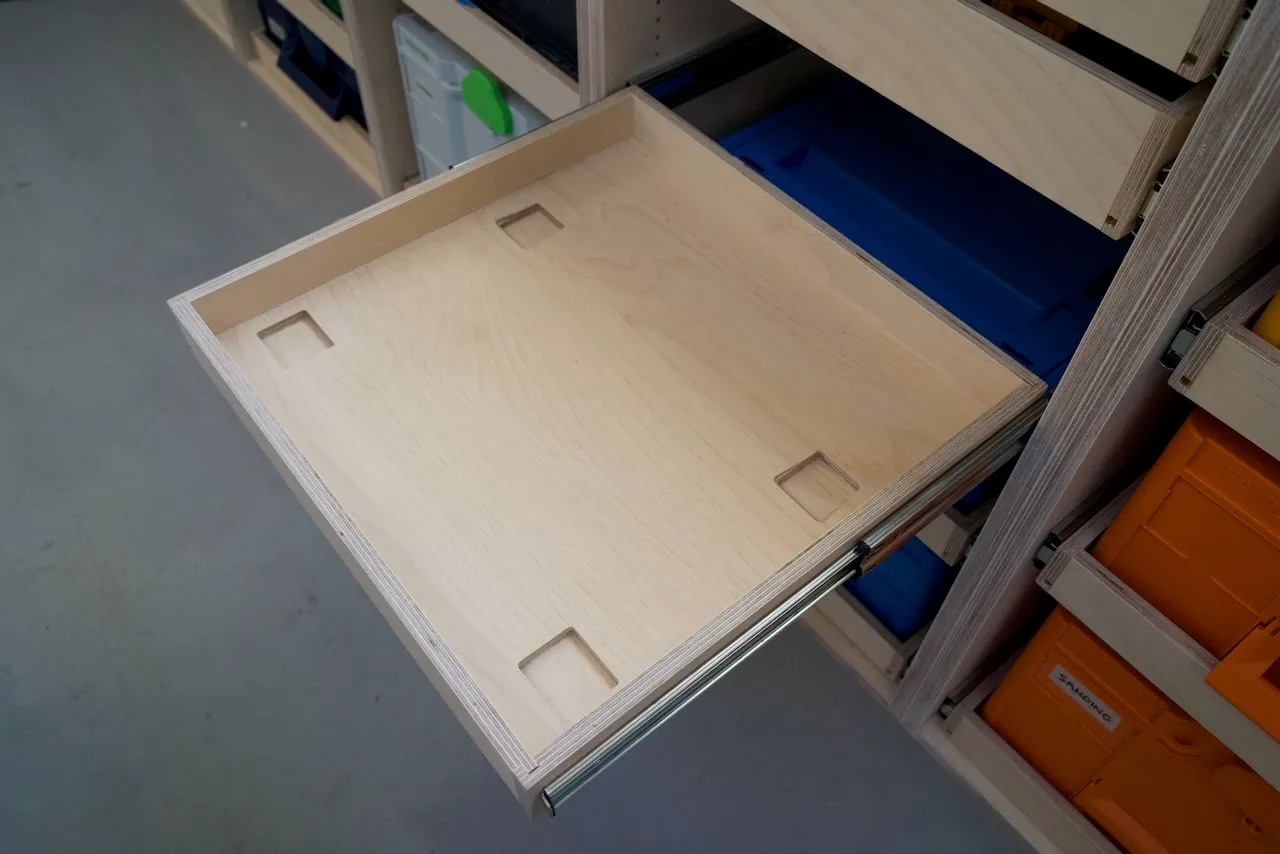
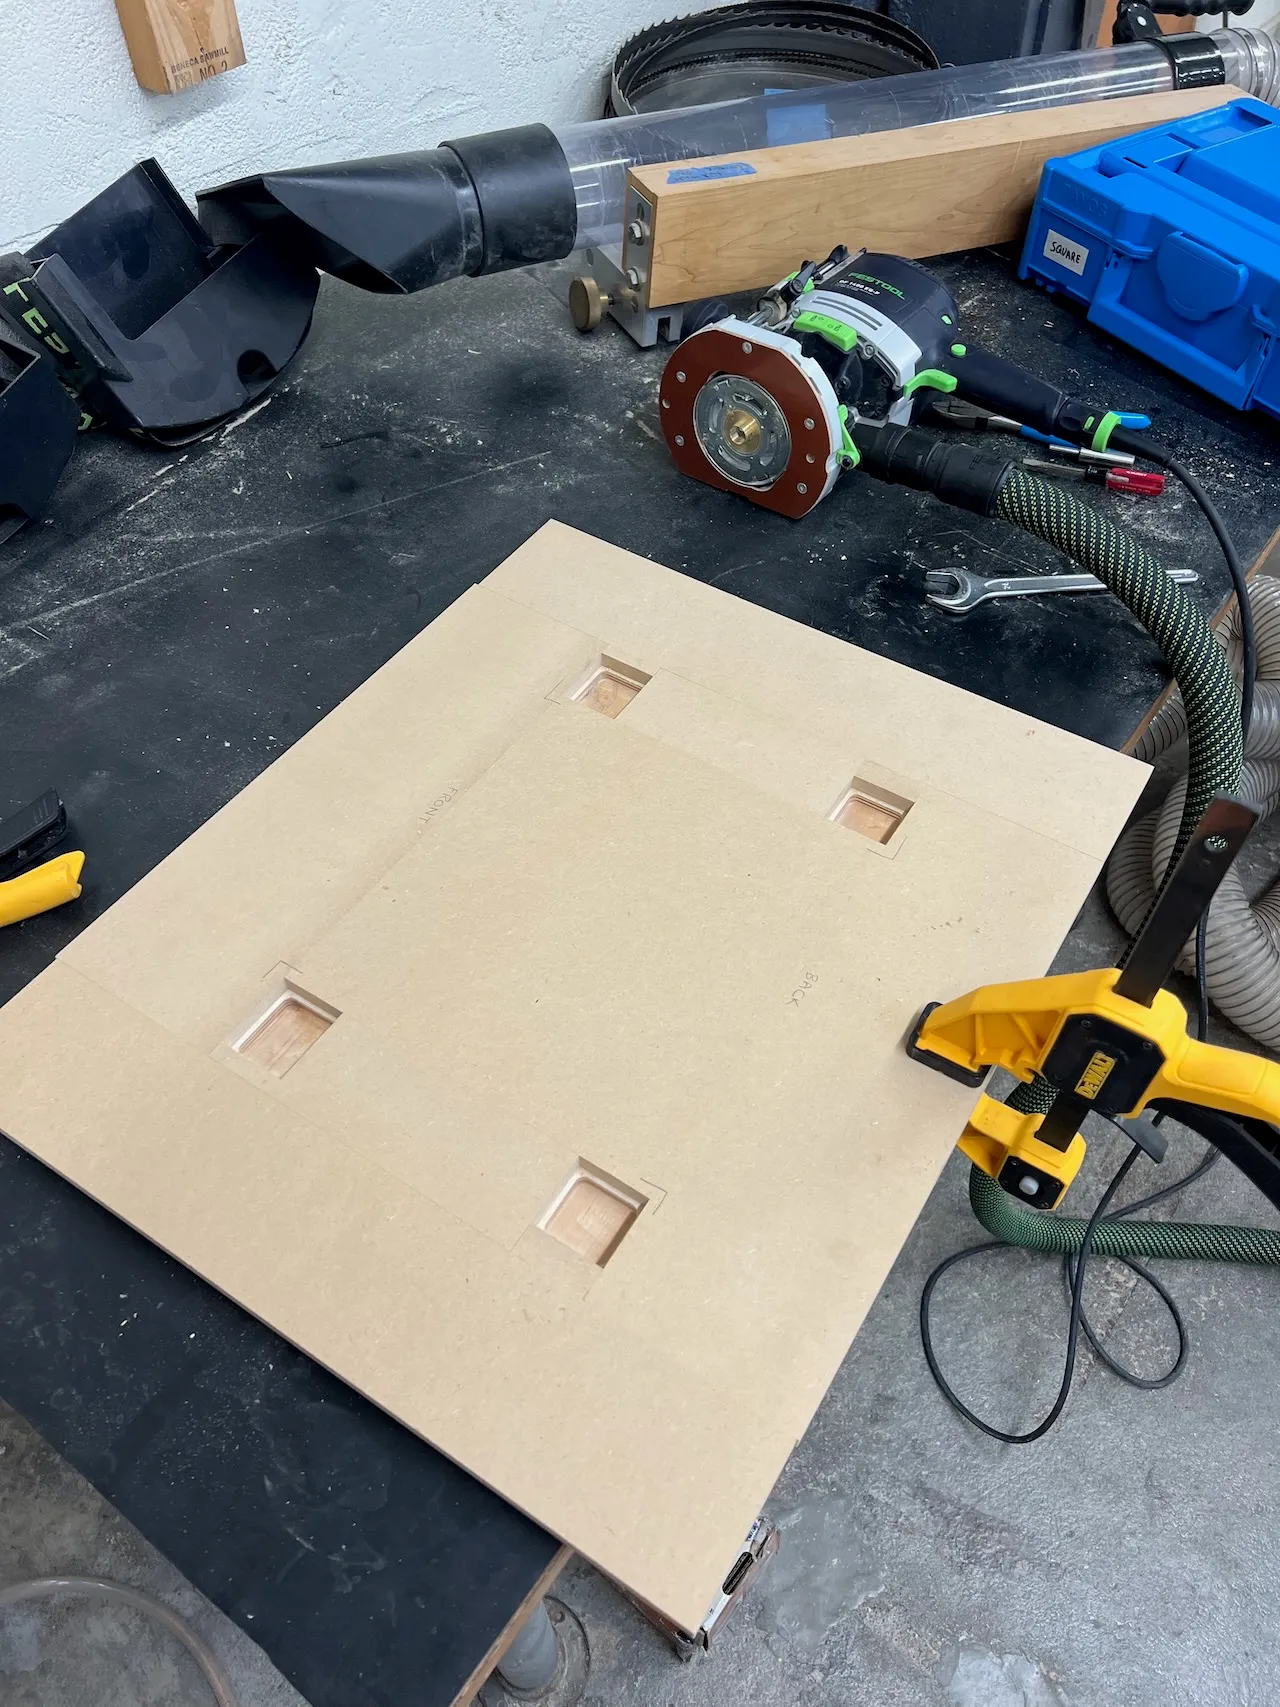
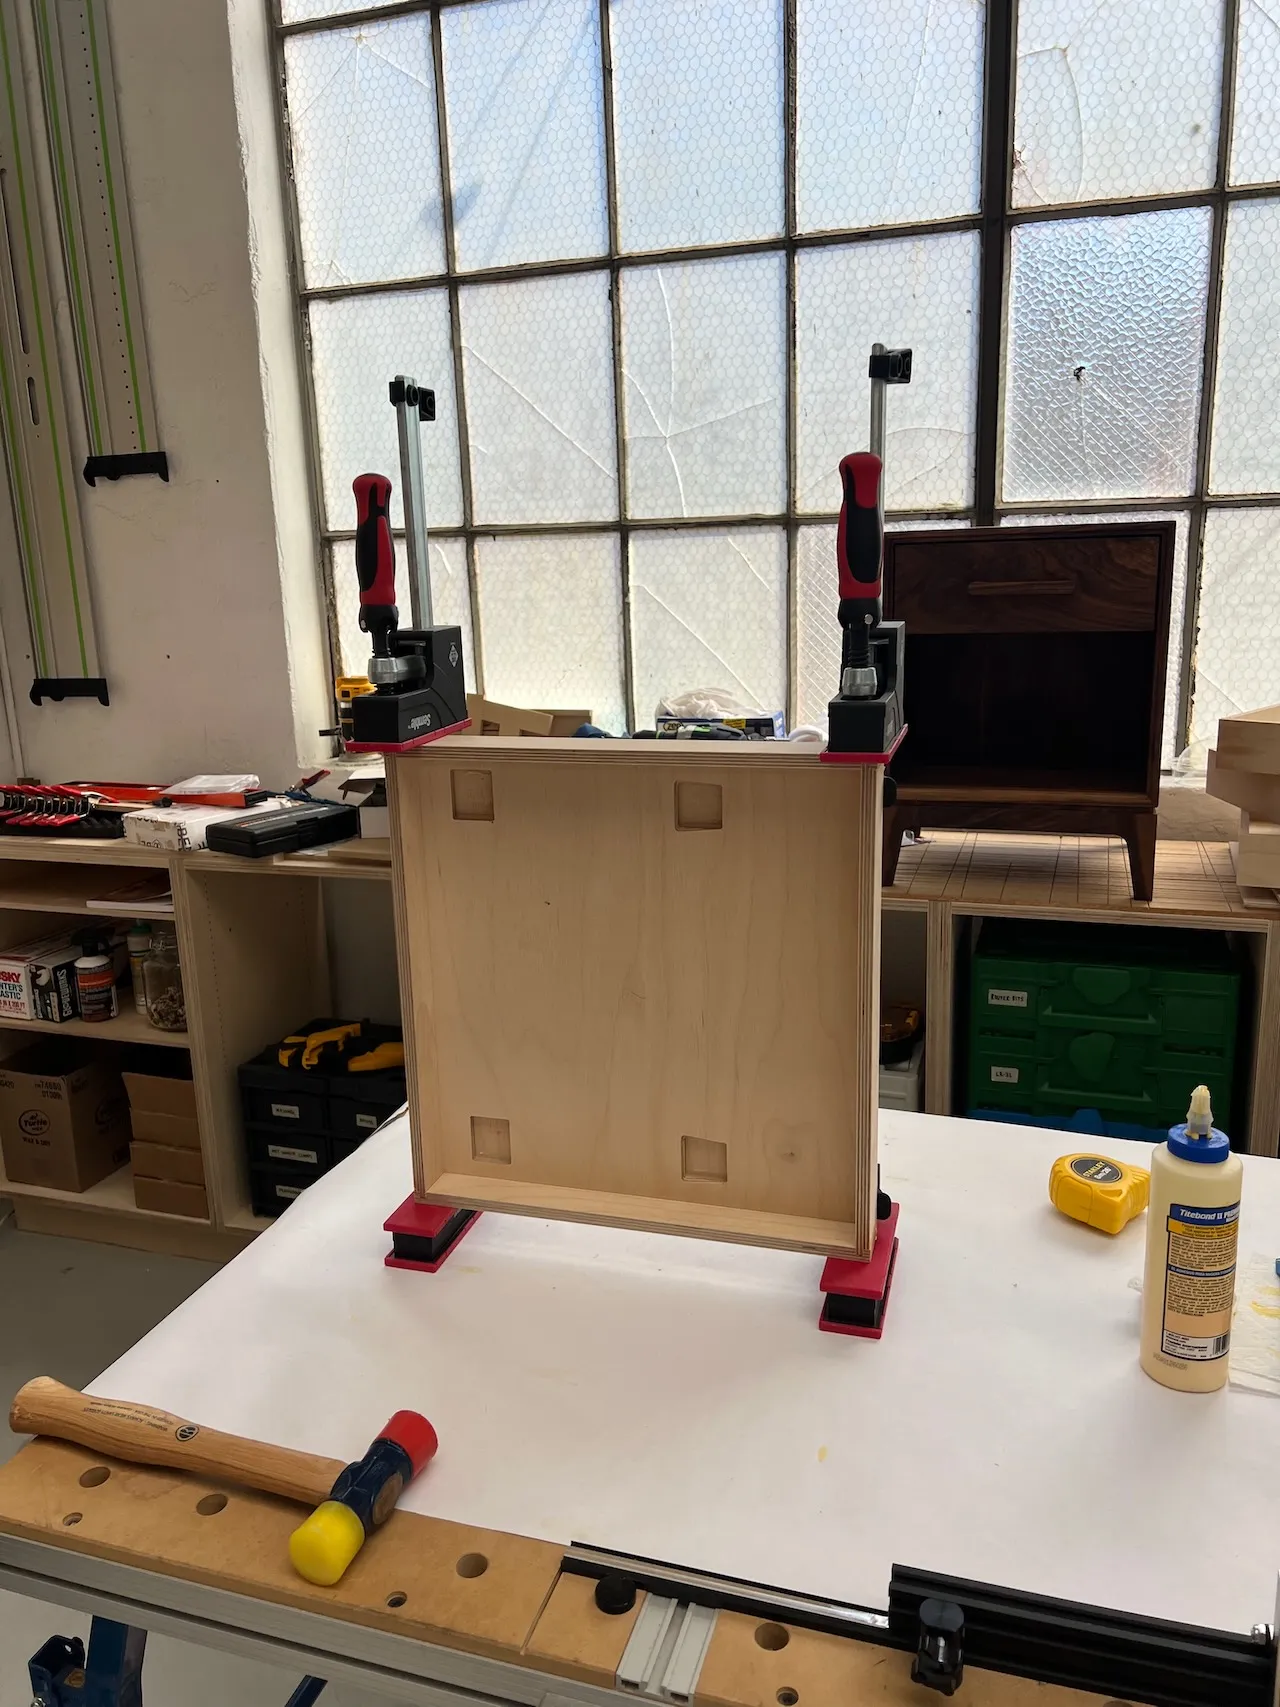
Systainer feet
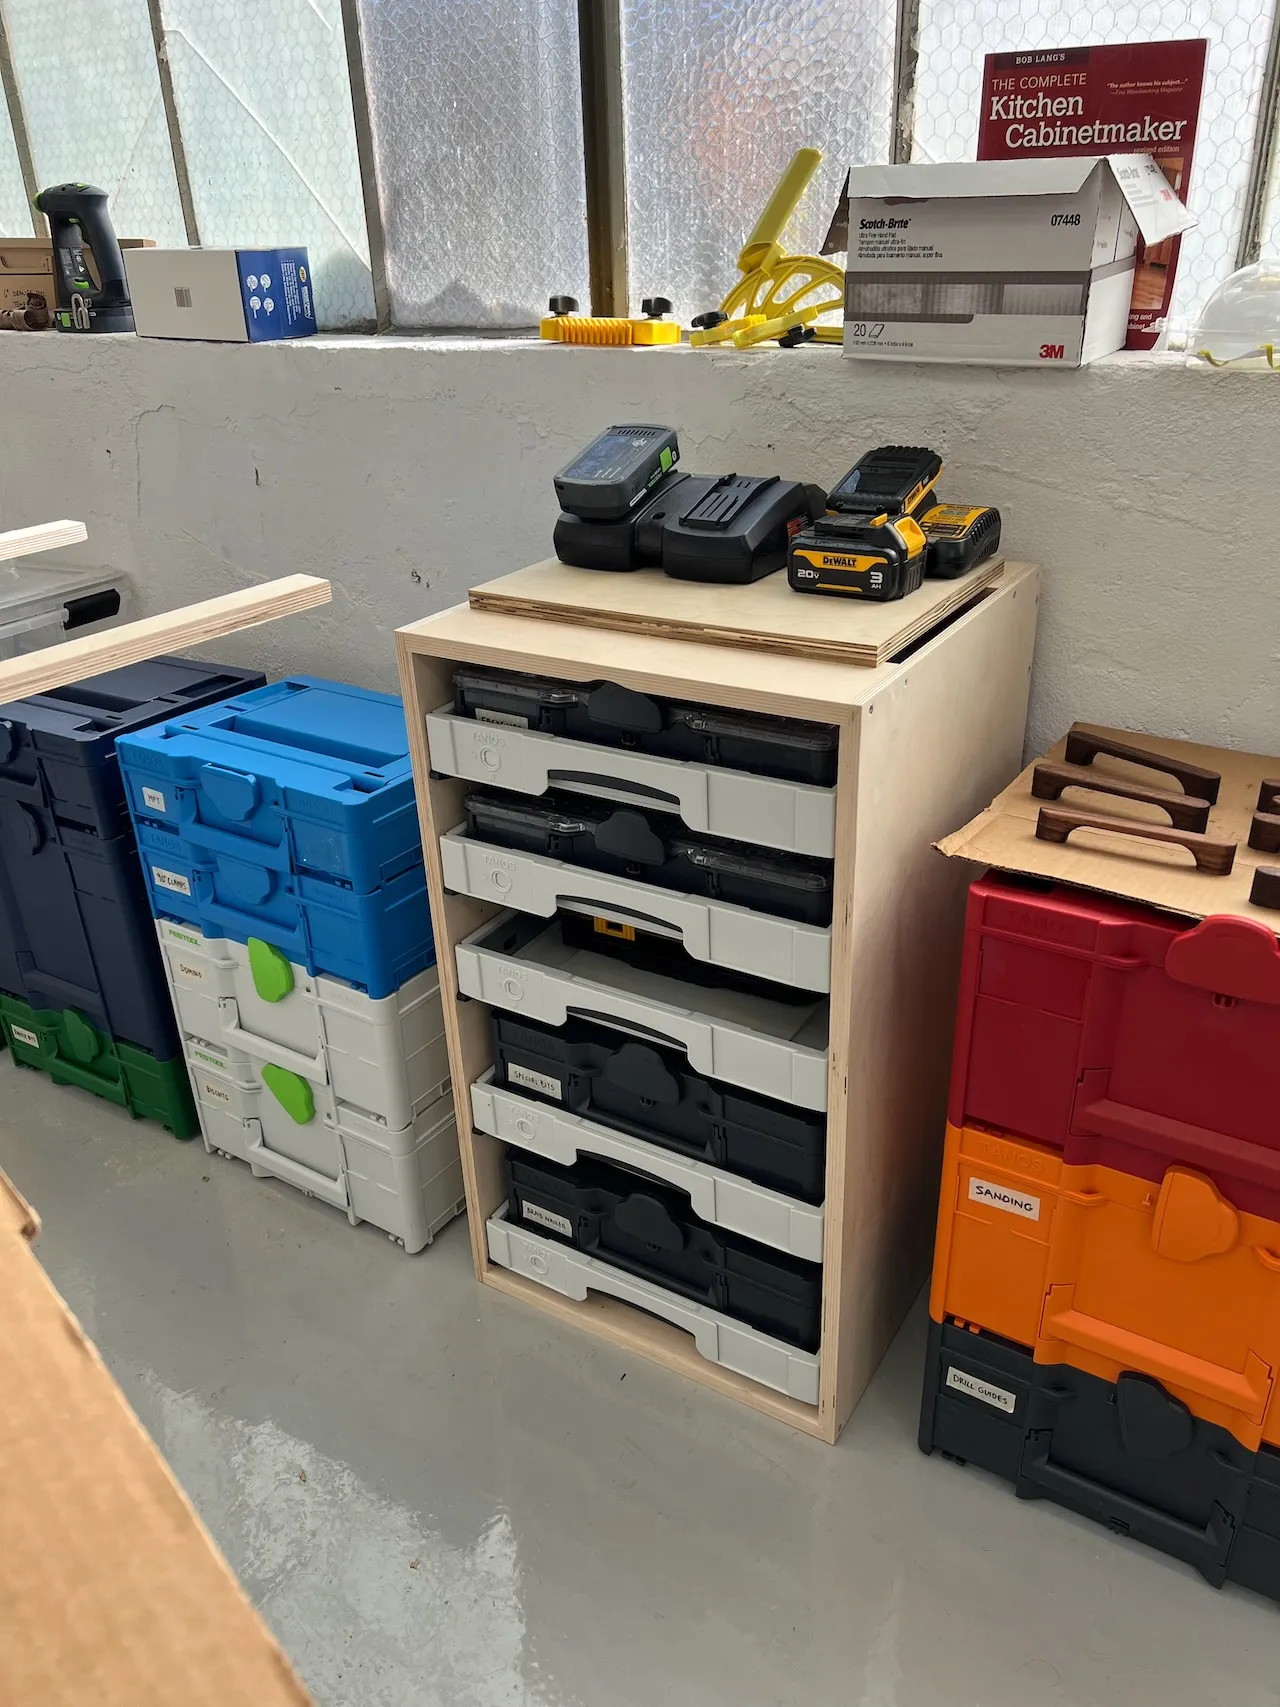
Some of these drawers are meant to be standard drawers, but I sized many of them to be shallow trays for the tool boxes. The tool boxes have feet, and I wanted to neatly secure them so they didn't slide in the trays. I made a template from some pieces of MDF (super-glued together) and routed out four rectangles as feet.
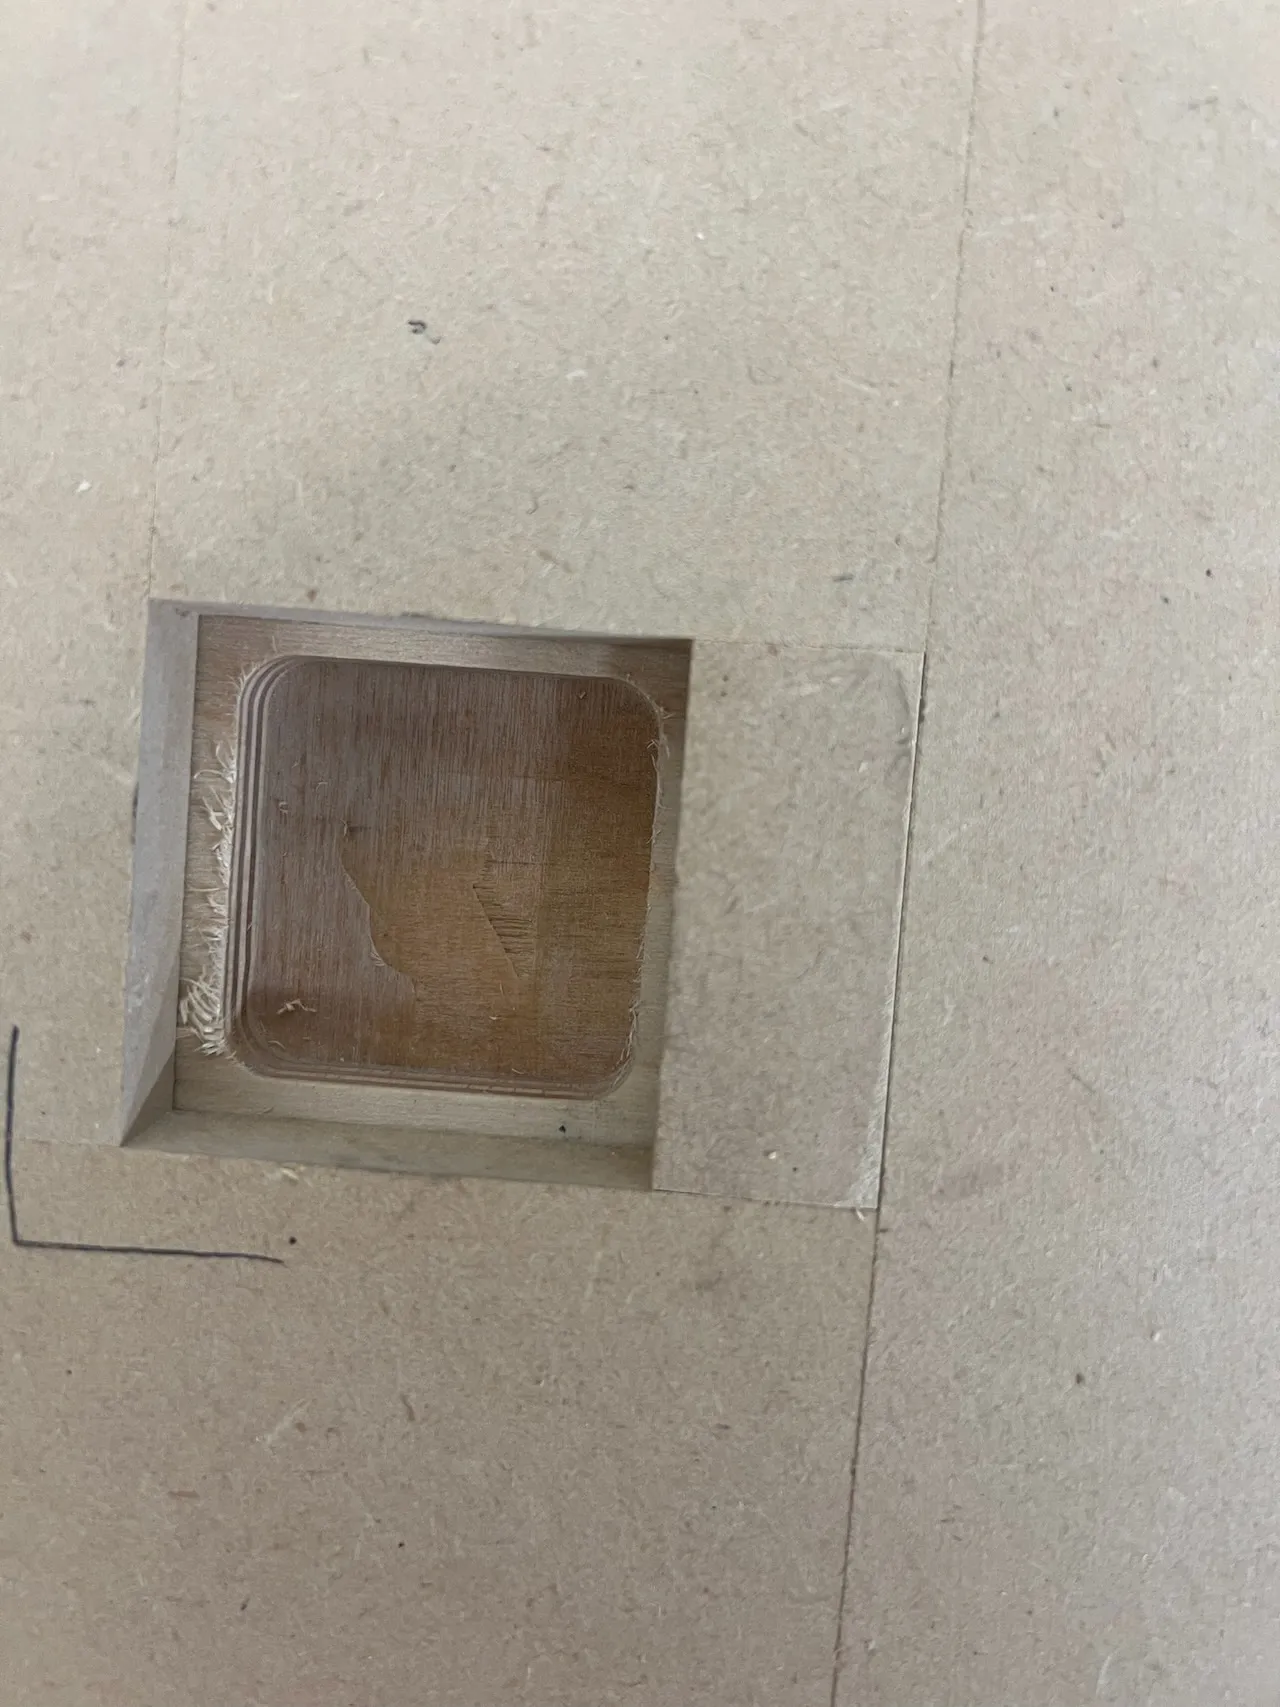
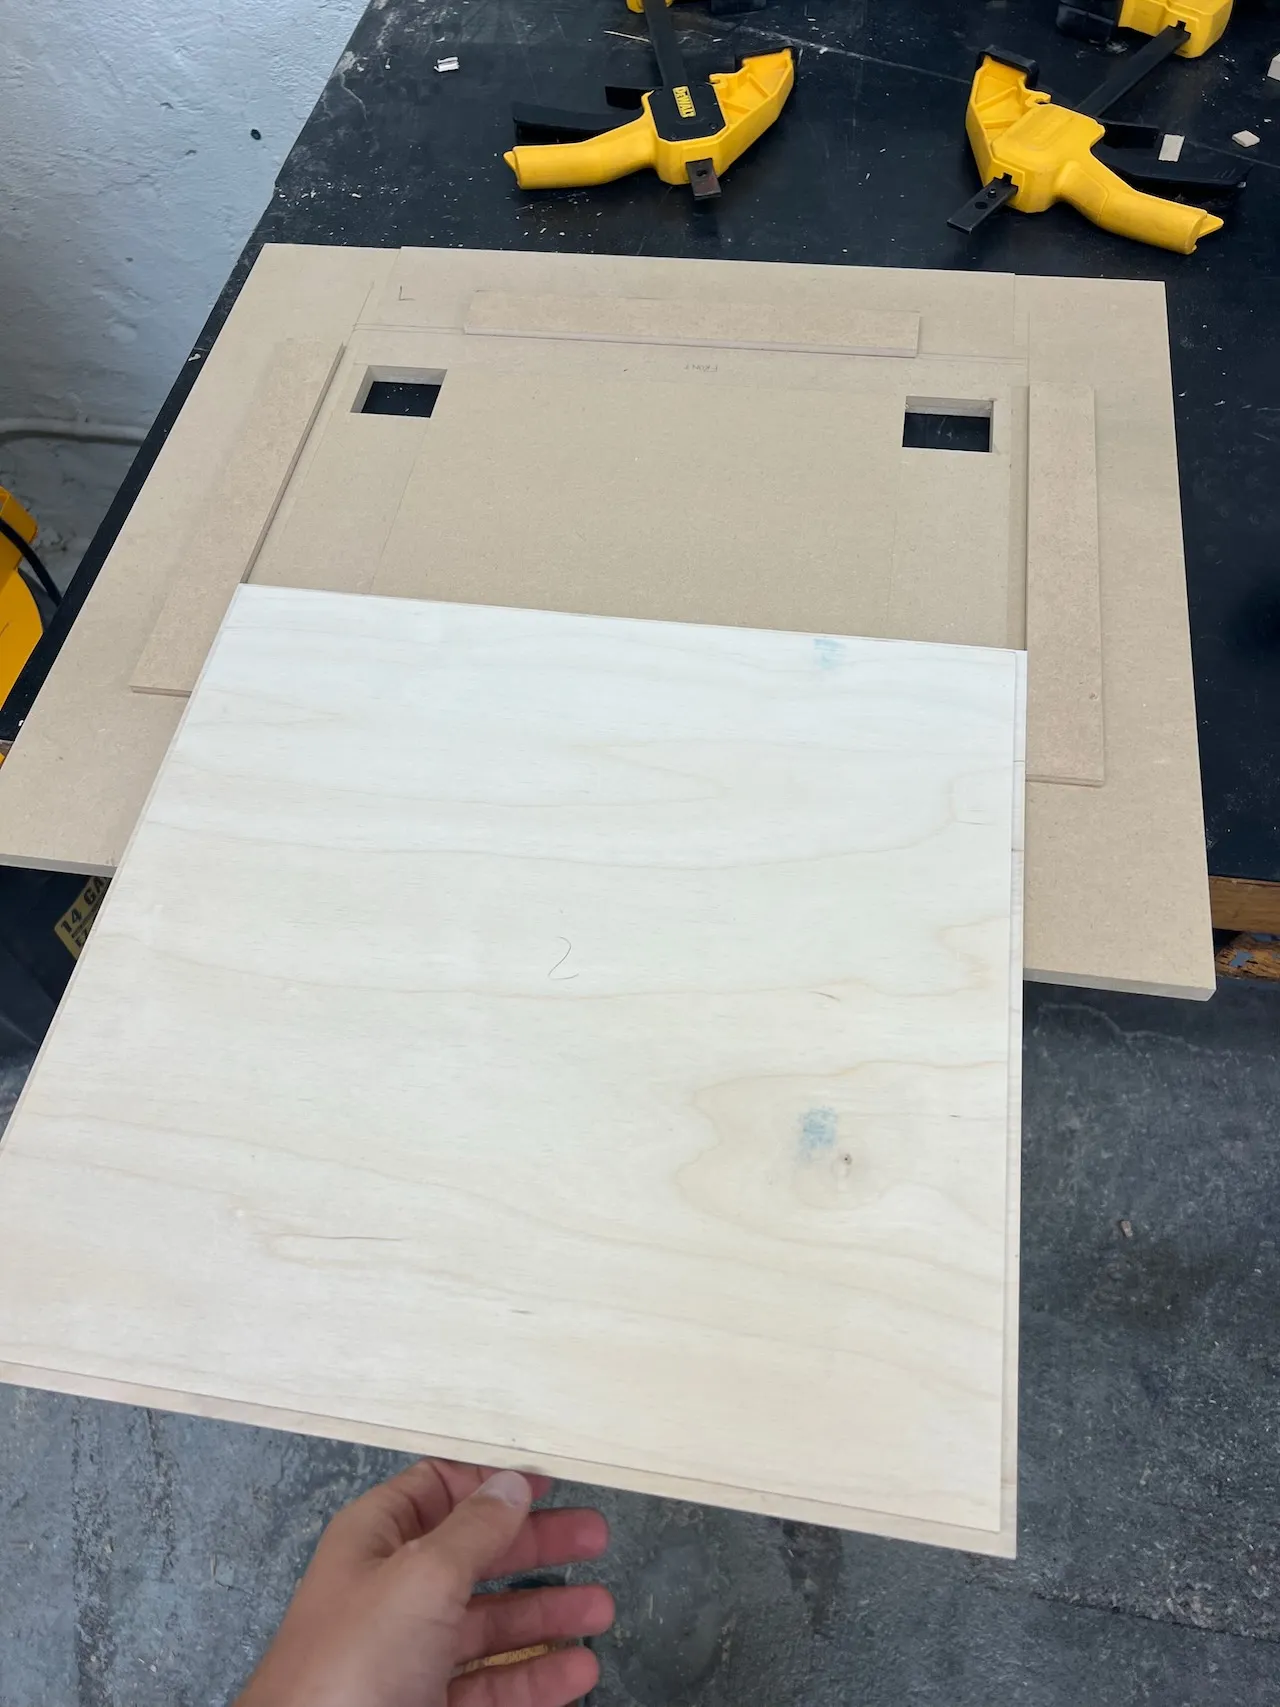
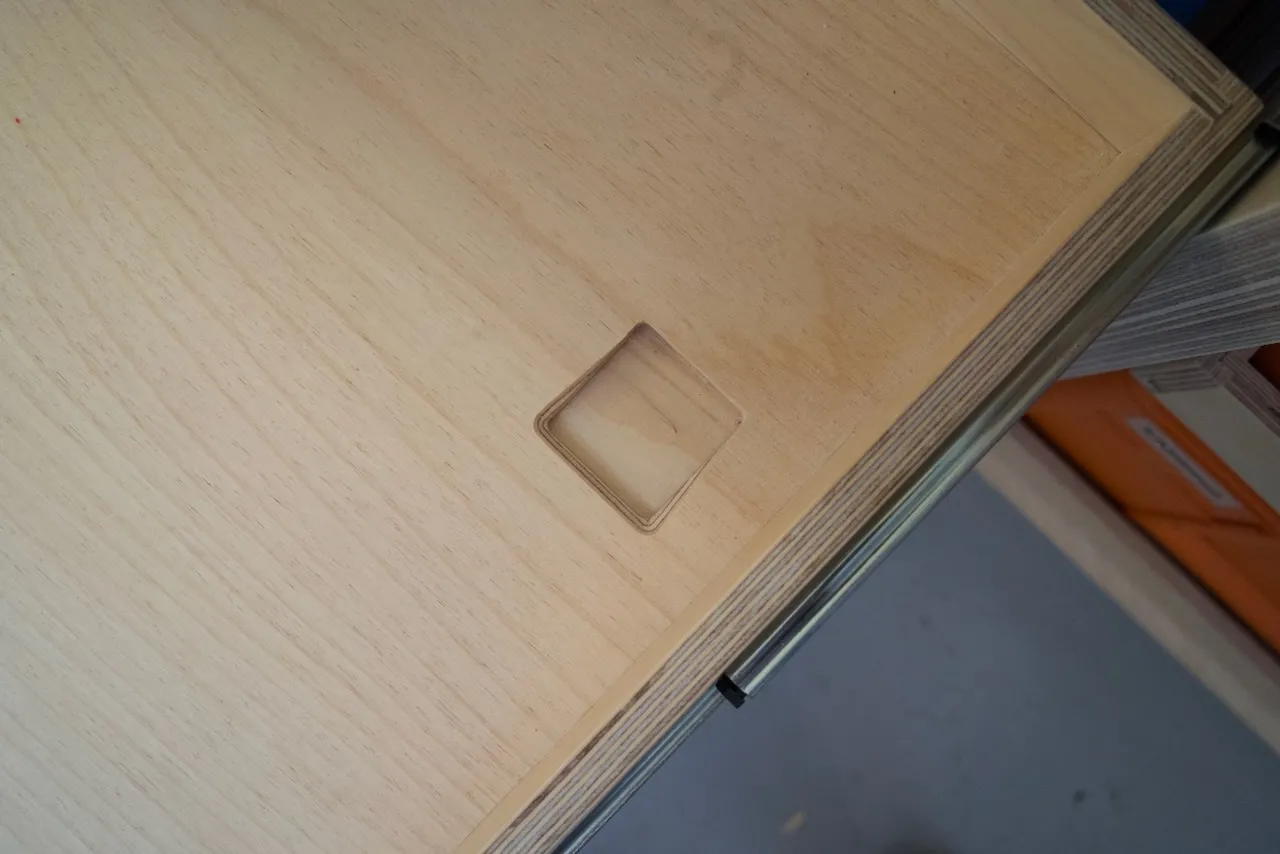
I then made another template and used a V-cut bit and guide bushing to carve a tapered ramp into the rear footings so when I slide a box into the tray, it's guided perfectly into place. This is the sort of thing I feel compelled to do once I've spent tens of hours on a project. Why not get it right?
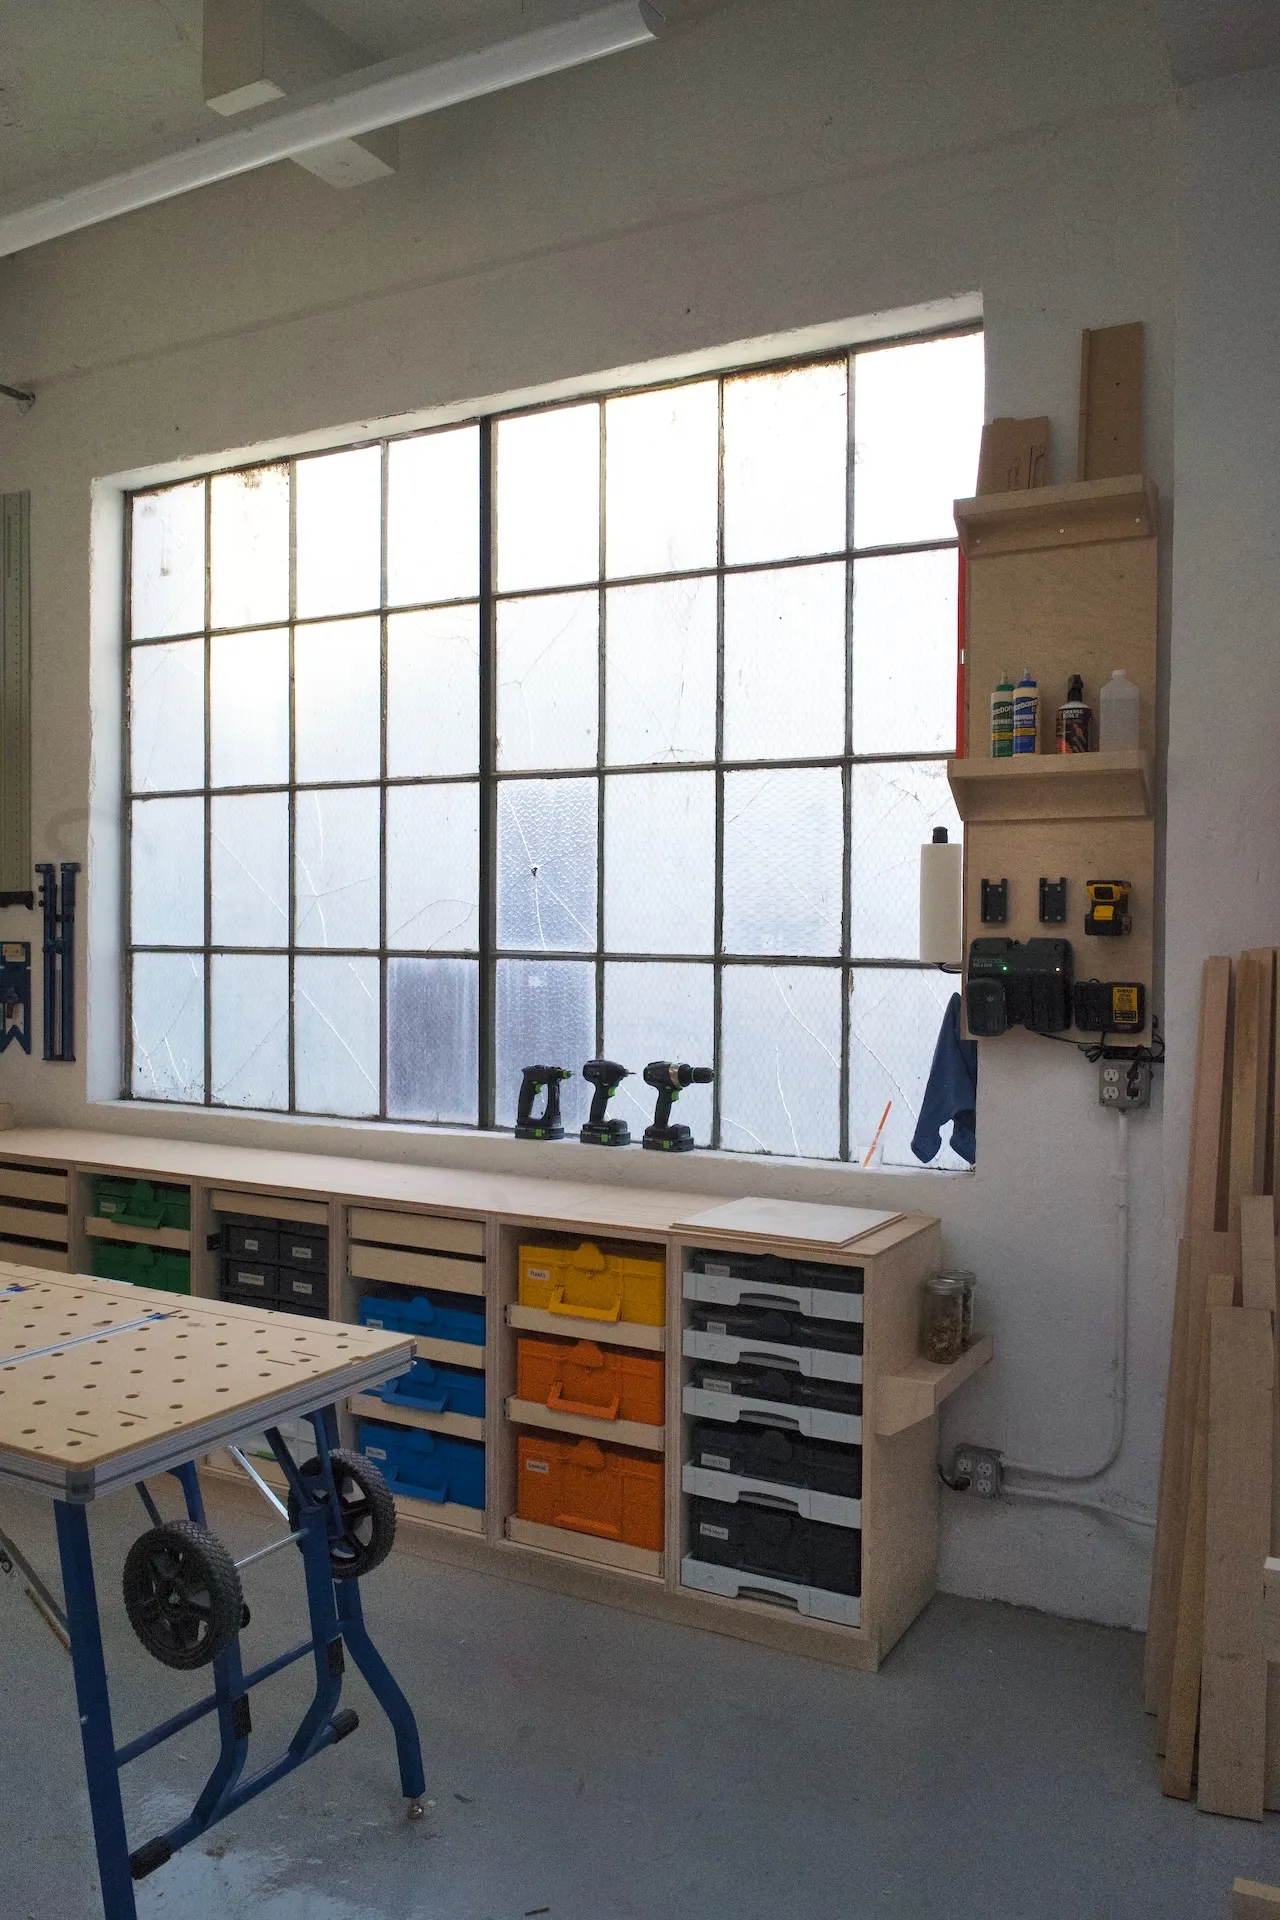
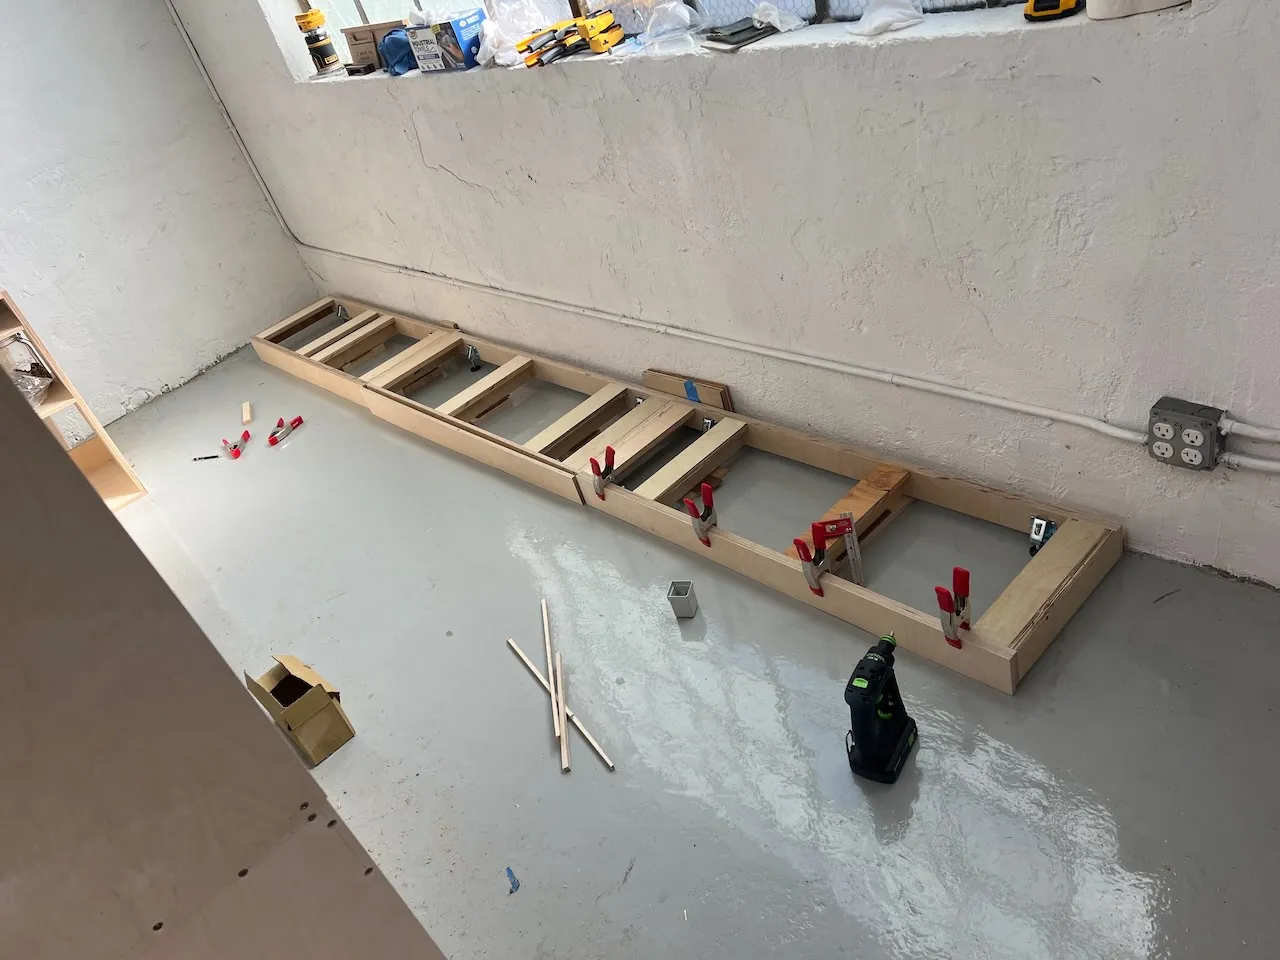
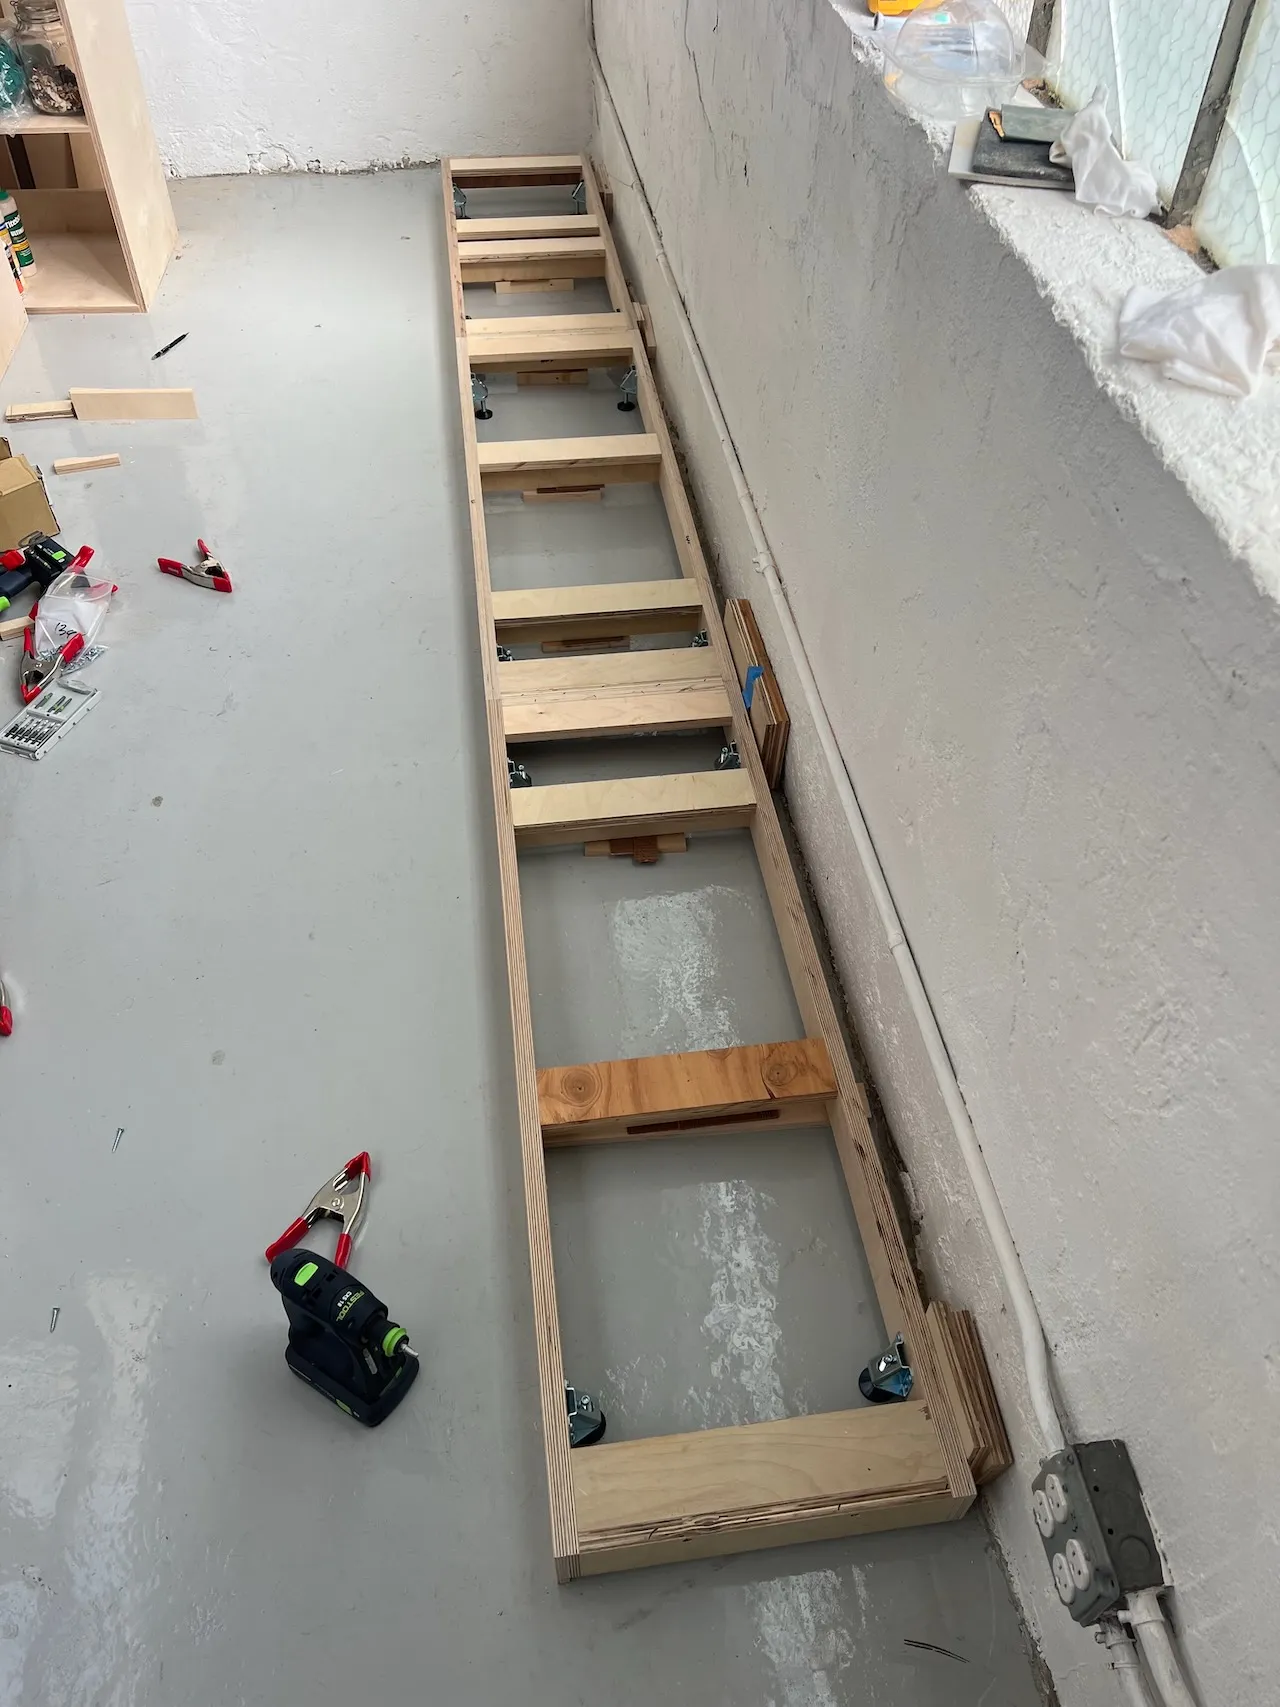
Install
I made some quick bases, leveled them using easy-to-adjust leveling feet, and then scribed toe kicks (lamenting the inaccuracy of my bandsaw skills). Then, it was time to screw the cabinets together.

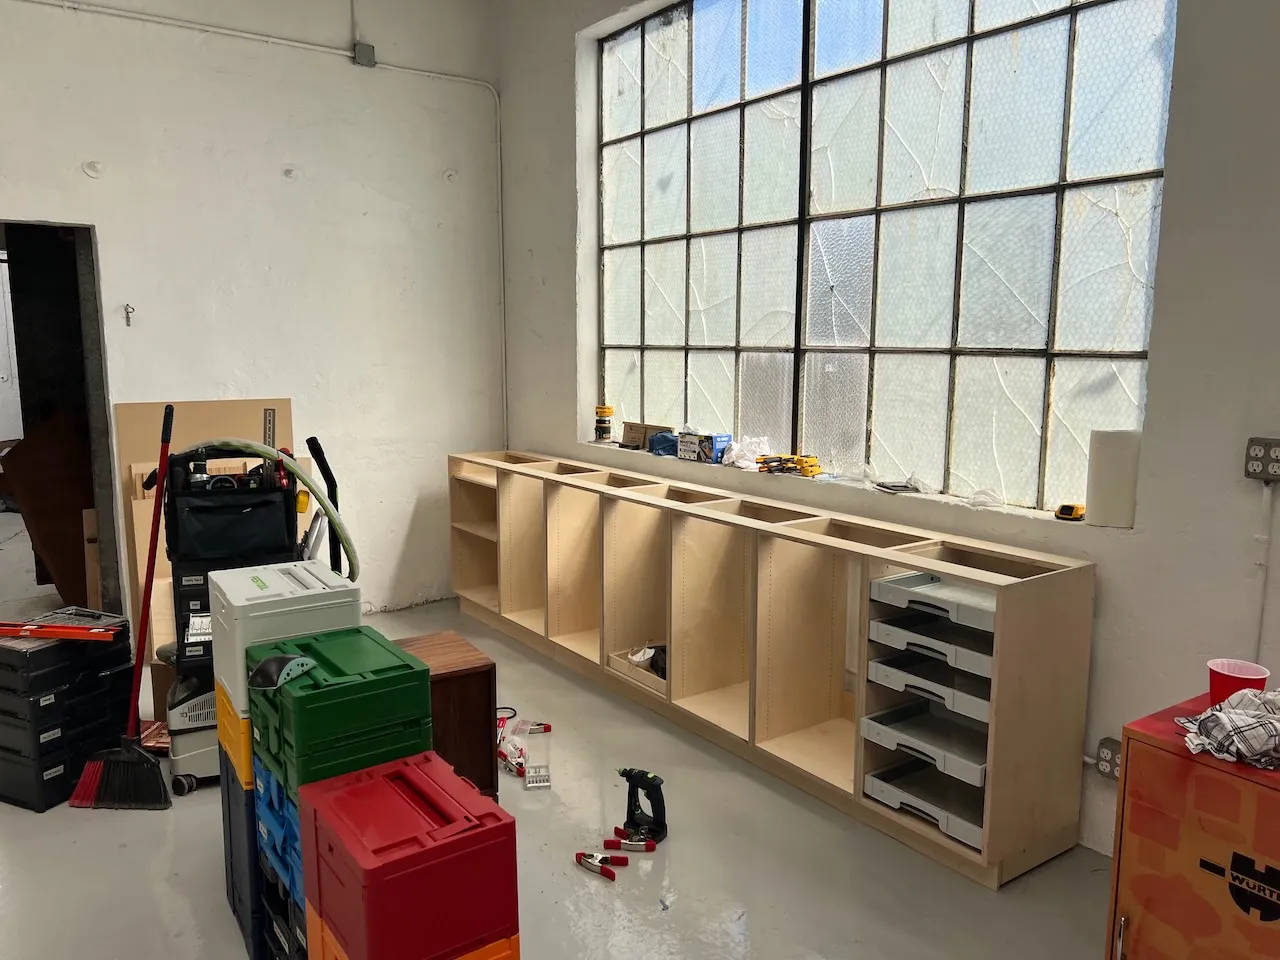
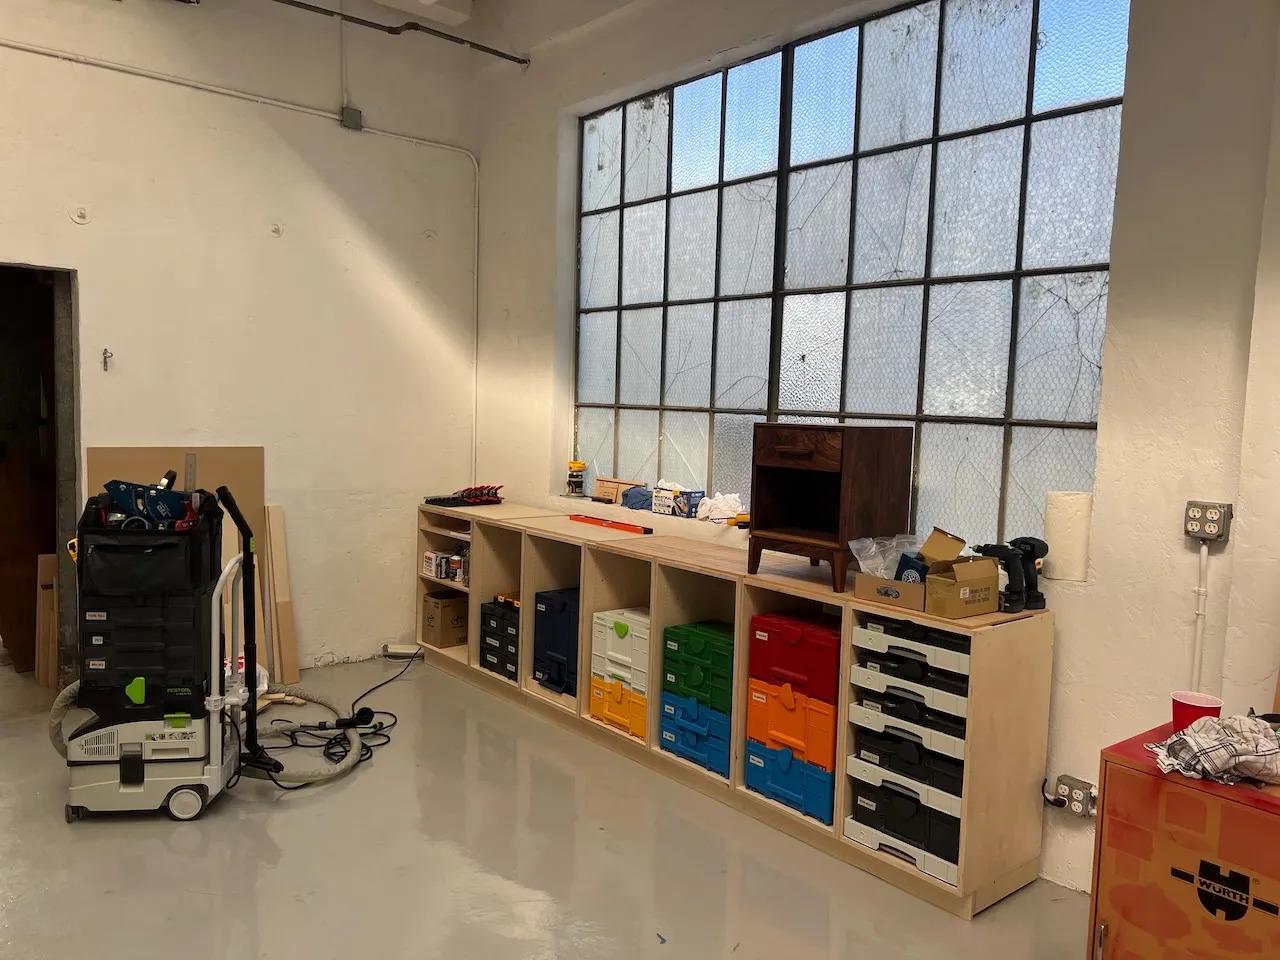
Kinda pointless without the drawers, but more motivation to finish them!
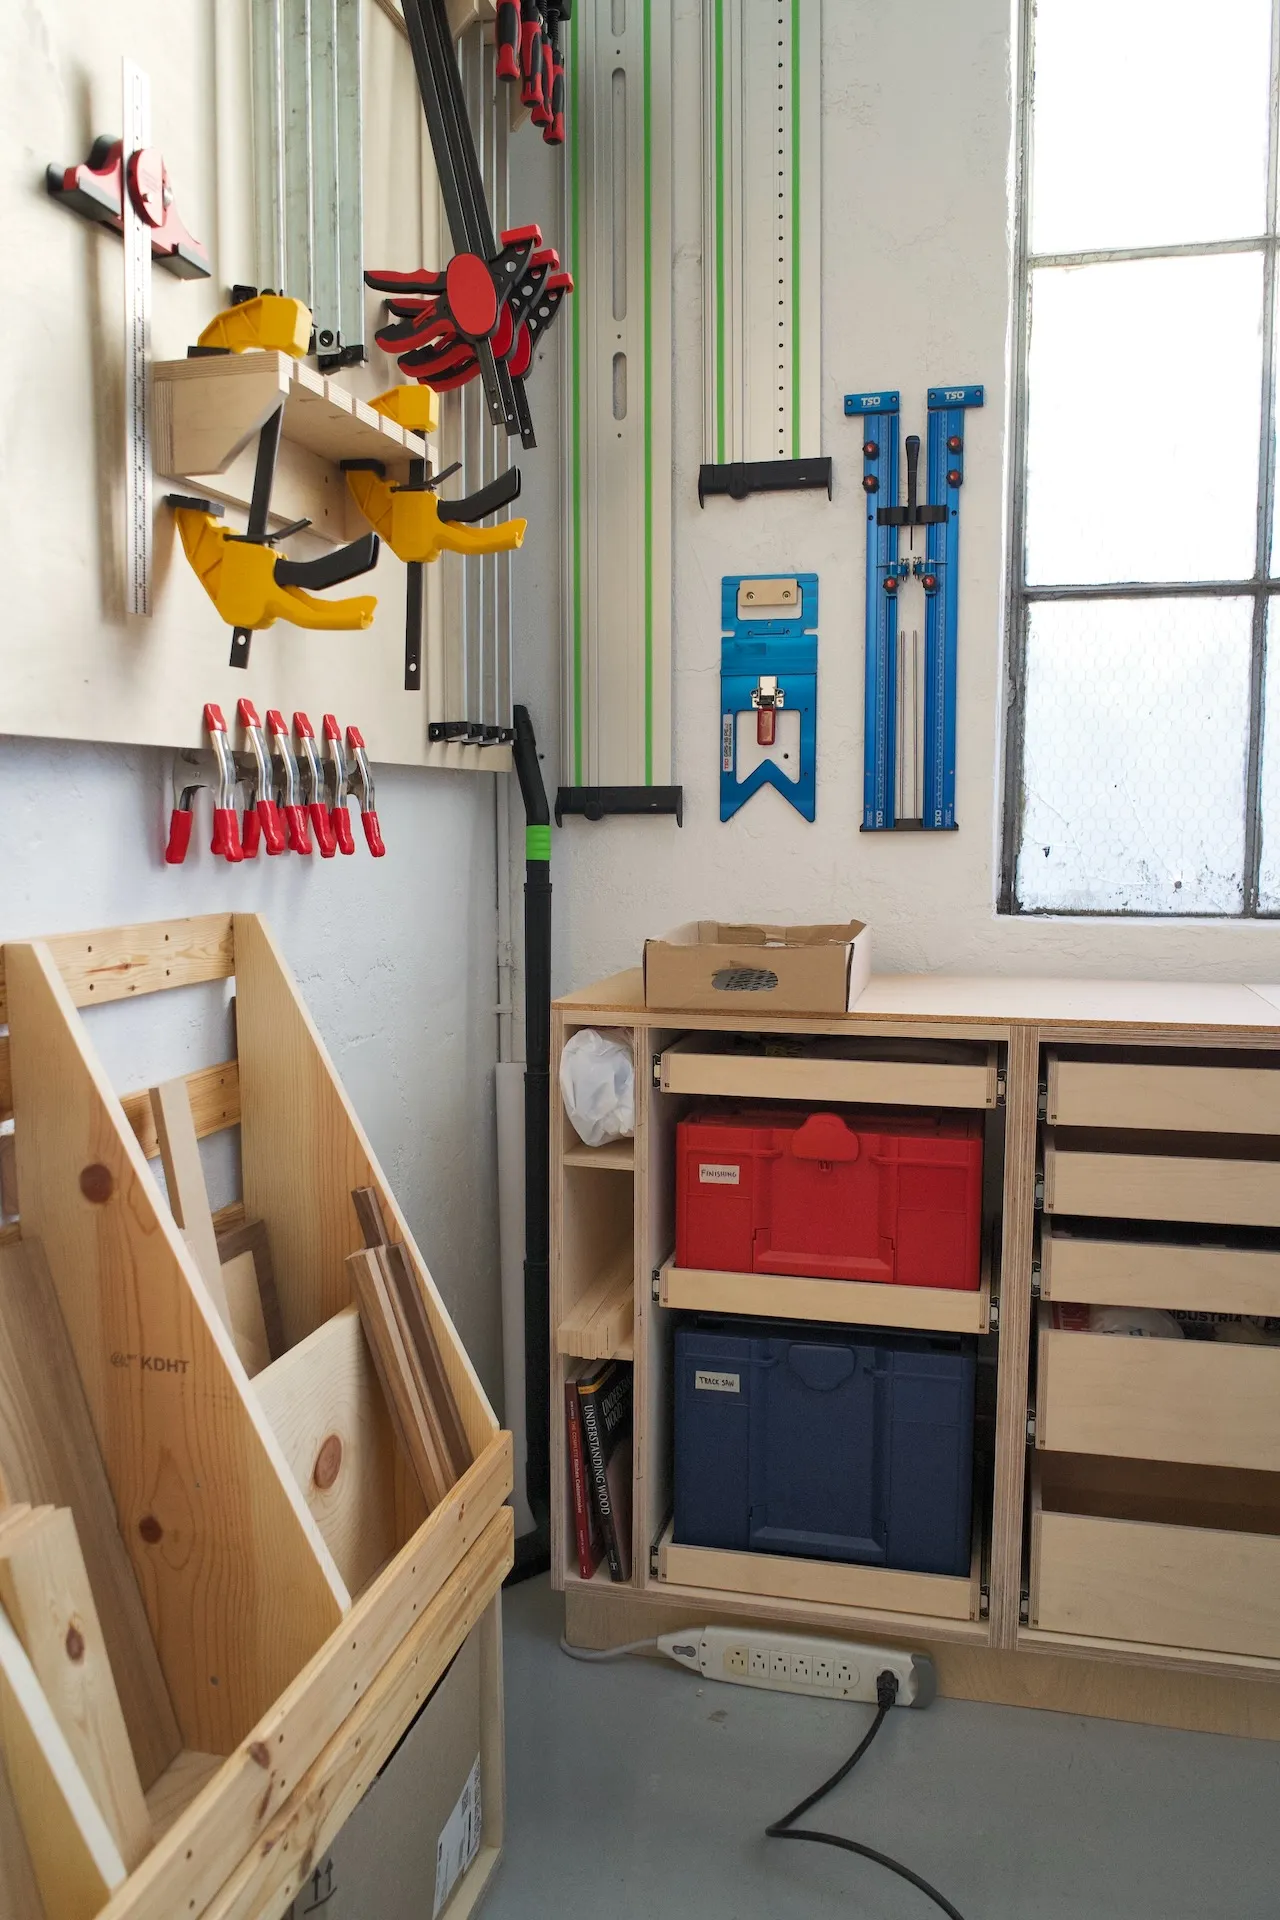
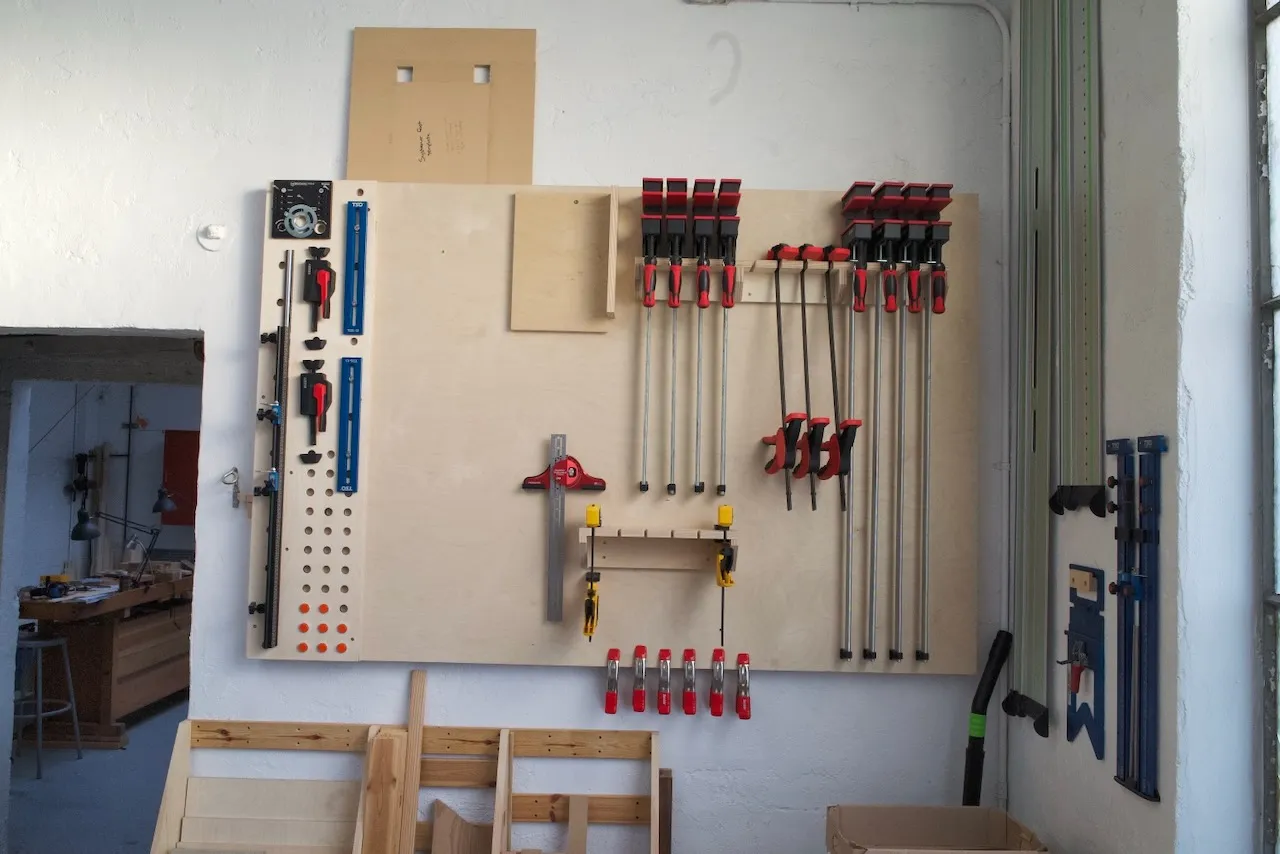
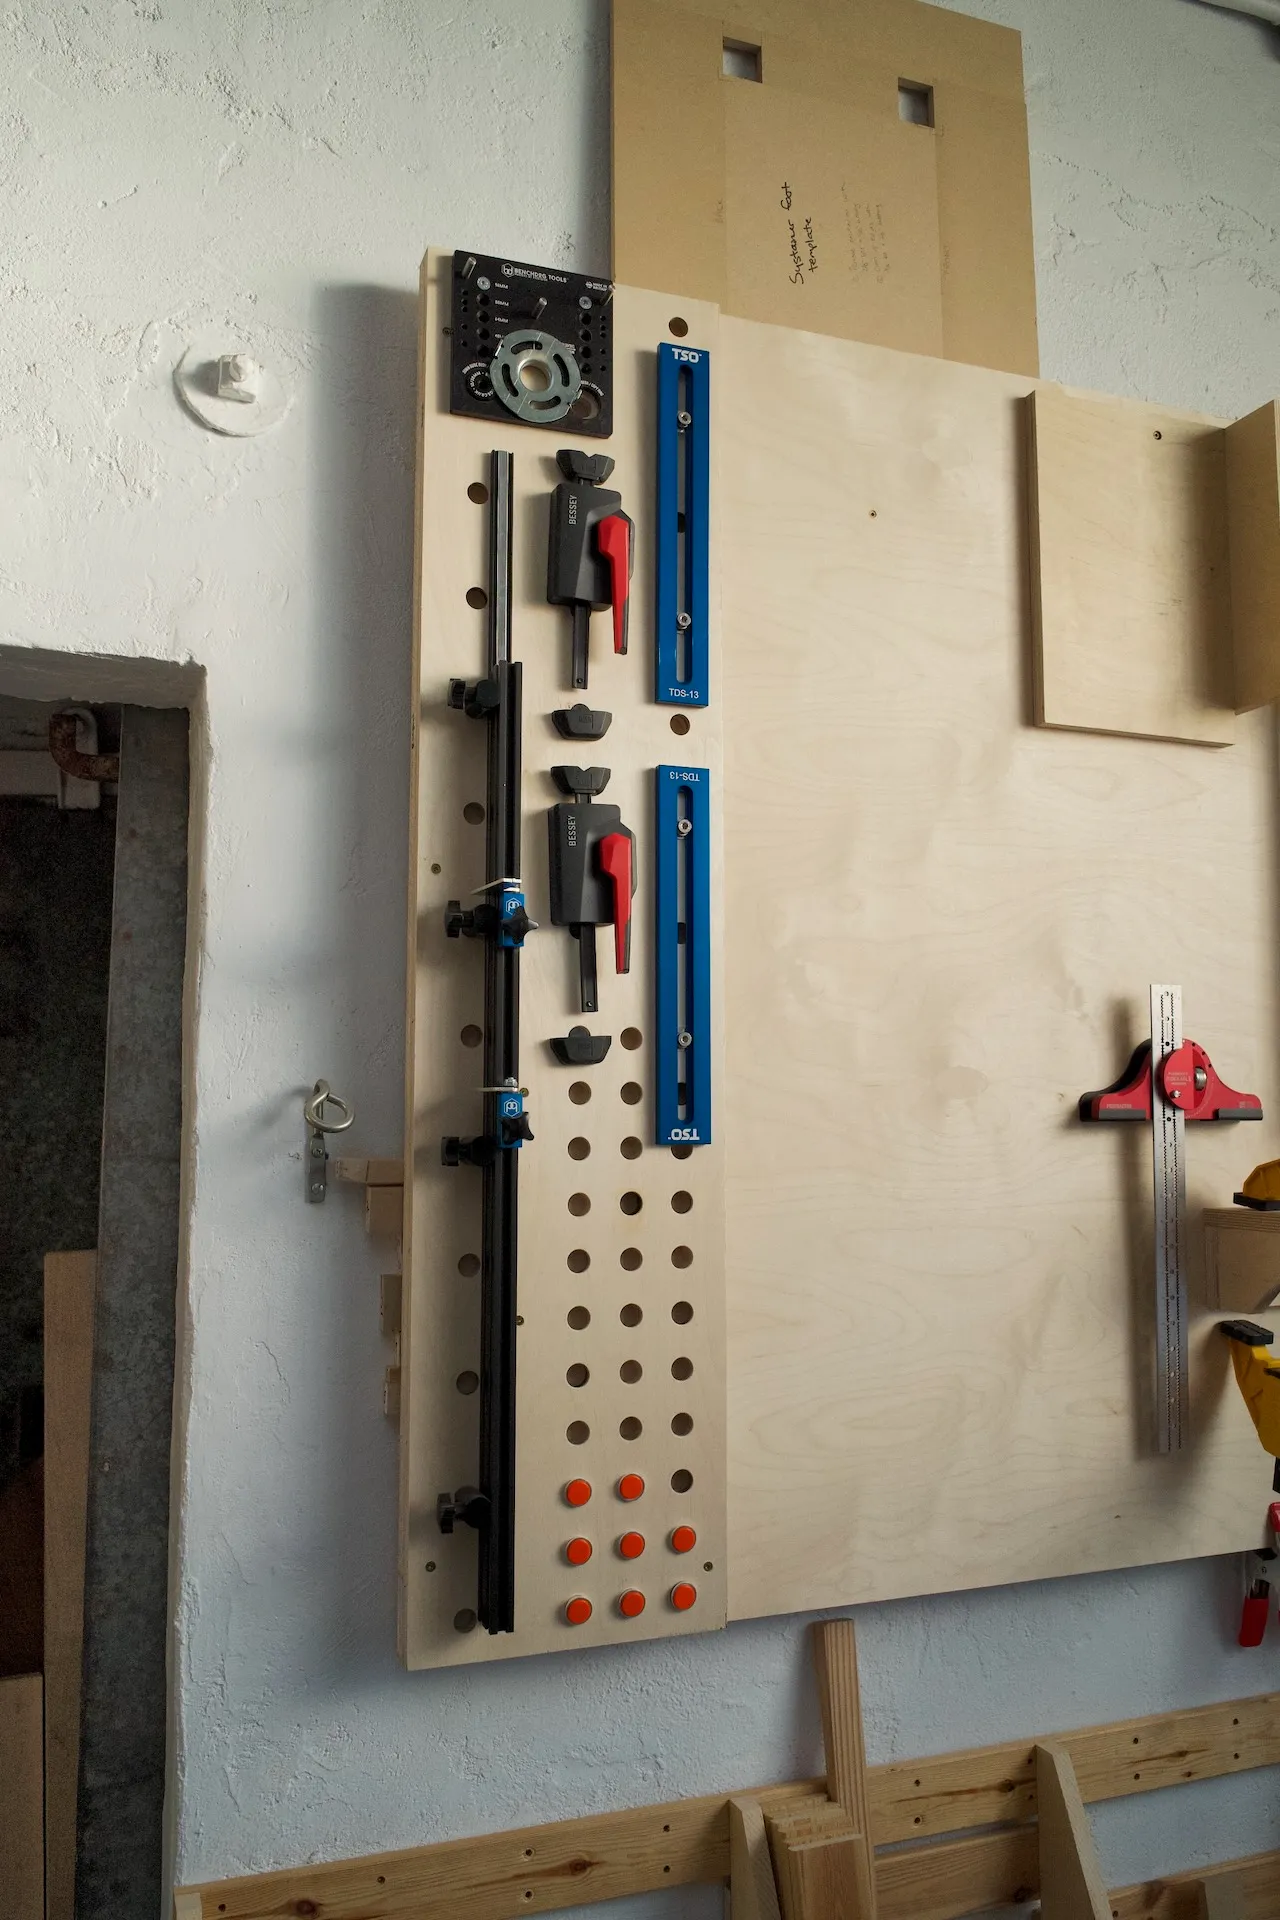
Cleats
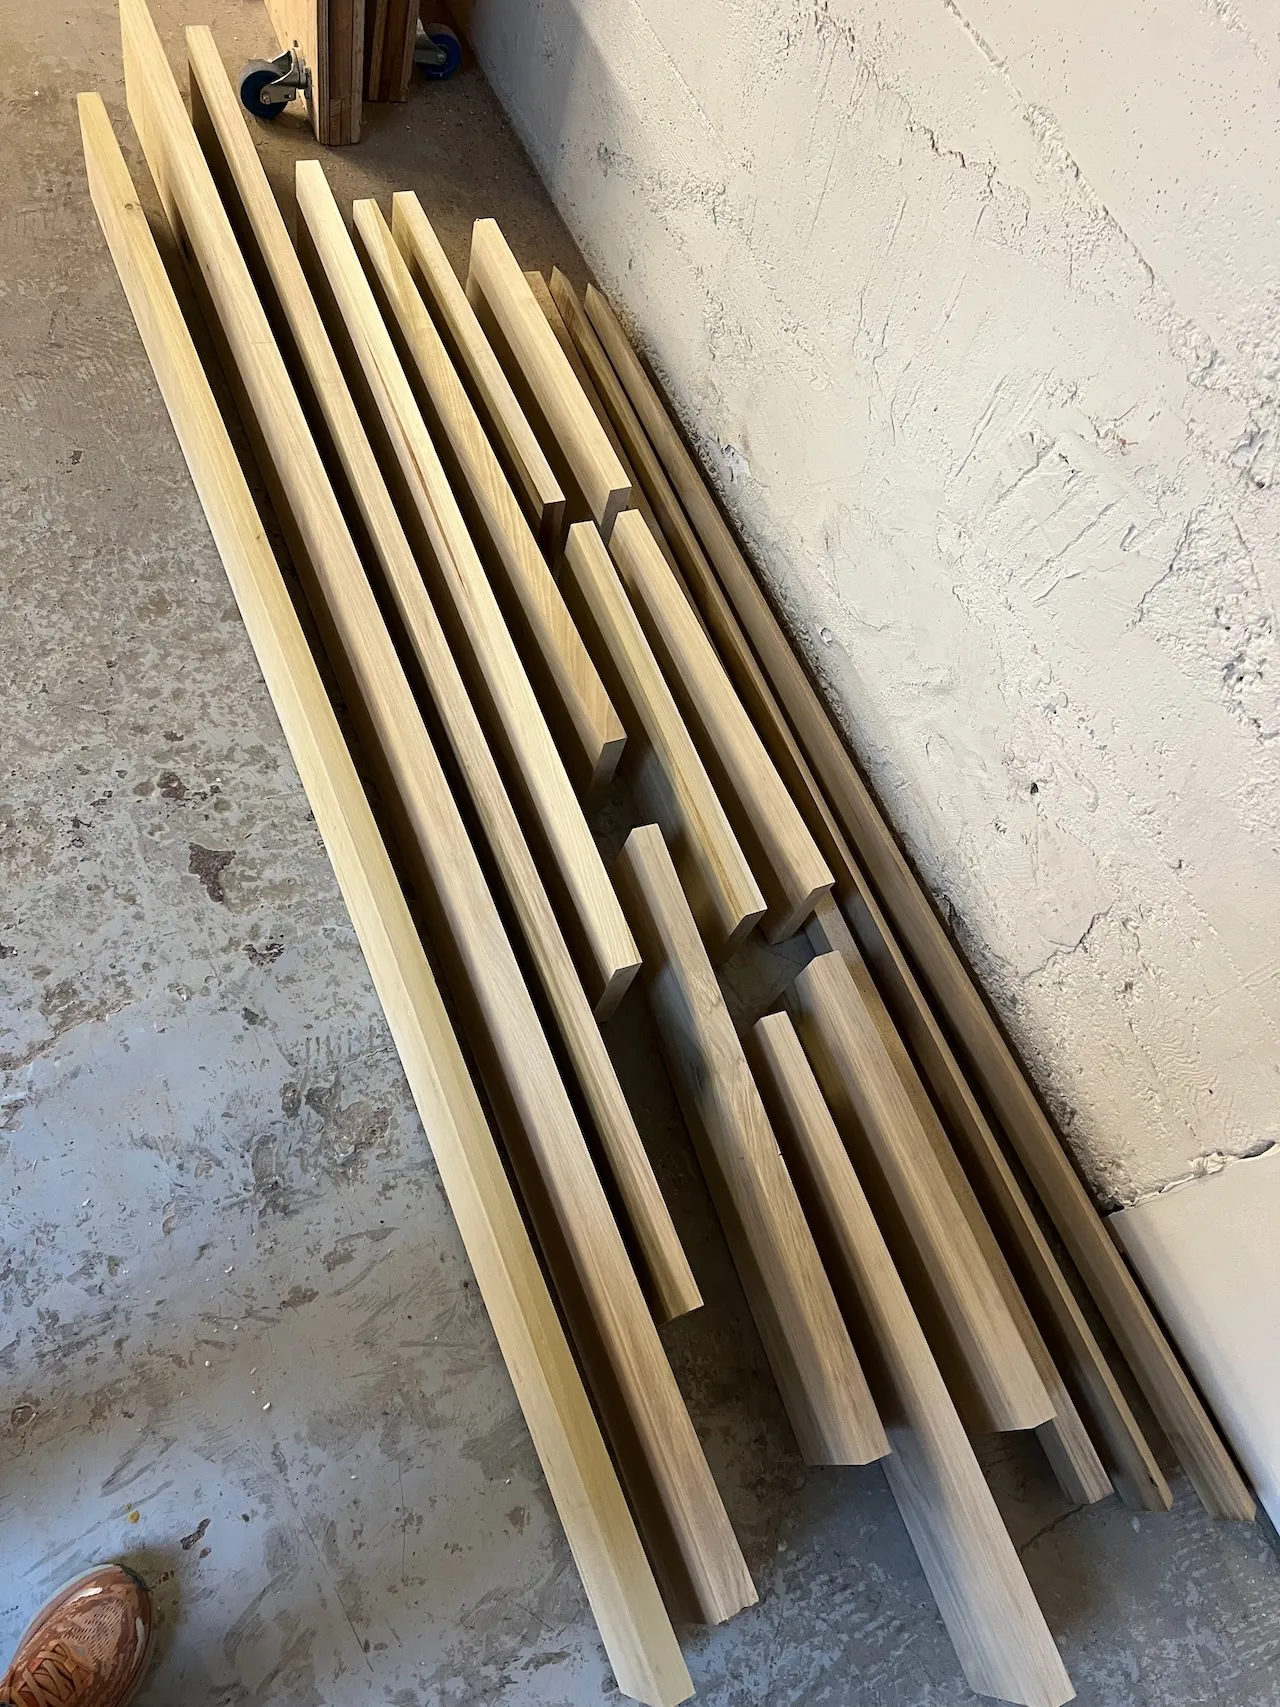
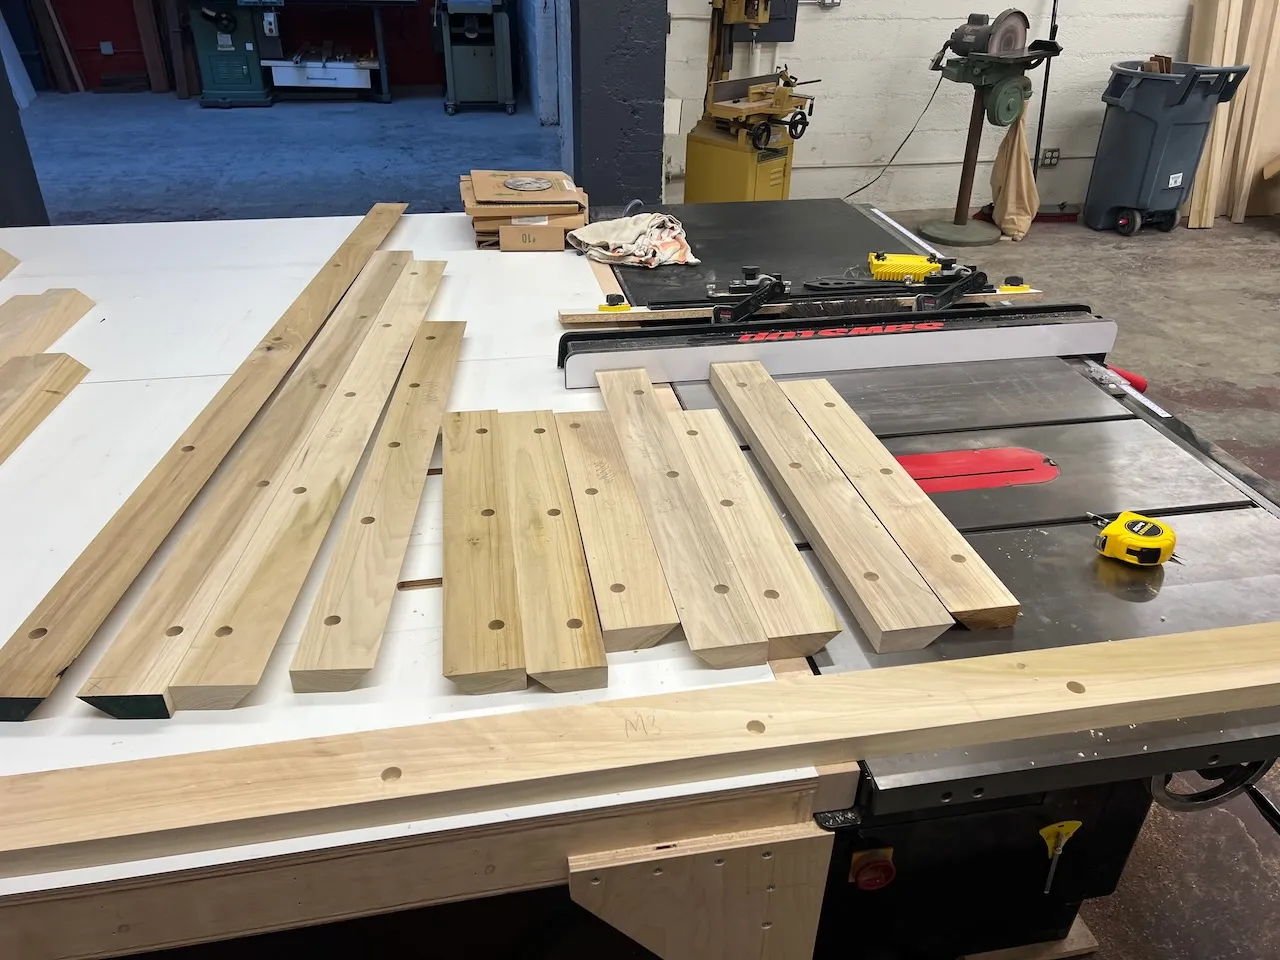
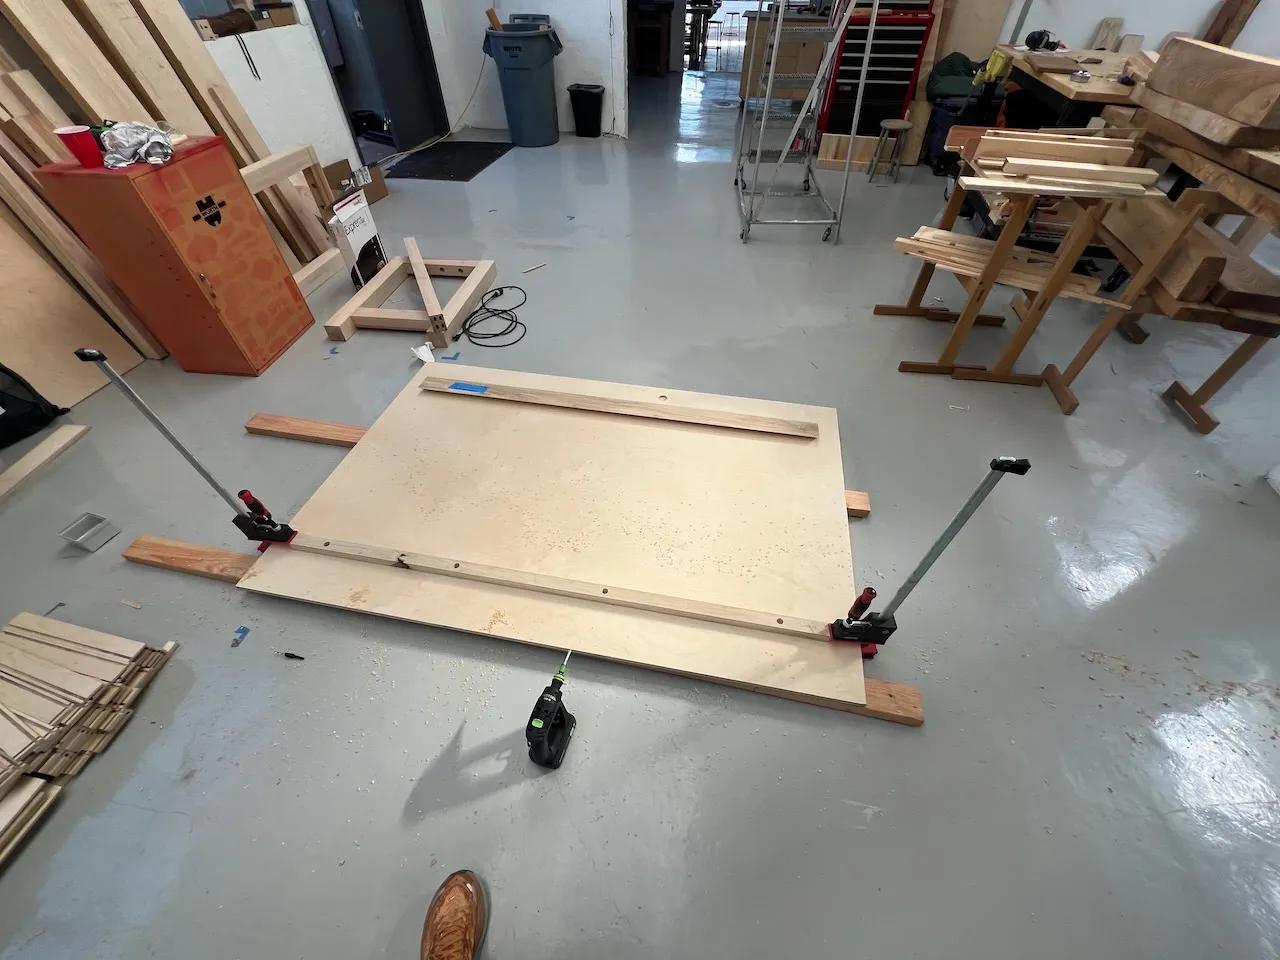
I wanted to hang items on the wall, but I didn't want to litter the concrete with fasteners. And at the same time, this wall-based storage need was arising elsewhere in the shop. So, I started on a project to mill rough-sawn poplar into cleats, which could be anchored to the wall with just a few masonry fasteners and then could support hanging sheets of plywood. The idea is that then you can screw whatever you want into the plywood. You could also move plywood sheets around the shop to hang on different cleats.
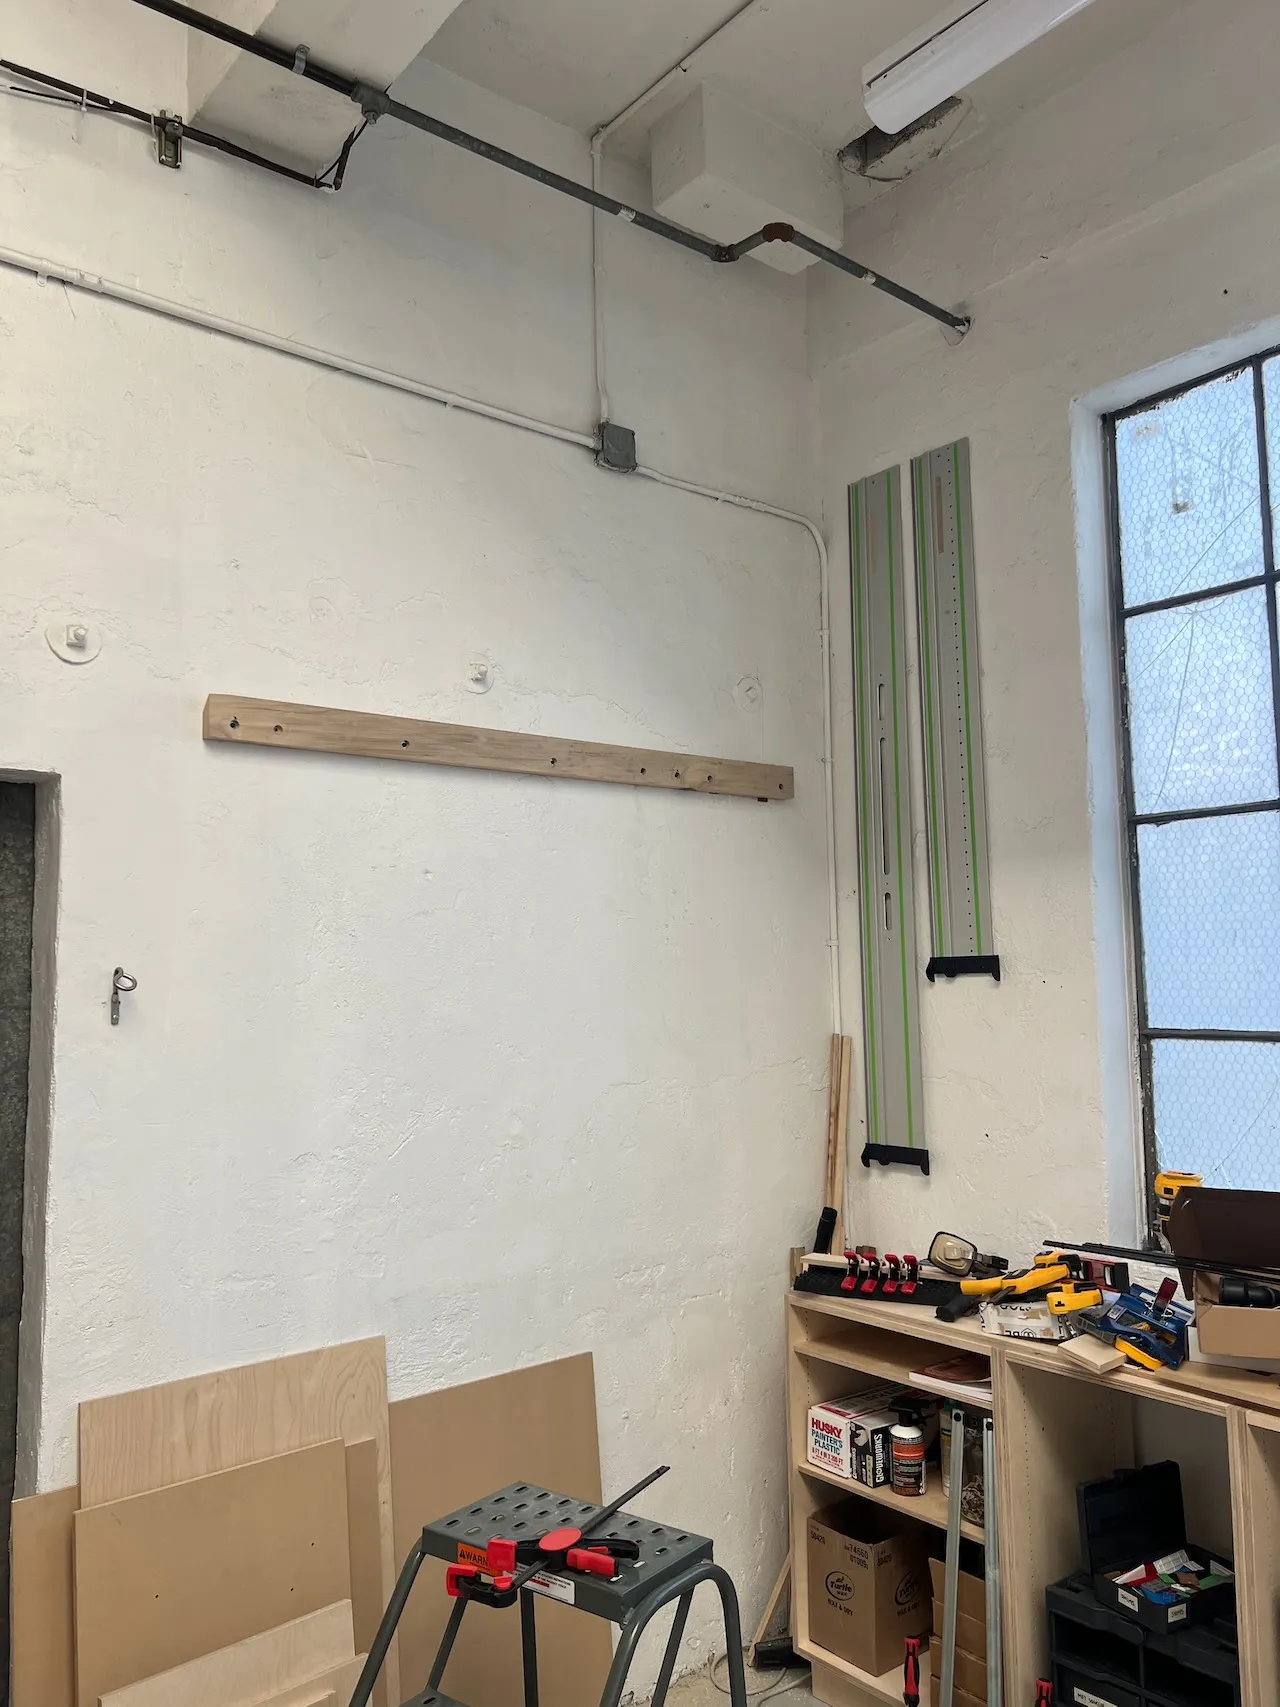
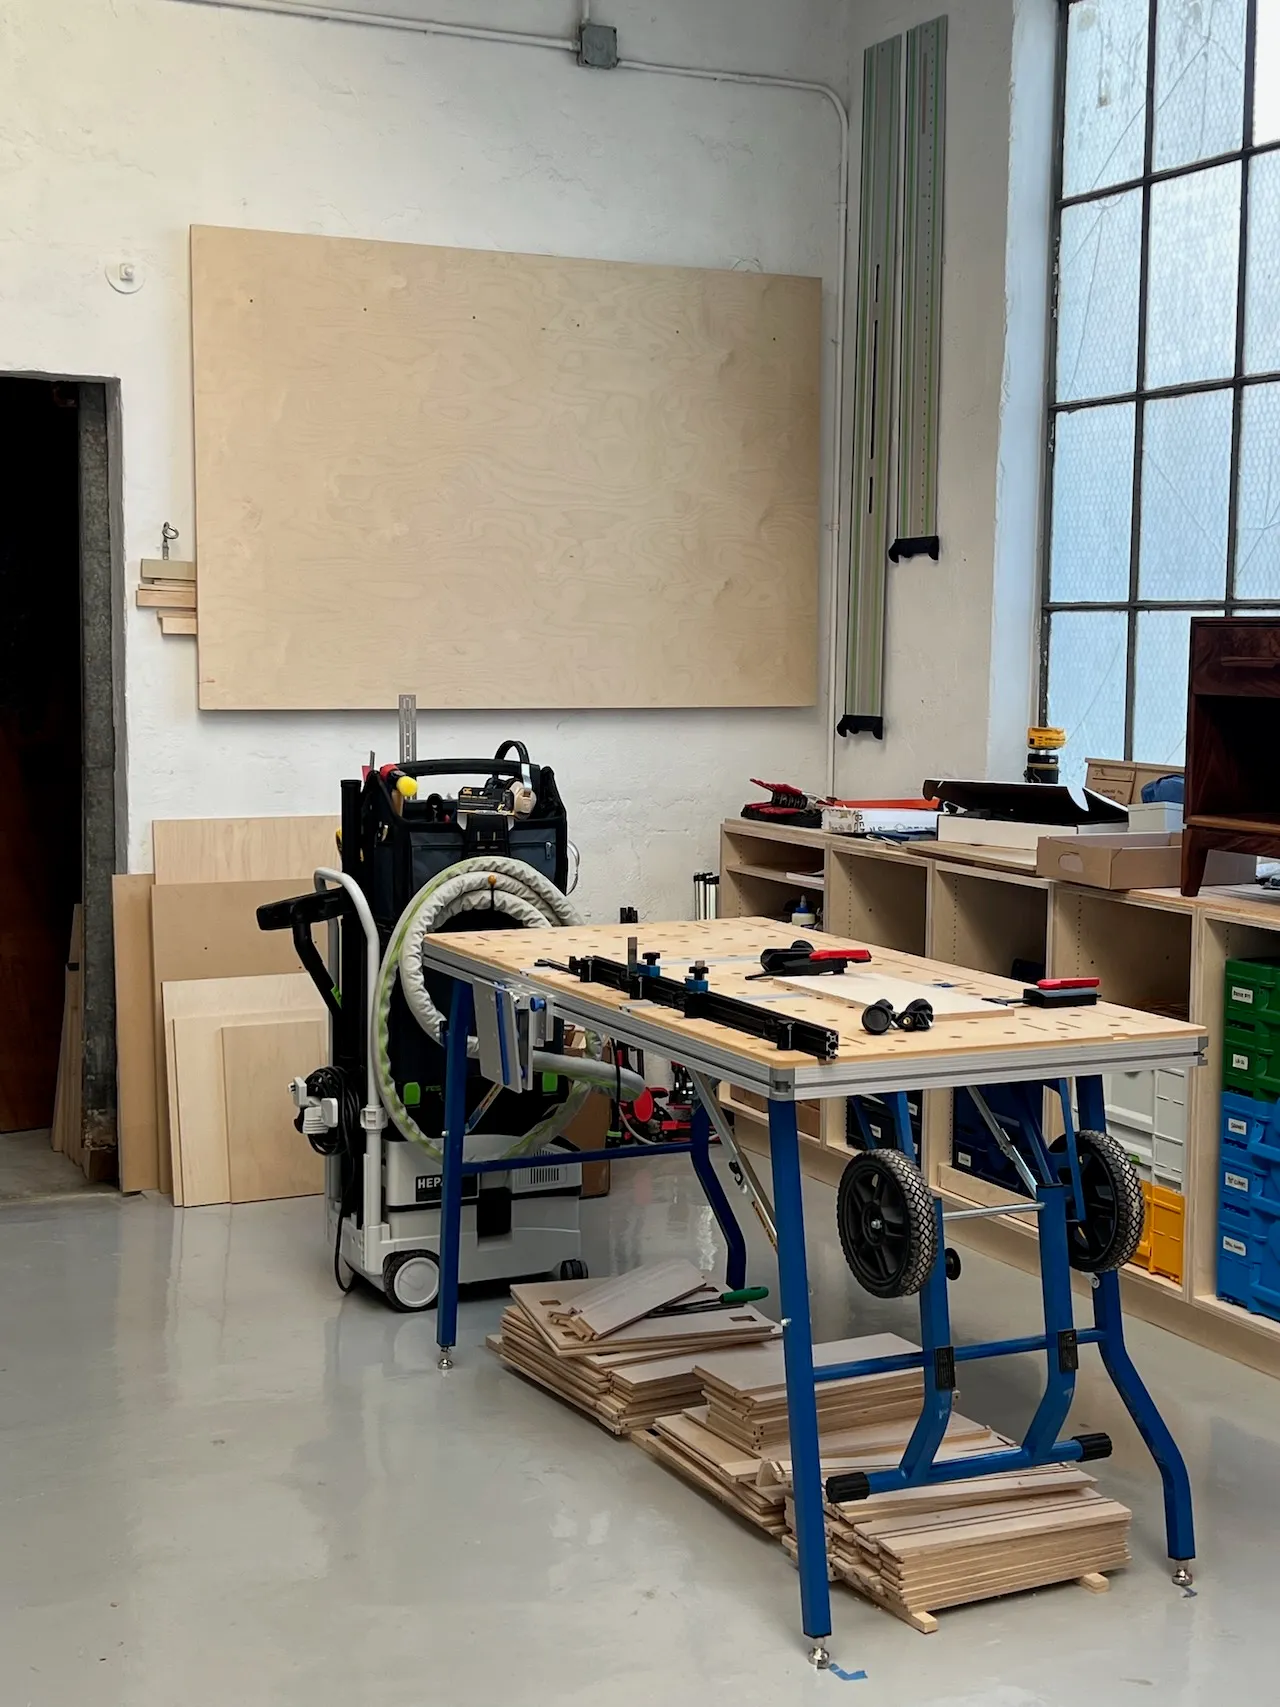
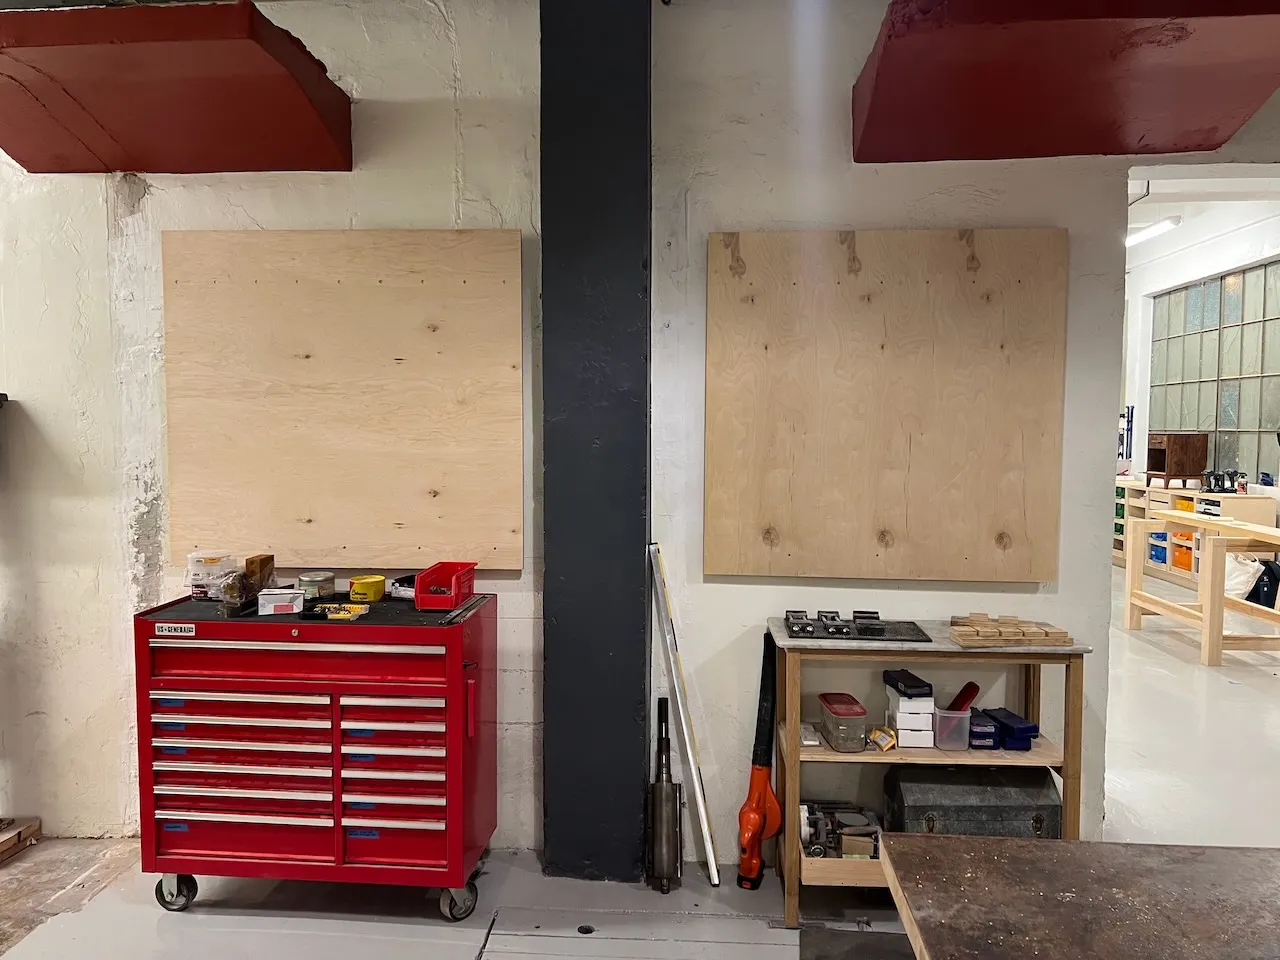

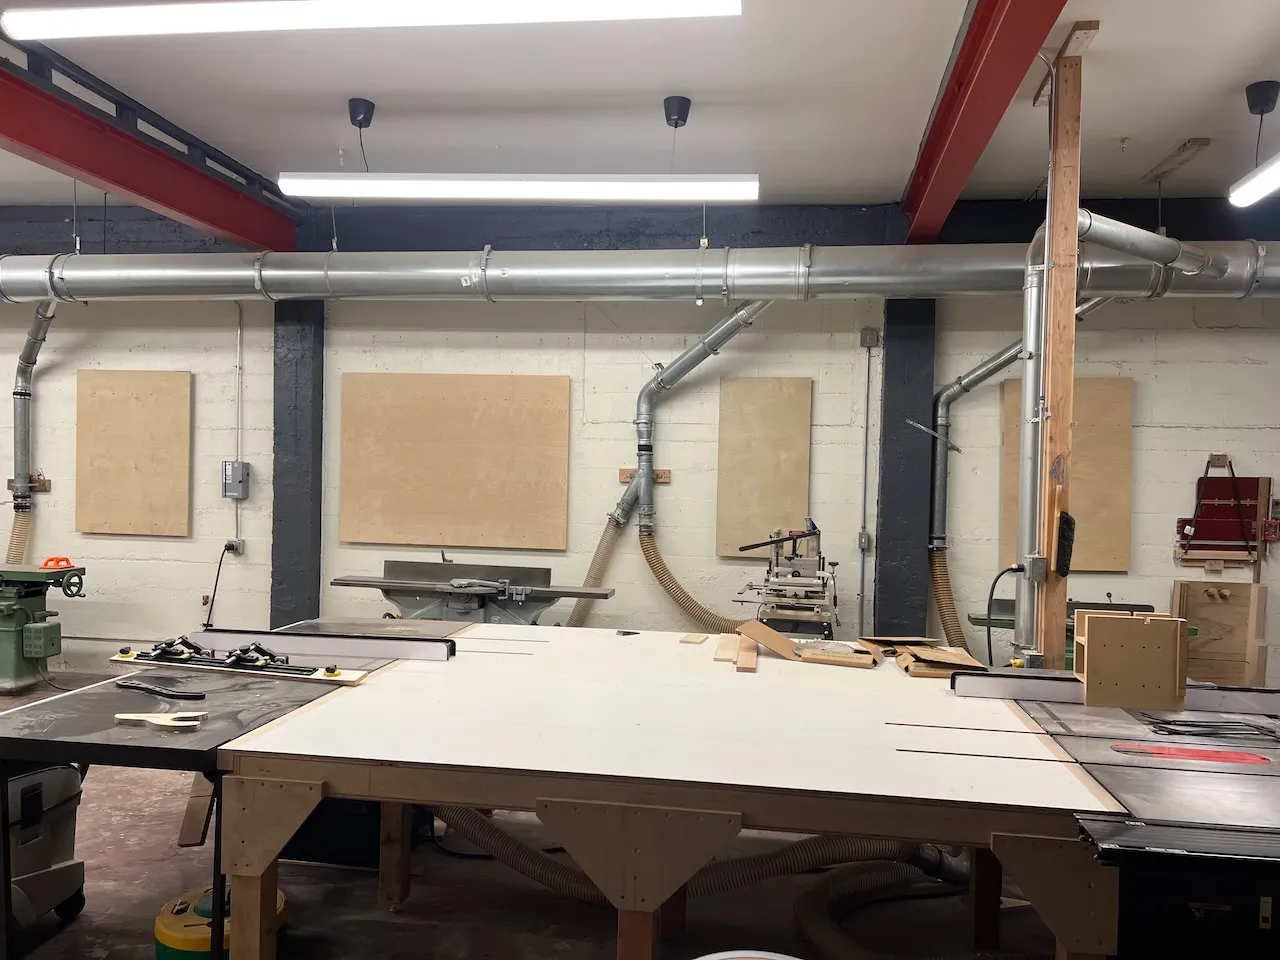
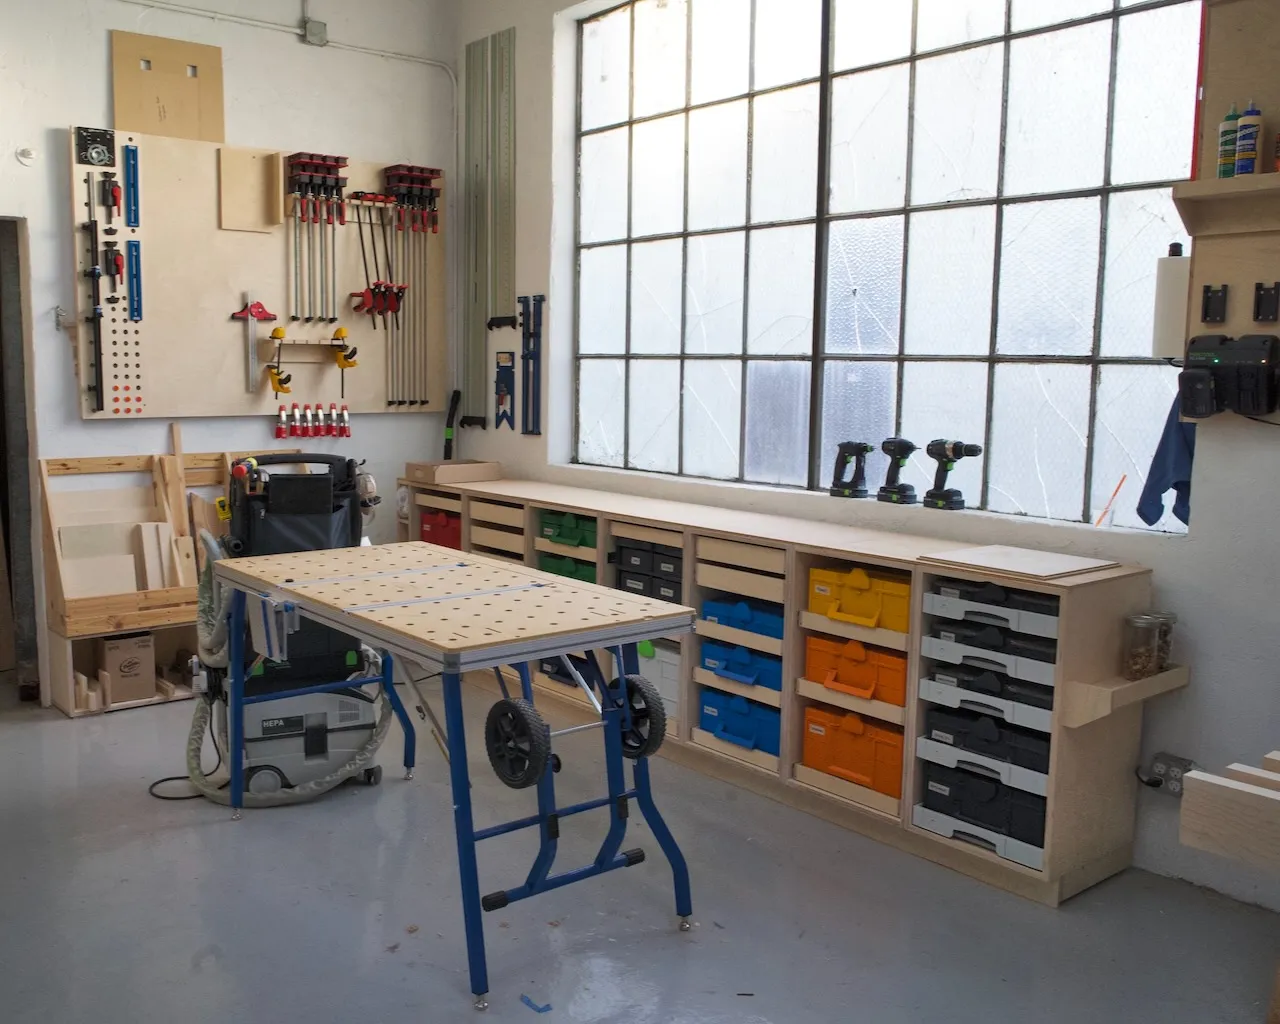
Result
Everything in place. Ready to build!