How to make bean-to-bar chocolate at home
Making bean-to-bar chocolate at home is labor-intensive, but probably not as hard as you think. My friends and I have been making chocolate since 2018, and we’ve had a blast doing it. Here’s an overview of our process and the lessons we’ve learned along the way.
Sourcing
Sourcing quality beans is essential for making great bean-to-bar chocolate. Different origins provide their own distinct flavor profiles: a Madagascar bean might bring a wild punch of fruit, a Columbian bean might offer earthy tones of tobacco, and a Ugandan bean might taste of rich fudge. A popular place on the internet to find cocoa beans is Chocolate Alchemy. For reference: one pound of cocoa beans will produce about 6-8 chocolate bars (about 2-2.5oz each).
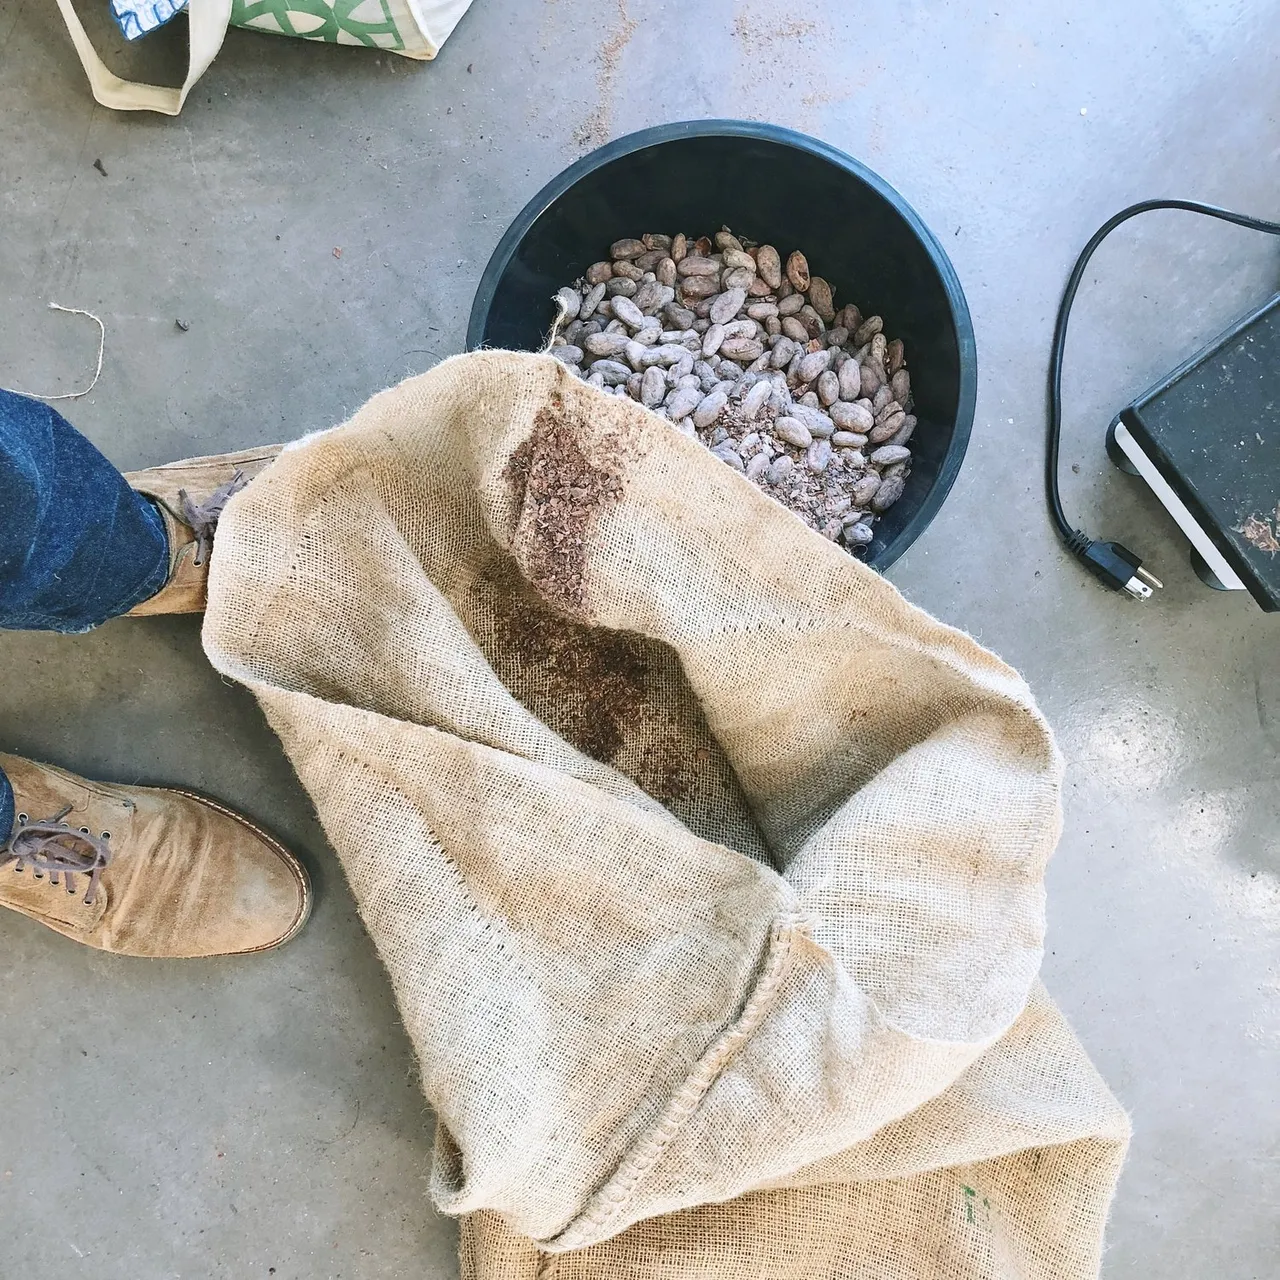
A 50kg sack of Peruvian beans
Sorting
Not all beans in a batch have great flavor; sorting is how we attempt to remove poor-tasting or tasteless beans from the lot. We remove cracked beans (since the nib inside has been exposed to air), super flat beans (tasteless), very light-colored beans (under-fermented), and extremely dark-colored beans (over-fermented) — about 5-10% in total. There’s a debate within the chocolate community about the importance of sorting; those who spend time doing it swear that their time is worthwhile and those who skip the step claim there is no tradeoff.

Sorting with friends
Roasting
We roast cocoa beans to develop flavor. Roasting involves two key variables: temperature and time. Adjusting these variables allows us to enhance, alter, or mask the unique flavors present in the raw beans. You can roast in your oven or you can use the Behmor 1600 coffee roaster, simply swapping 1kg of cocoa beans for every 1lb of coffee beans (since cocoa roasts at a lower temperature). Our roasting profile will vary depending on which beans we are working with and what flavors we want to capture.
Cracking and winnowing
After the beans are roasted, we crack them. We use a Champion Juicer without the mesh screen, but you can also use a rolling pin or crack them in any other way you see fit. We then move the pieces through a winnower which separates the outer shell (husk) from the roasted cacao bean fragments inside (nibs). Our first winnowing process involved shaking the cracked beans in a large bowl while someone used a hair dryer to blow away the husks (usually at night on the roof, lit by a spare bike light), but we’ve since built a homemade contraption consisting of a shop-vac, PVC pipes, and a bucket: the heavier nibs fall while the lighter husks are sucked up by the vacuum.
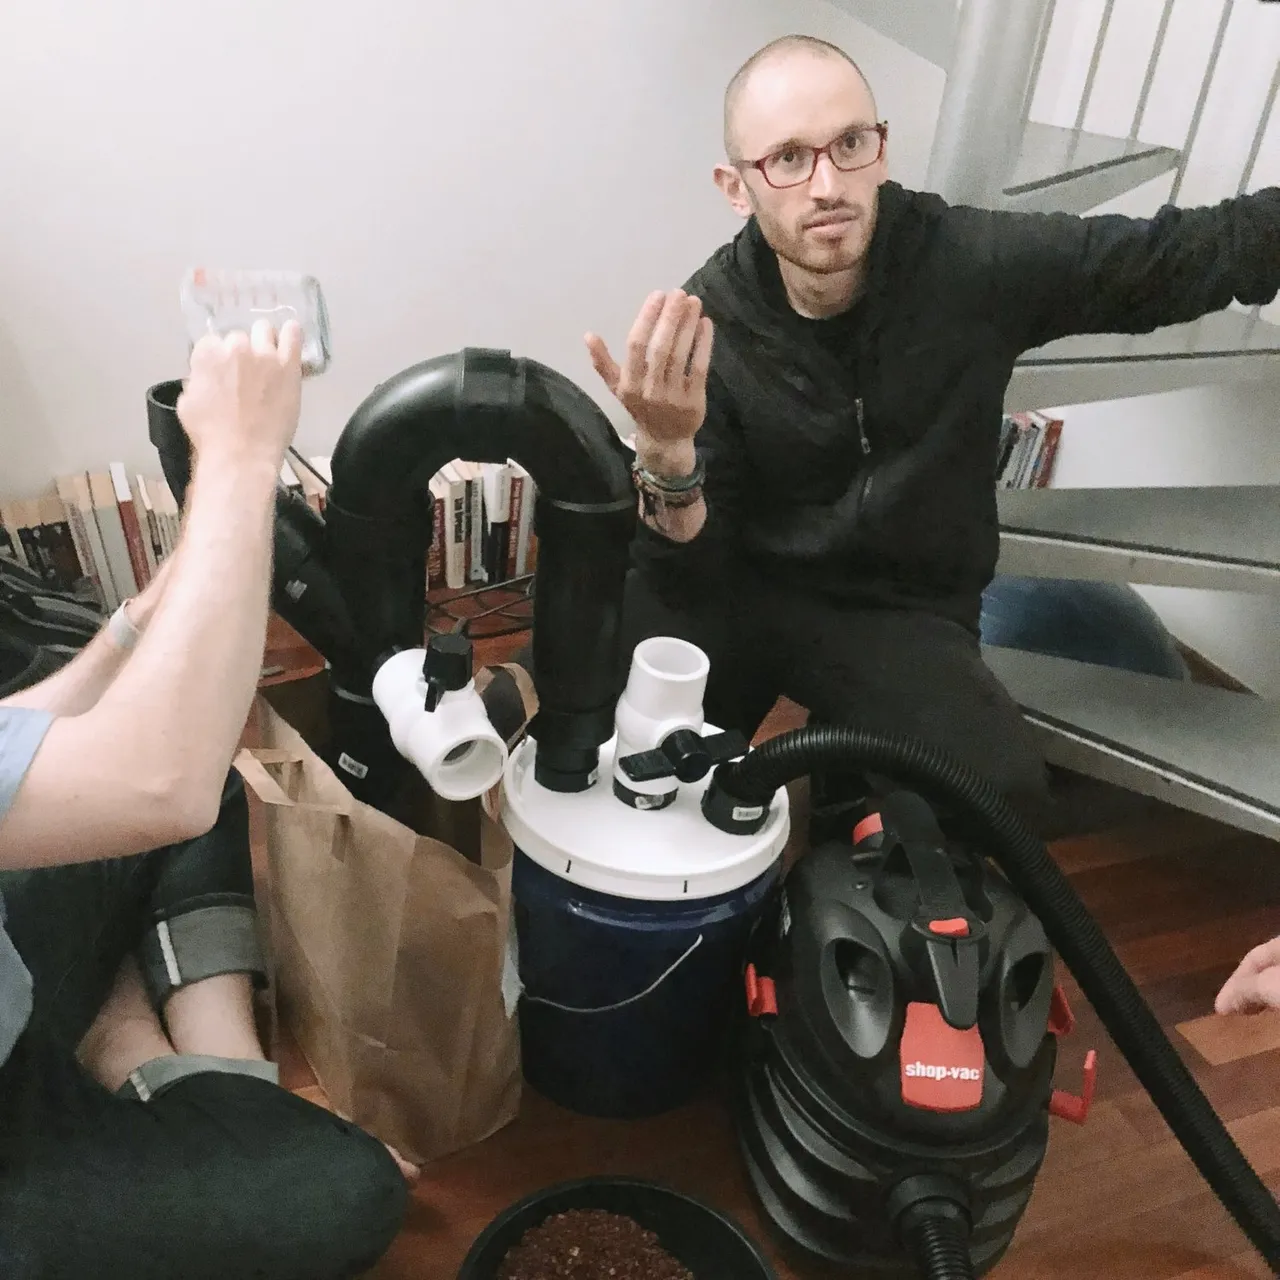
Testing our homemade winnower
Refining
Once we have our roasted nibs, we grind them into a liquid paste called cocoa liquor. We start by putting nibs in a stone grinder (melanger). Then, we add our desired amount of sugar (e.g. 700 grams of nibs and 300 grams of sugar gives us 70% chocolate), as well as other dry inclusions such as spices. We let the melanger spin for anywhere from 12-48 hours (usually in a spare bathroom… it’s loud, but behind a door it’s a pretty good white noise machine!). Heat produced from the friction of the stone wheels keeps the chocolate molten.
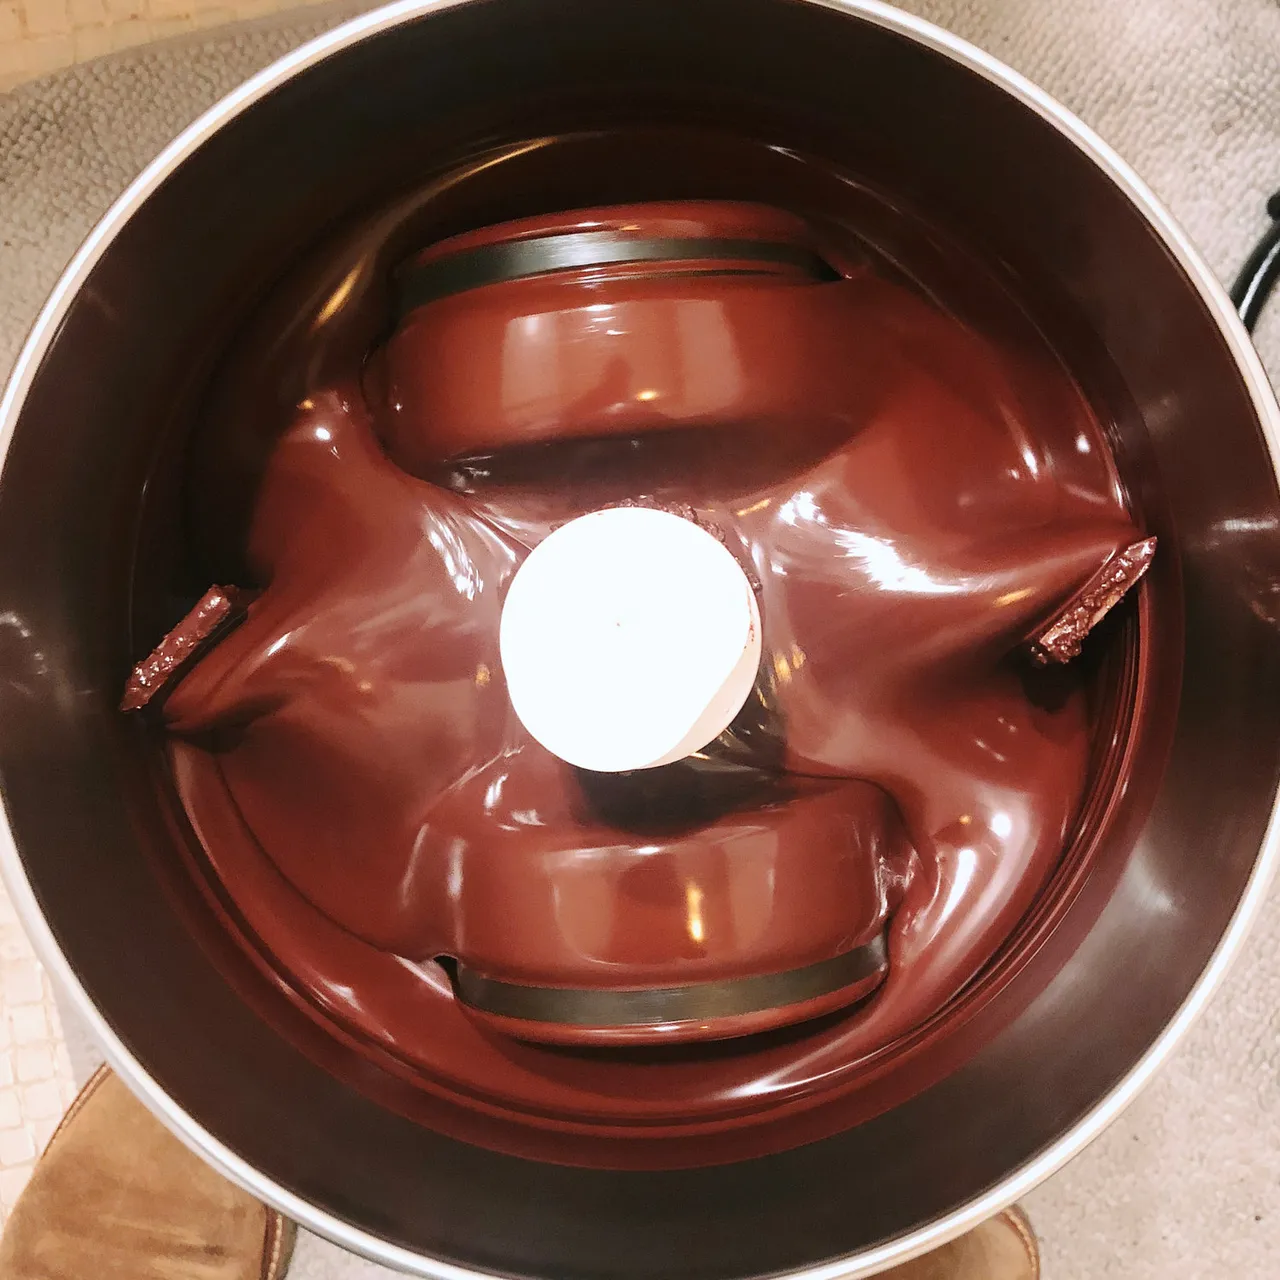
Our melanger
Tempering
When our liquid chocolate comes out of the refiner, we must temper it before pouring it into molds. Tempering chocolate creates the crystalline structure that give molded bars a smooth sheen and crisp “snap”. Untempered chocolate quickly becomes soft, chalky, and discolored. To temper, we mix a small amount of pre-tempered cocoa butter (Tempering chocolate with cocoa butter “silk”) into the liquid chocolate; this seeds our chocolate with form V crystals that quickly multiply.
Tempering chocolate with cocoa butter “silk”
Molding
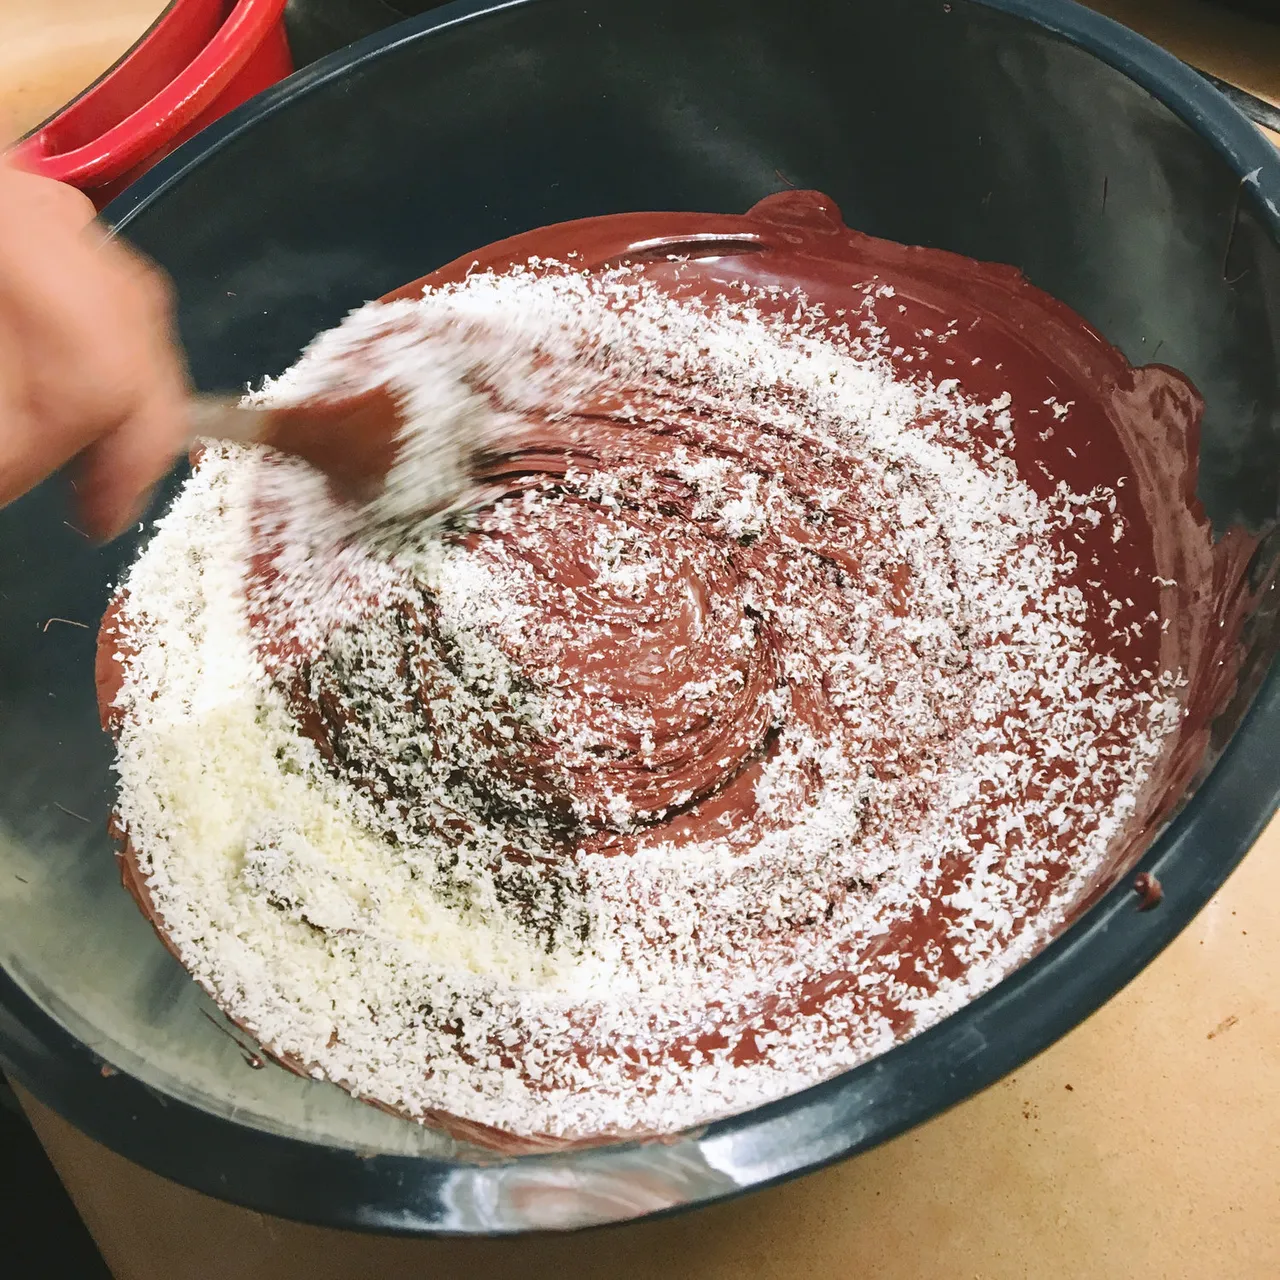
We pour the tempered chocolate into molds, which we shake and vibrate to spread the chocolate evenly and release unwanted air bubbles. Here we can add toppings such as sea salt, cocoa nibs, candied ginger, cayenne, nuts, or crystallized fennel (my favorite). Chocolate actually heats up as it solidifies which can cause the bar to fall out of temper, so we place the molds in the refrigerator for ~30 minutes.
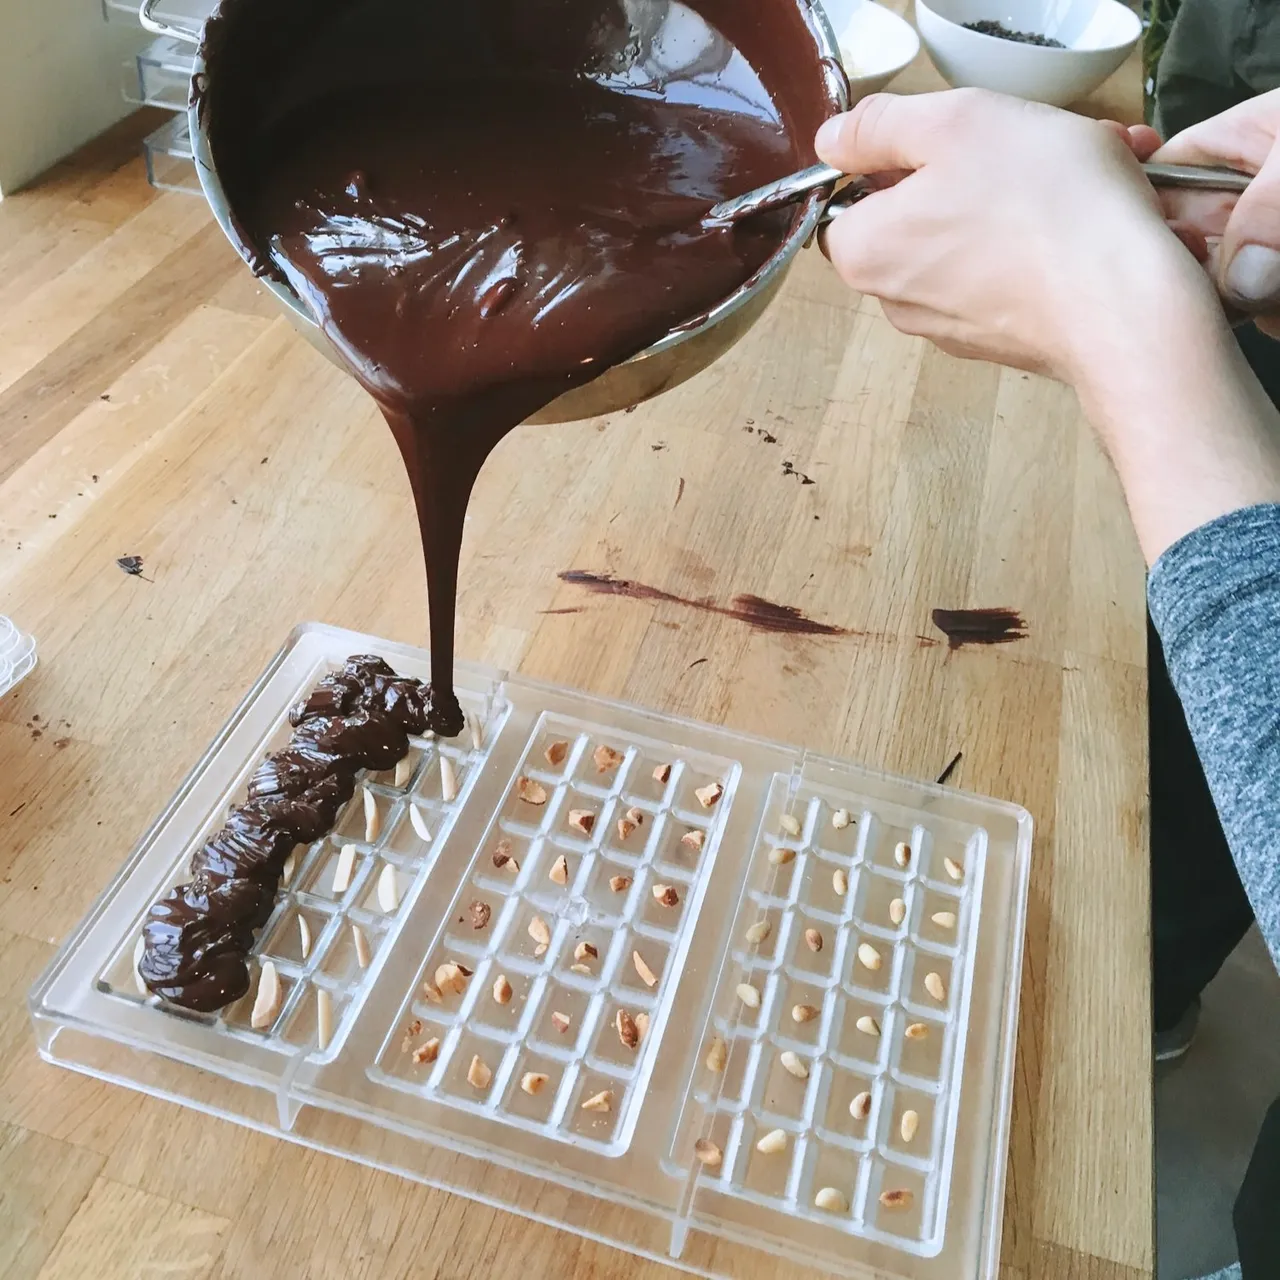
Pouring into molds
Packaging
Once our bars are fully set, we carefully twist them out of their molds and wrap them in a thin layer of gold foil. We usually just label the bars in this form, but sometimes we print a paper outer-wrap for special occasions.
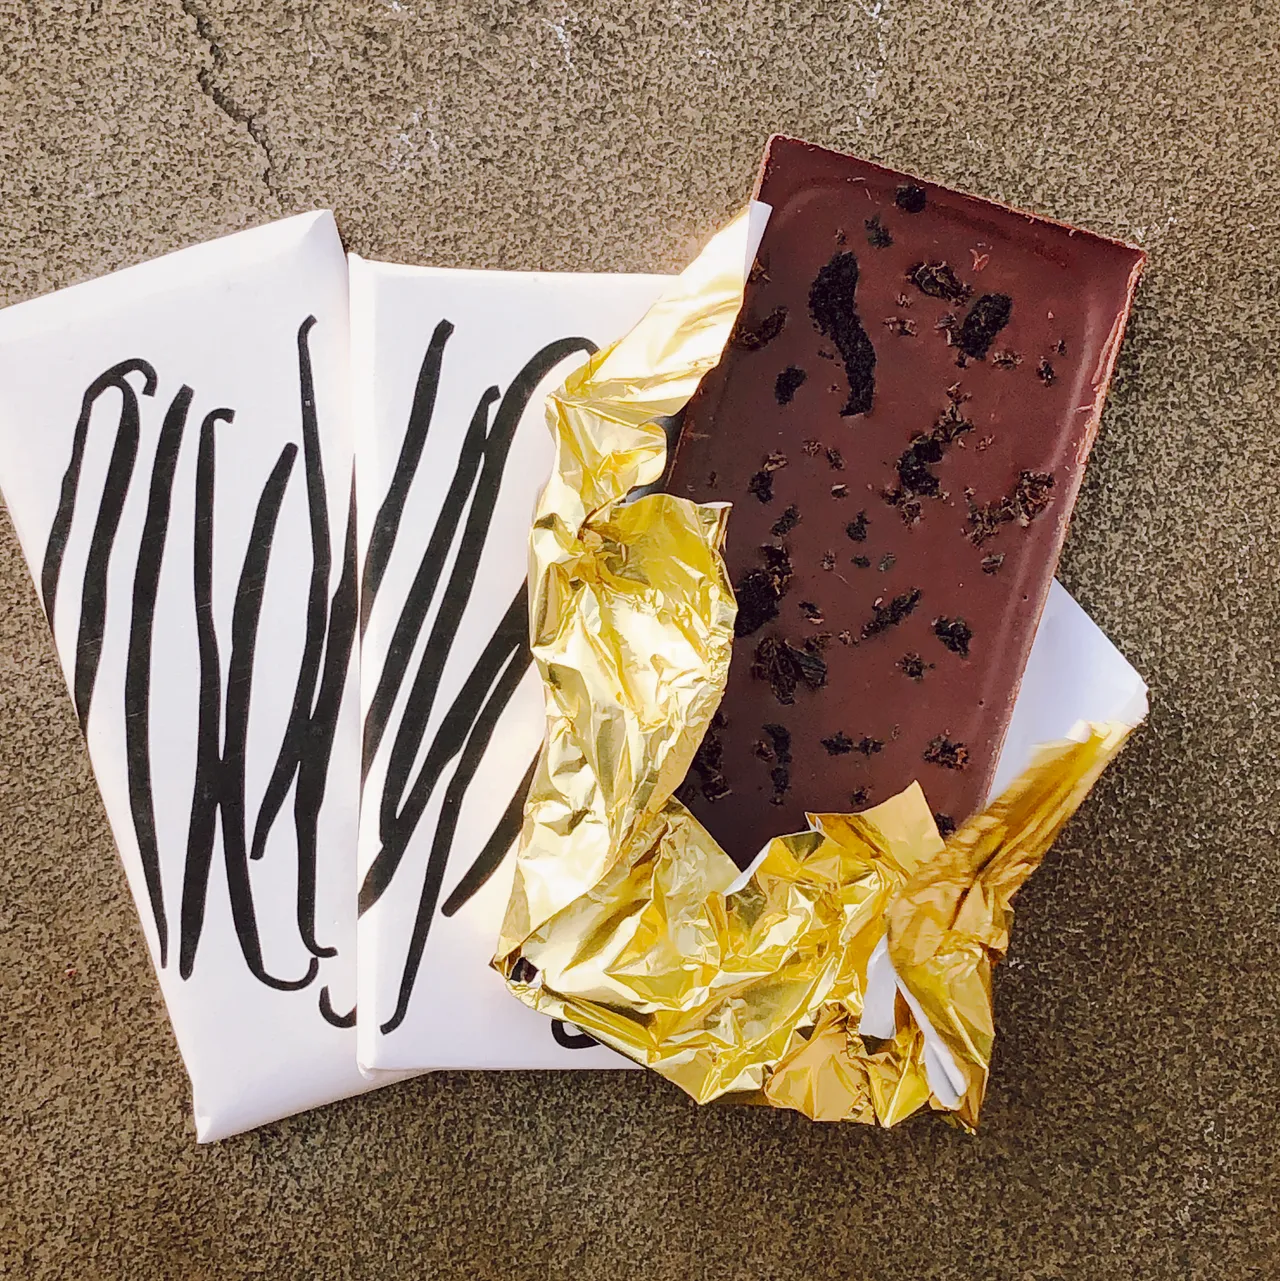
Custom wrapped bars
Other great resources
If you’d like to dig deeper into the chocolate making process, here are some excellent guides we’d recommend:
How We Make Chocolate by Dandelion Chocolate in San Francisco
How To Make Chocolate by Chocolate Alchemy